Import and use external Assets in the Workbench
You have an asset that was created externally and you want to import into the Workbench and then create a project based on the imported asset. In this How-To, we will import the Narayana LRA Coordinator service and use it within a saga application composition project as an example.
Description
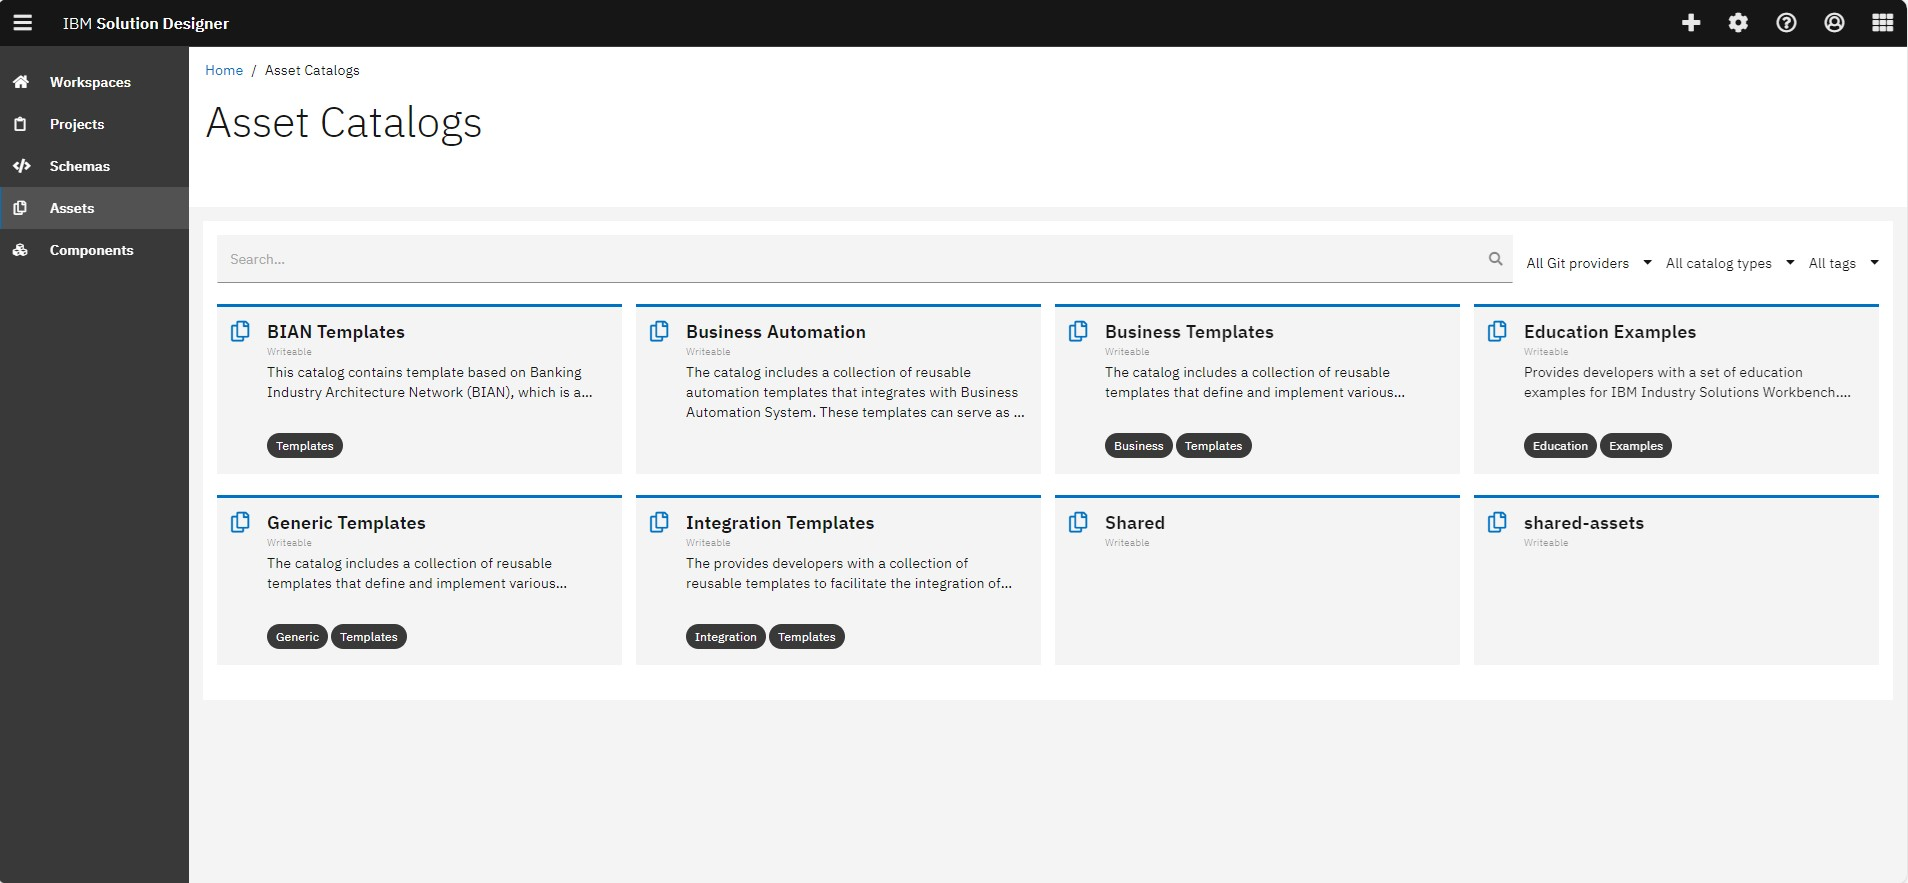
The Solution Designer Asset Catalog contains reusable, released components to create own projects based on. To use an imported asset in an application composition project, you have to create and release the project within the Solution Designer.
Please note that the links to the workbench tools in this tutorial only apply to the IBM Education Environment we provide. If you are using a different environment, e.g. your own installation, you will need to navigate directly to the required tools.
Preconditions
- You have configured an asset catalog within Solution Designer.
Kindly make sure you have the required permissions for the chosen asset catalog. for more information, please read How-To: Define Permissions on Asset Catalogs and Assets
Steps
Import an external asset into -solutionDesigner Asset Catalog
We will import the Narayana asset as an example. You can follow the same steps to import any external asset into the Solution Designer.
-
To get the URL of the Swagger-UI of the K5 Asset Manager, you can do one of the following
- In your terminal write
oc get -n ${ISW installation namespace} route k5-asset-manager-route
or
- Open your k5 asset management location and get the needed URL.
The URL should look like this
k5-asset-manager-${ISW installation namespace}.apps.${cluster base url}
- In your terminal write
-
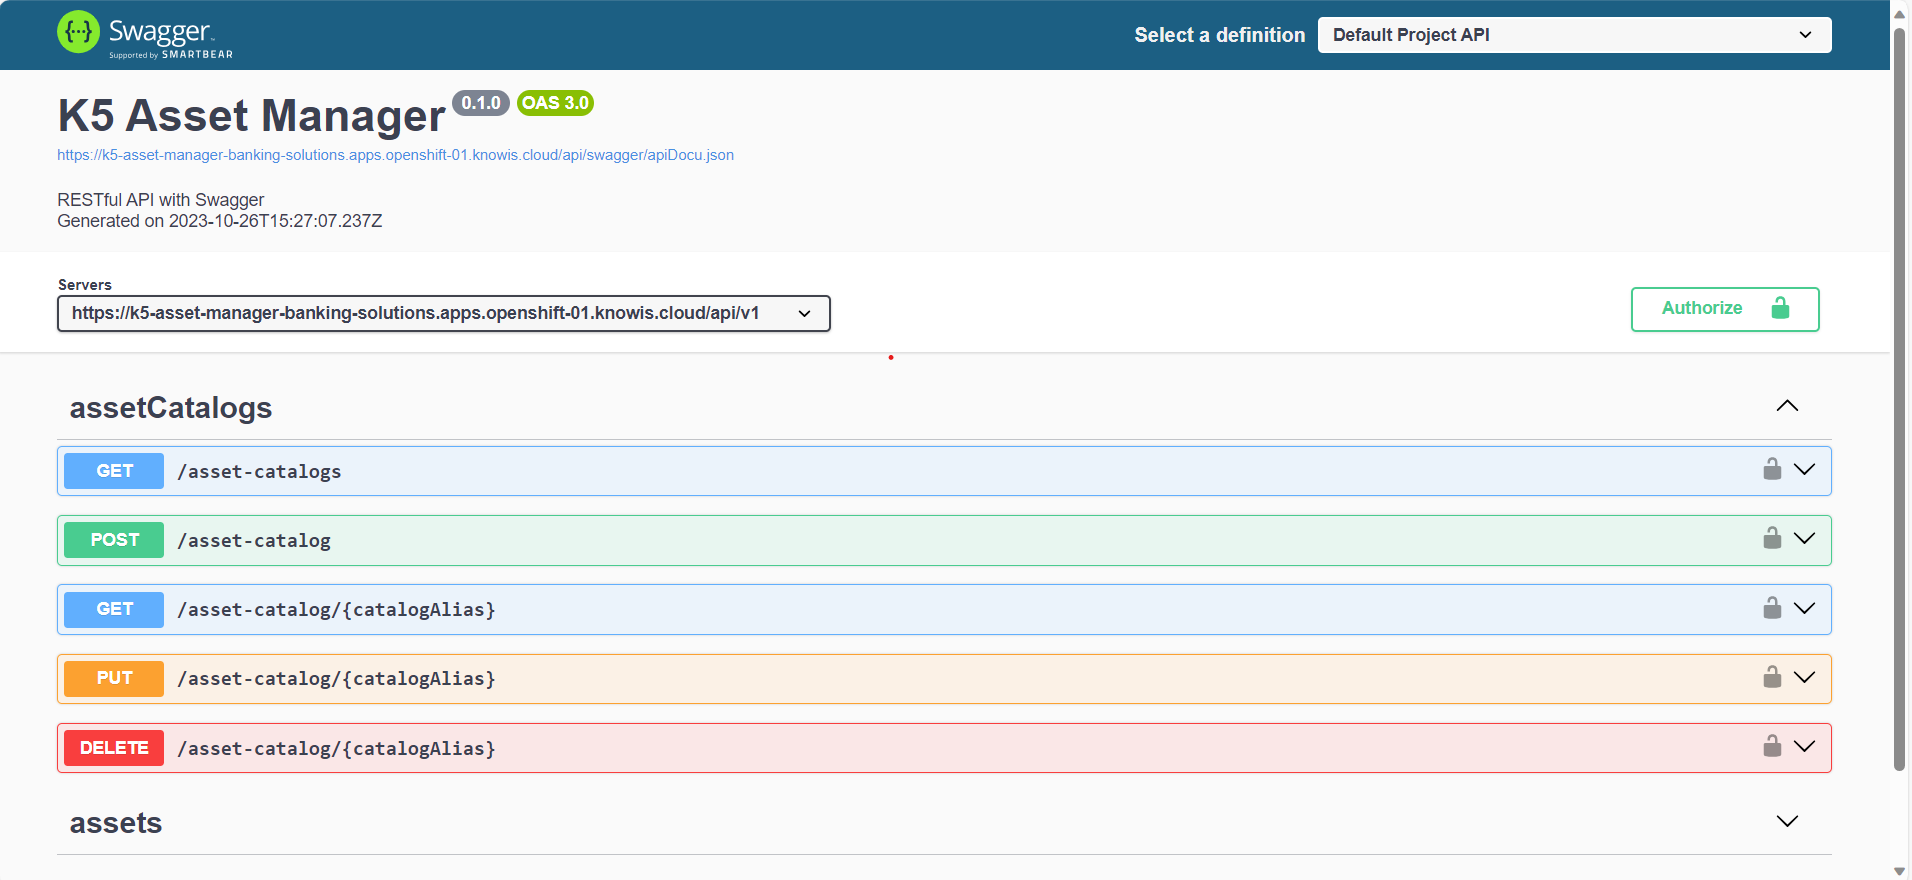
Open the Swagger UI to view all the functions.
Please contact your administrator if you don't have the required access.
-
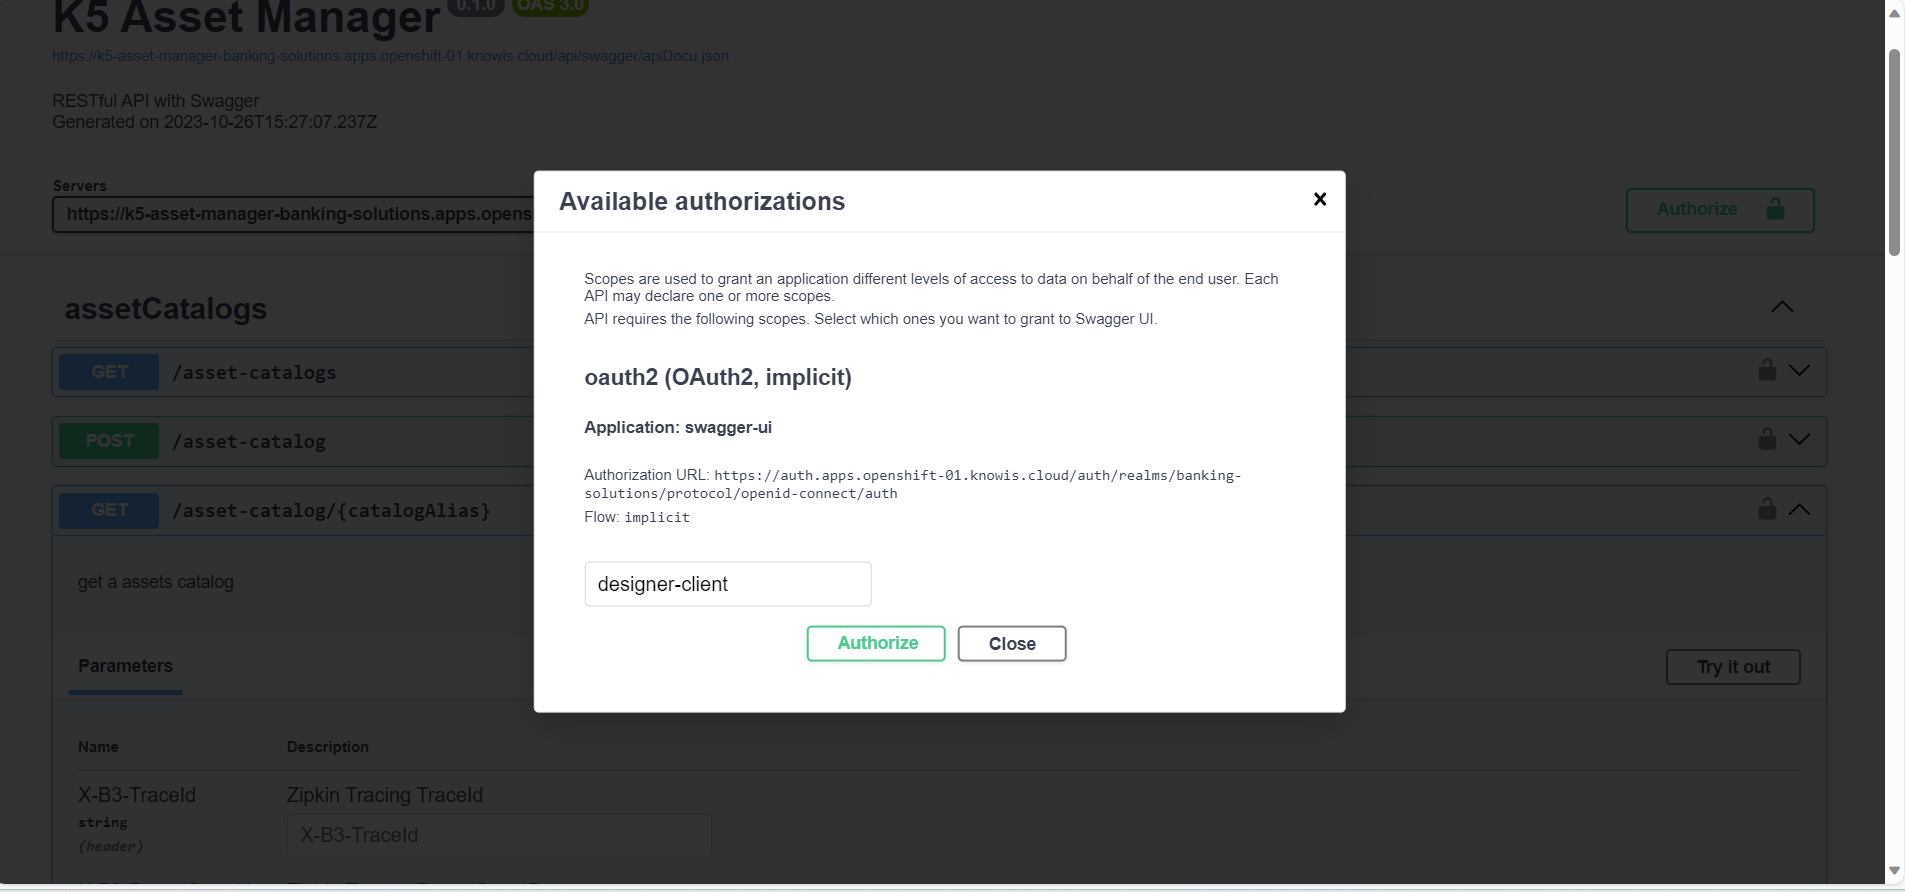
Click on Authorize to start testing the methods.
-
Open the method
get/asset-catalog/{catalogAlias}to get the needed details for further steps. You need to click on Try it out then add your asset catalog alias name to execute the method.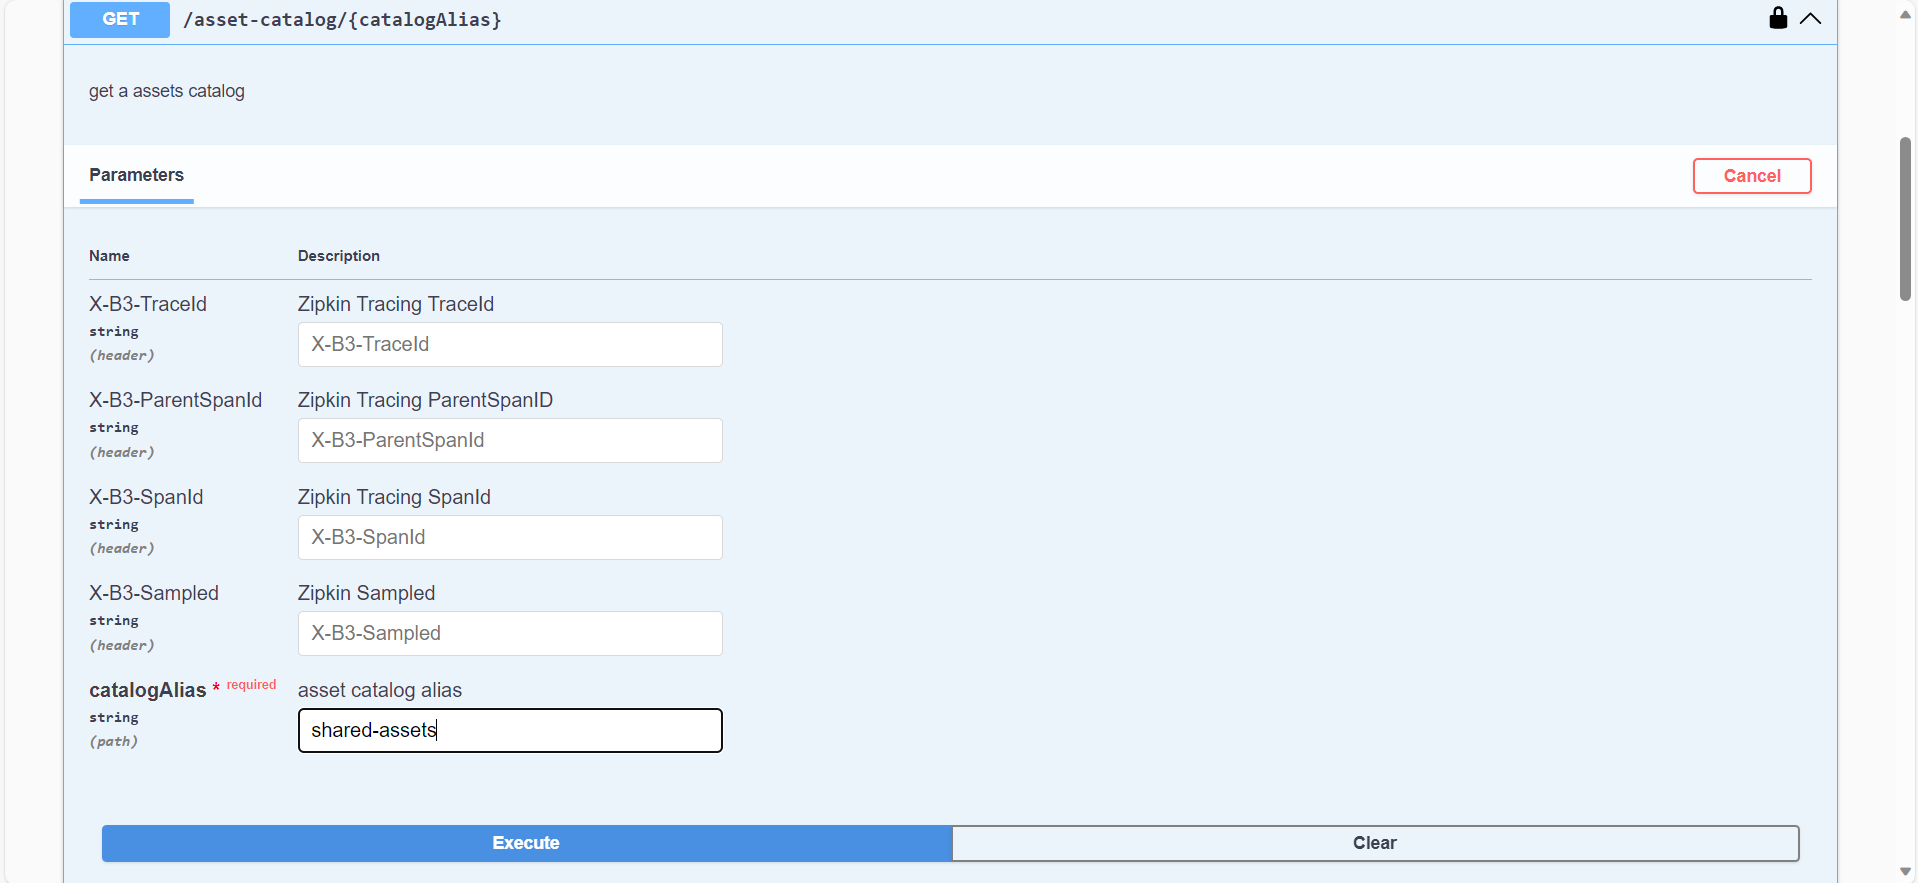
-
After executing the method successfully, you will get the following as a part of the output
- gitProviderAlias: the git provider alias, to import the project sources into.
- groupKey: group within the git, to store the project into.
- repositoryKey: name of the git repository, to store the project sources into.
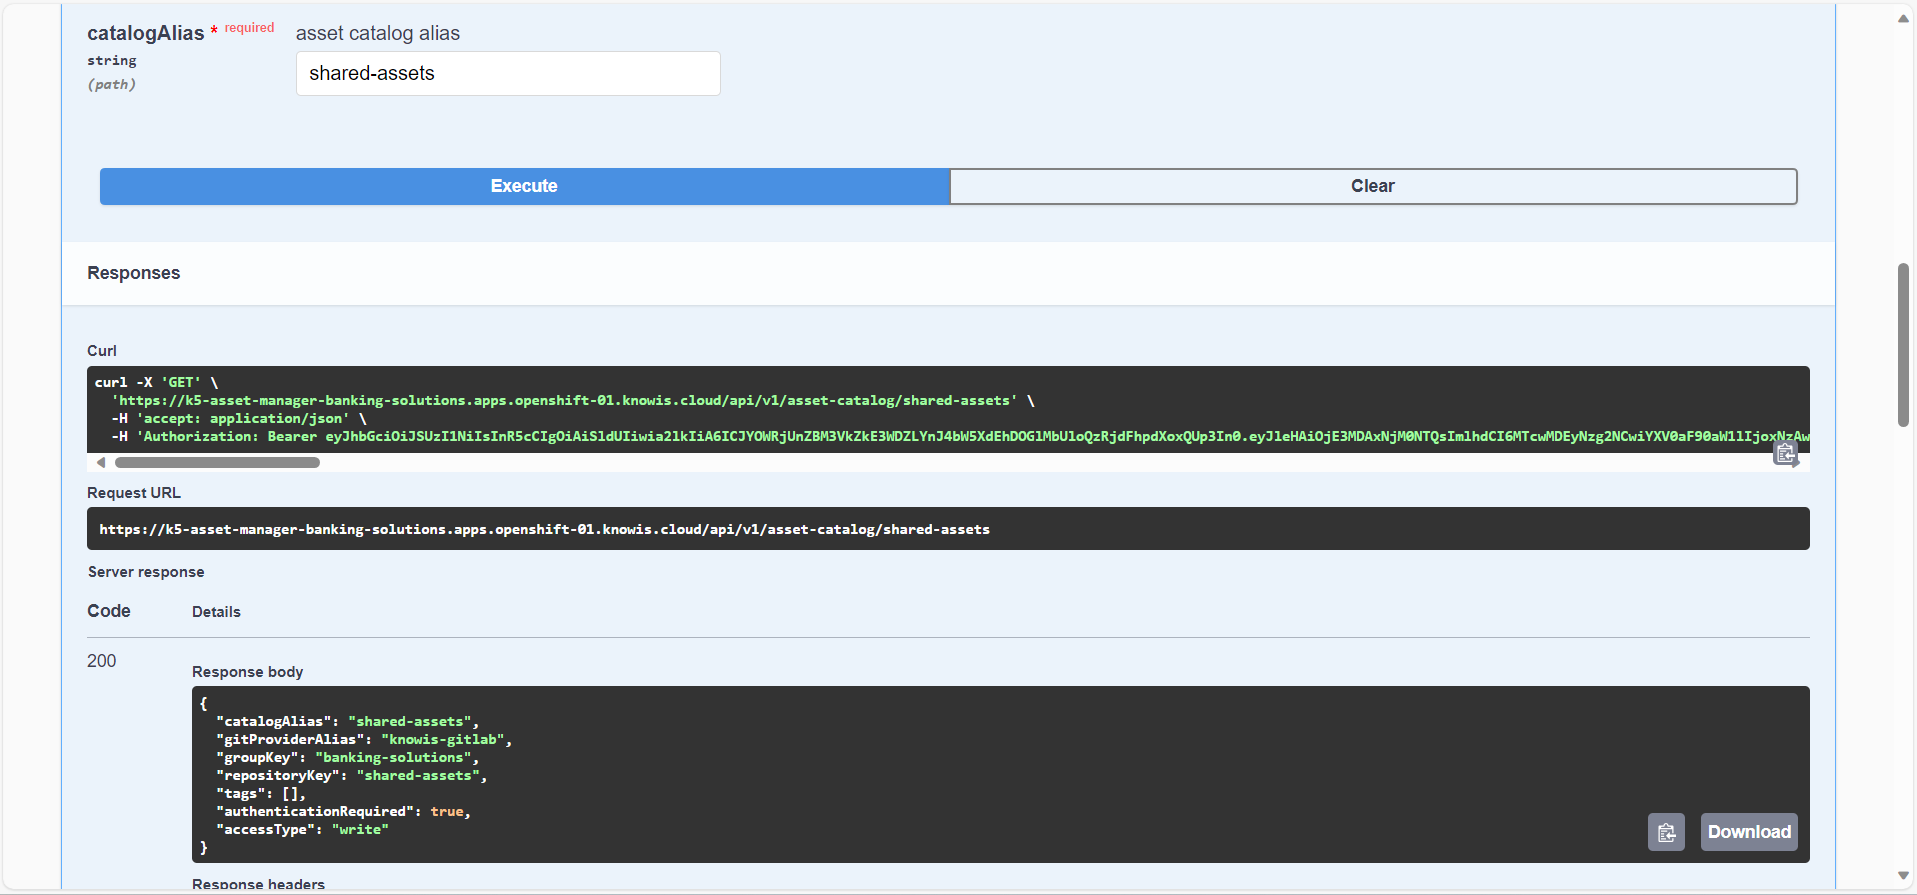
-
Open the Method
/{catalogAlias}/assets/importAsset. You need to click on Try it out then add your asset catalog alias name in the parameters.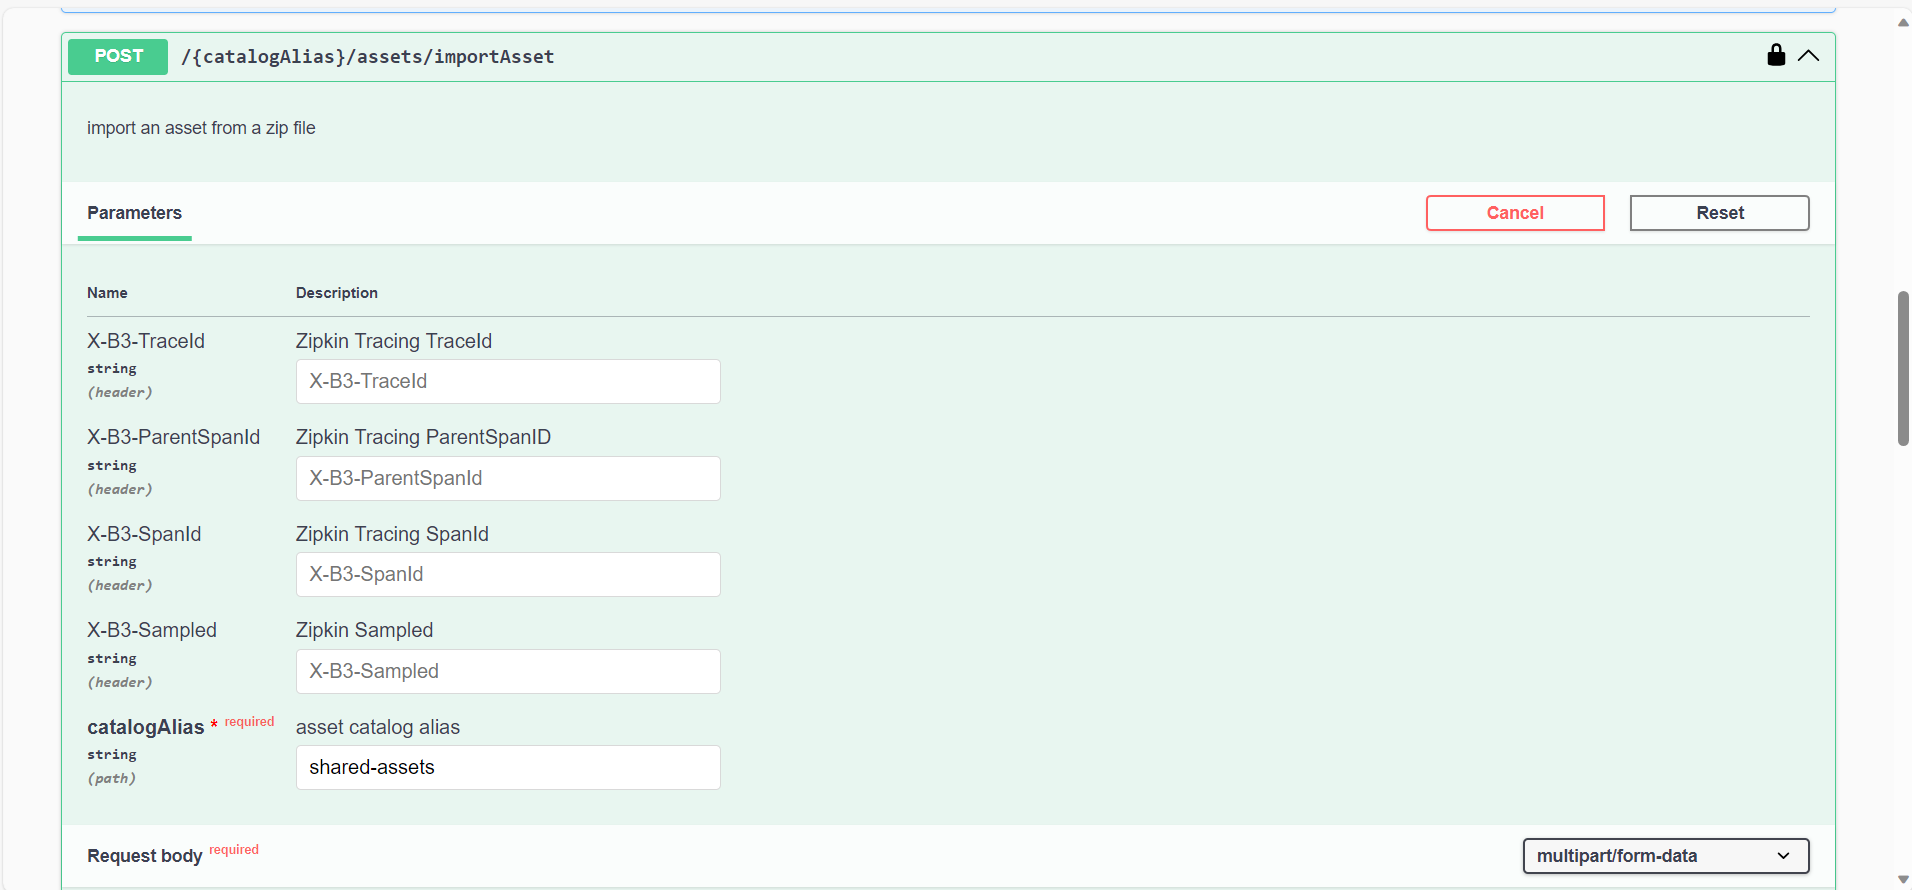
-
In the request body section, kindly fill the data as acquired in step 5.
- file: upload this NLRAC-2.1.3.
- gitProviderAlias: the git provider alias, to import the project sources into.
- groupKey: group within the git, to store the project into.
- repositoryKey: name of the git repository, to store the project sources into.
Then click on execute.
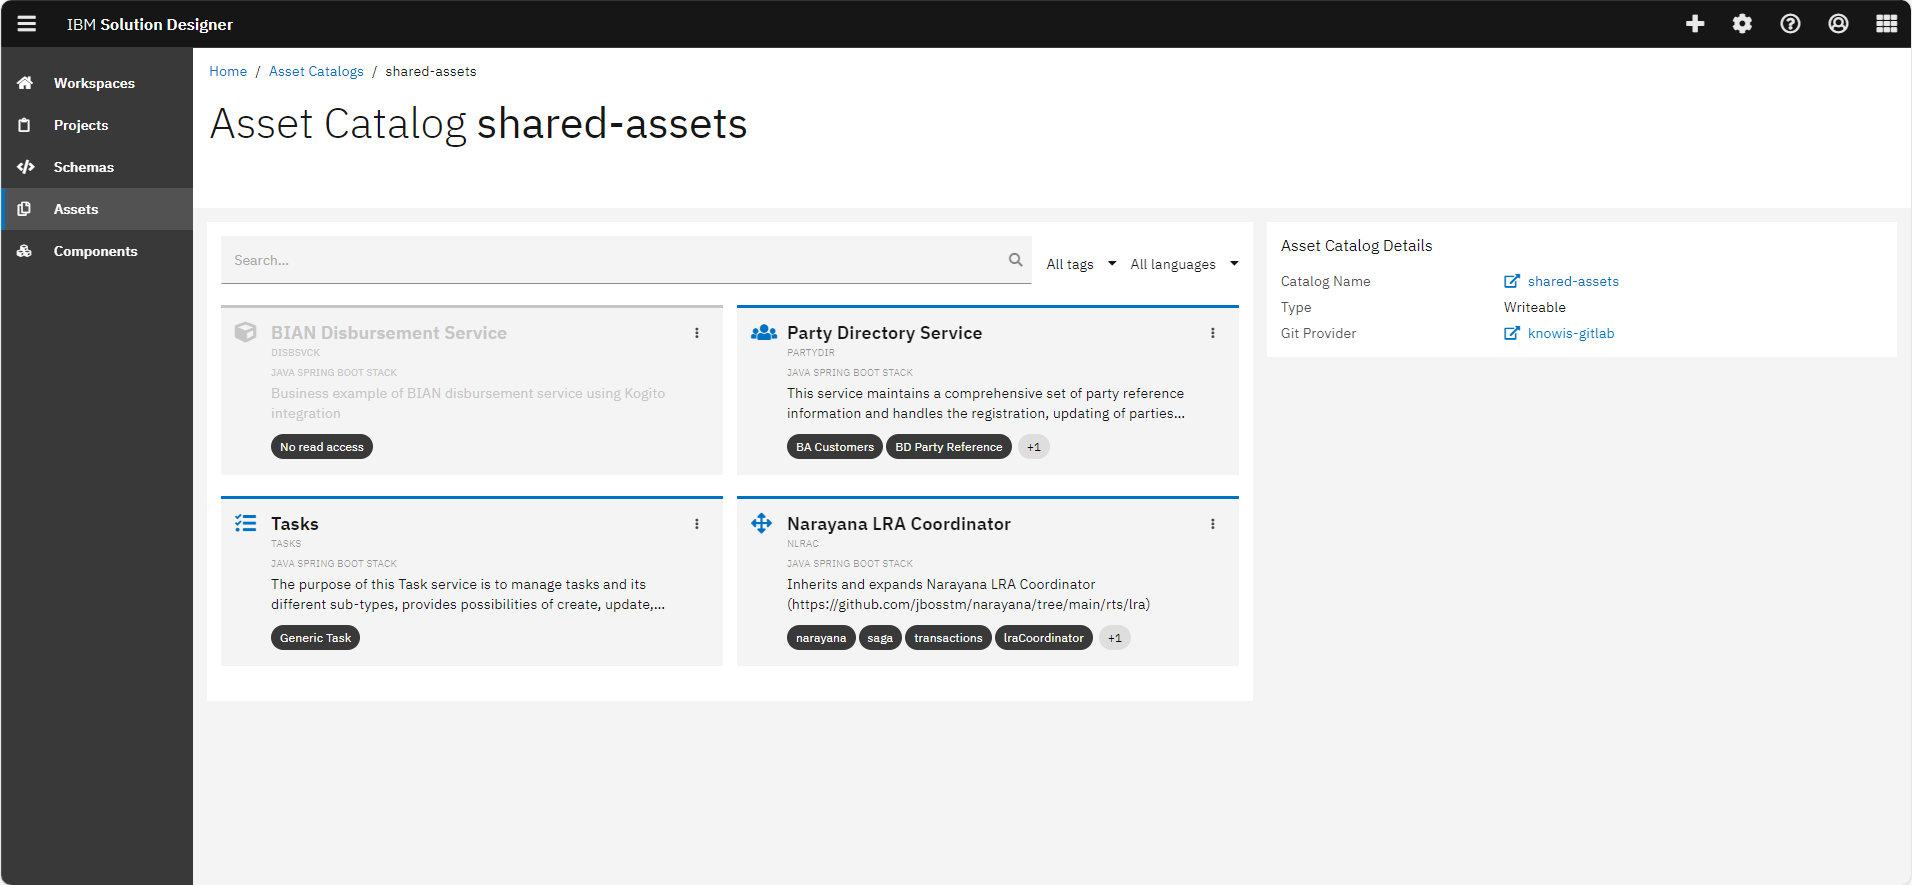
-
After the successful upload, go back to your solution designer and check your asset catalog to find the uploaded asset. You can also find the project sources within the git repository.
Create a project based on the imported asset
Preconditions
- You have successfully imported your asset into the asset catalog.
We will create a Saga application composition project. You can follow the same steps to create any type of project using the imported asset.
-
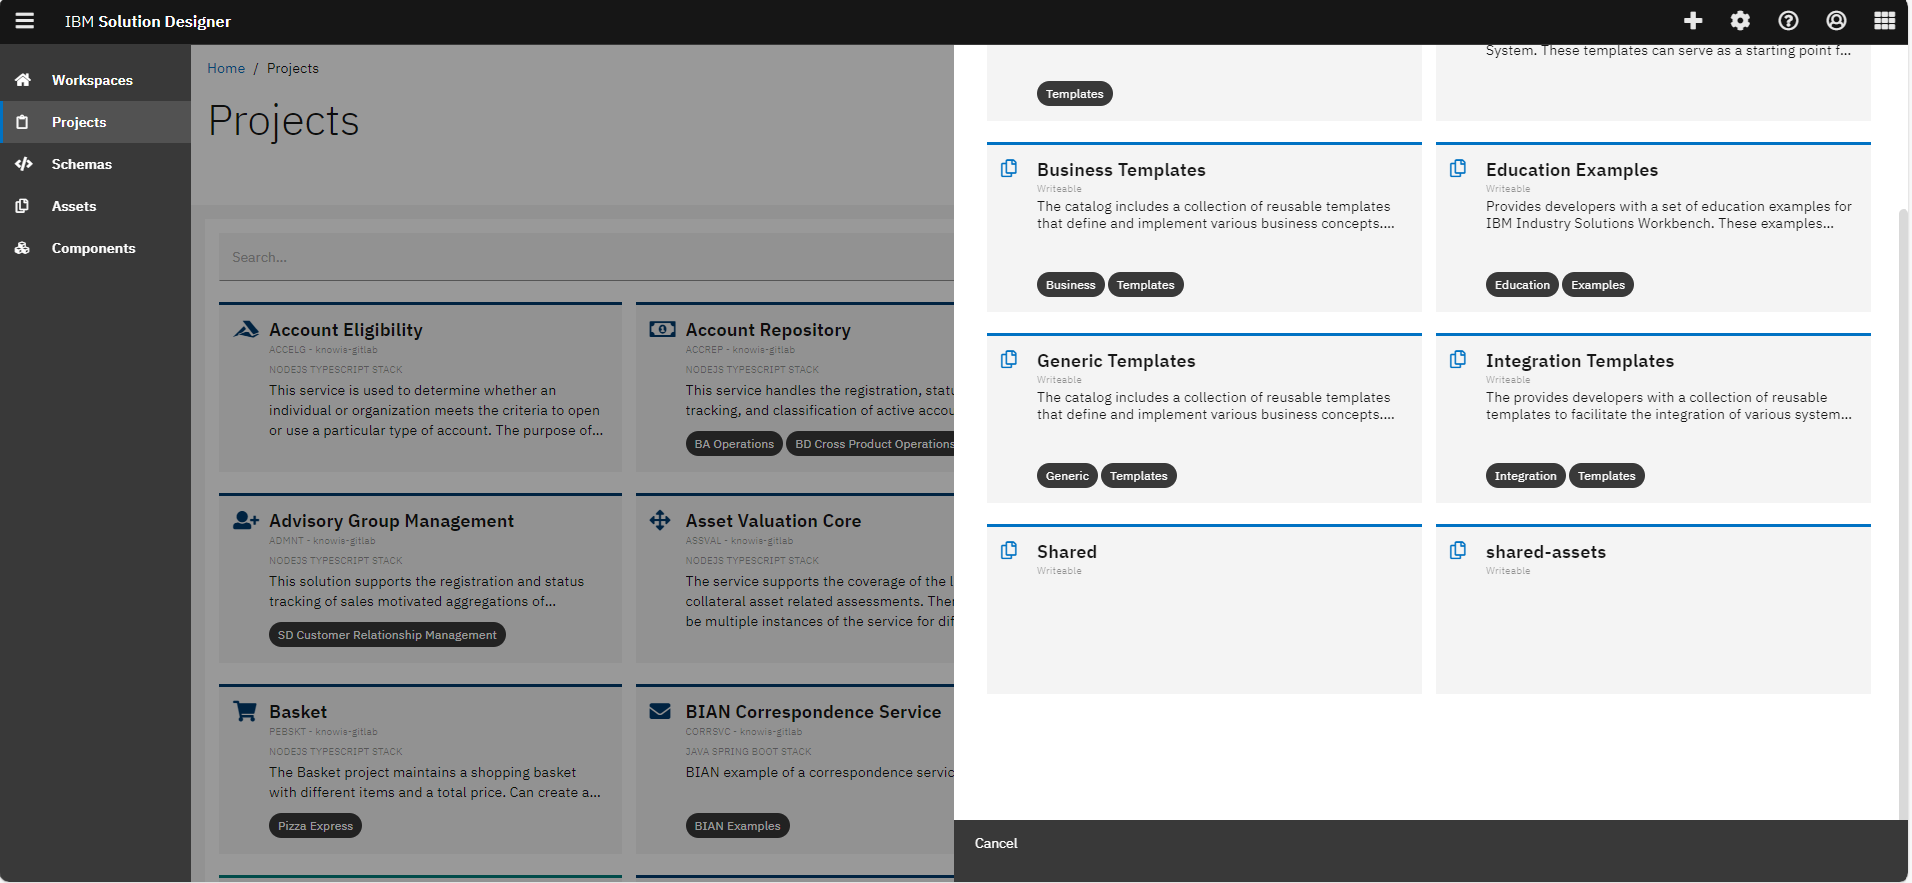
Open Solution Designer and click on 'create project from asset'.
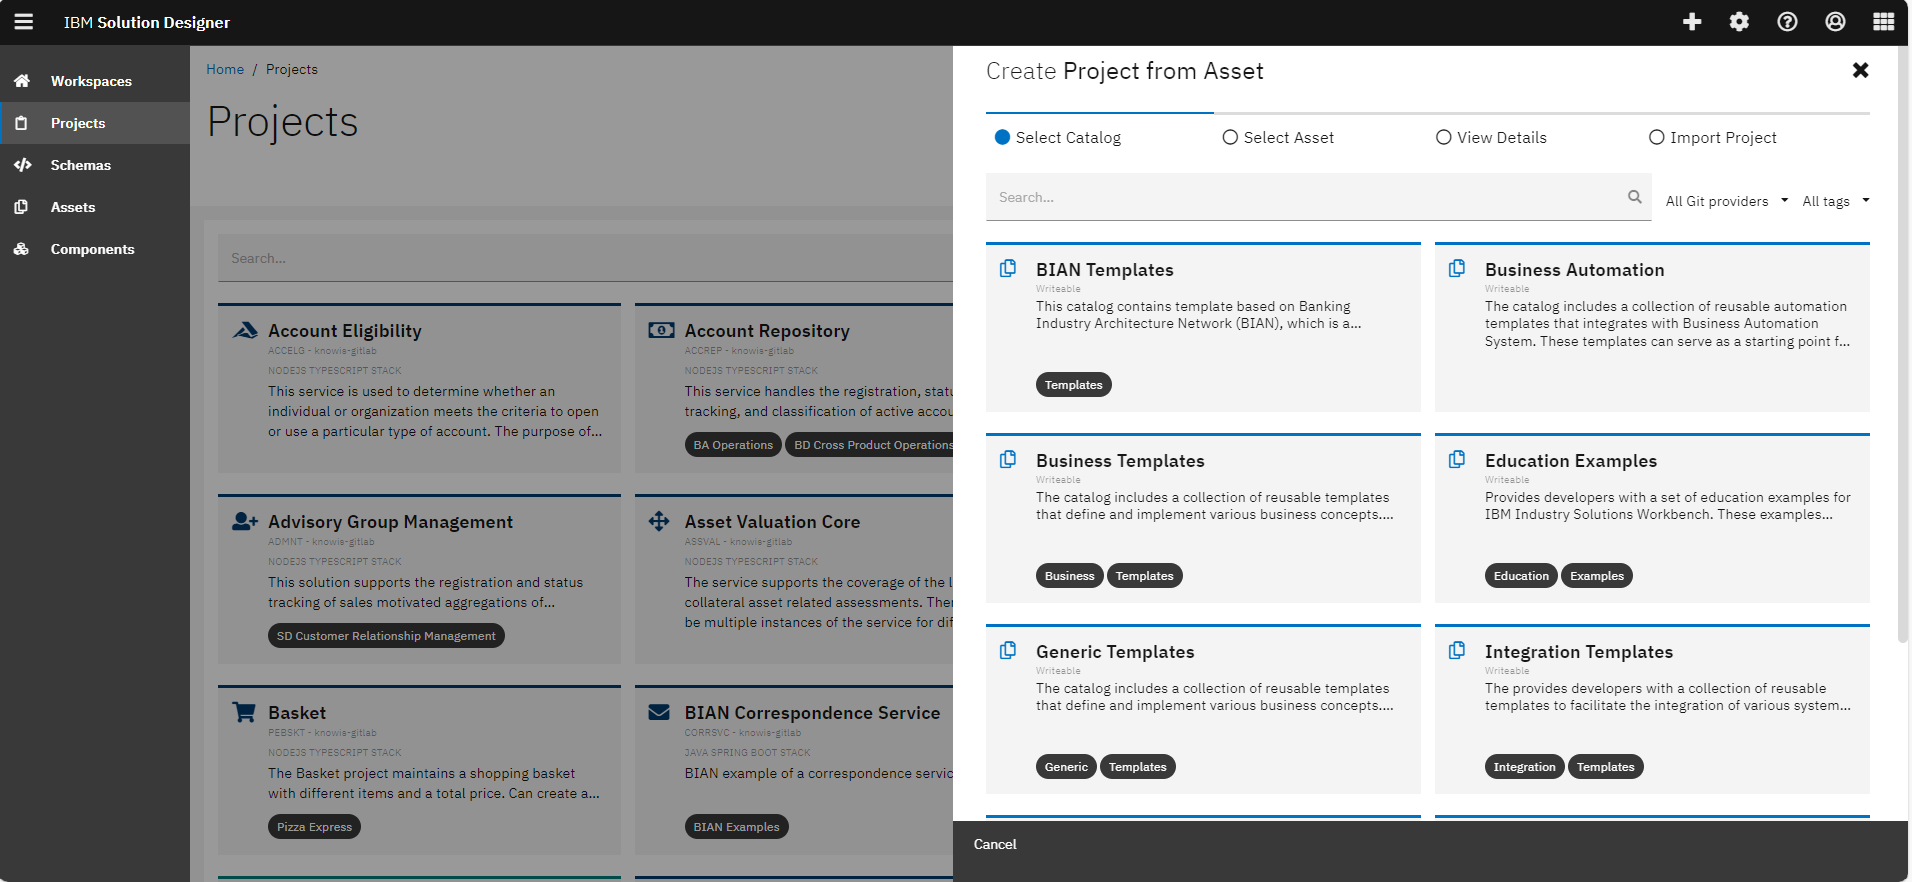
-
Select the asset catalog you imported the given zip file into. In our case, shared-assets catalog.
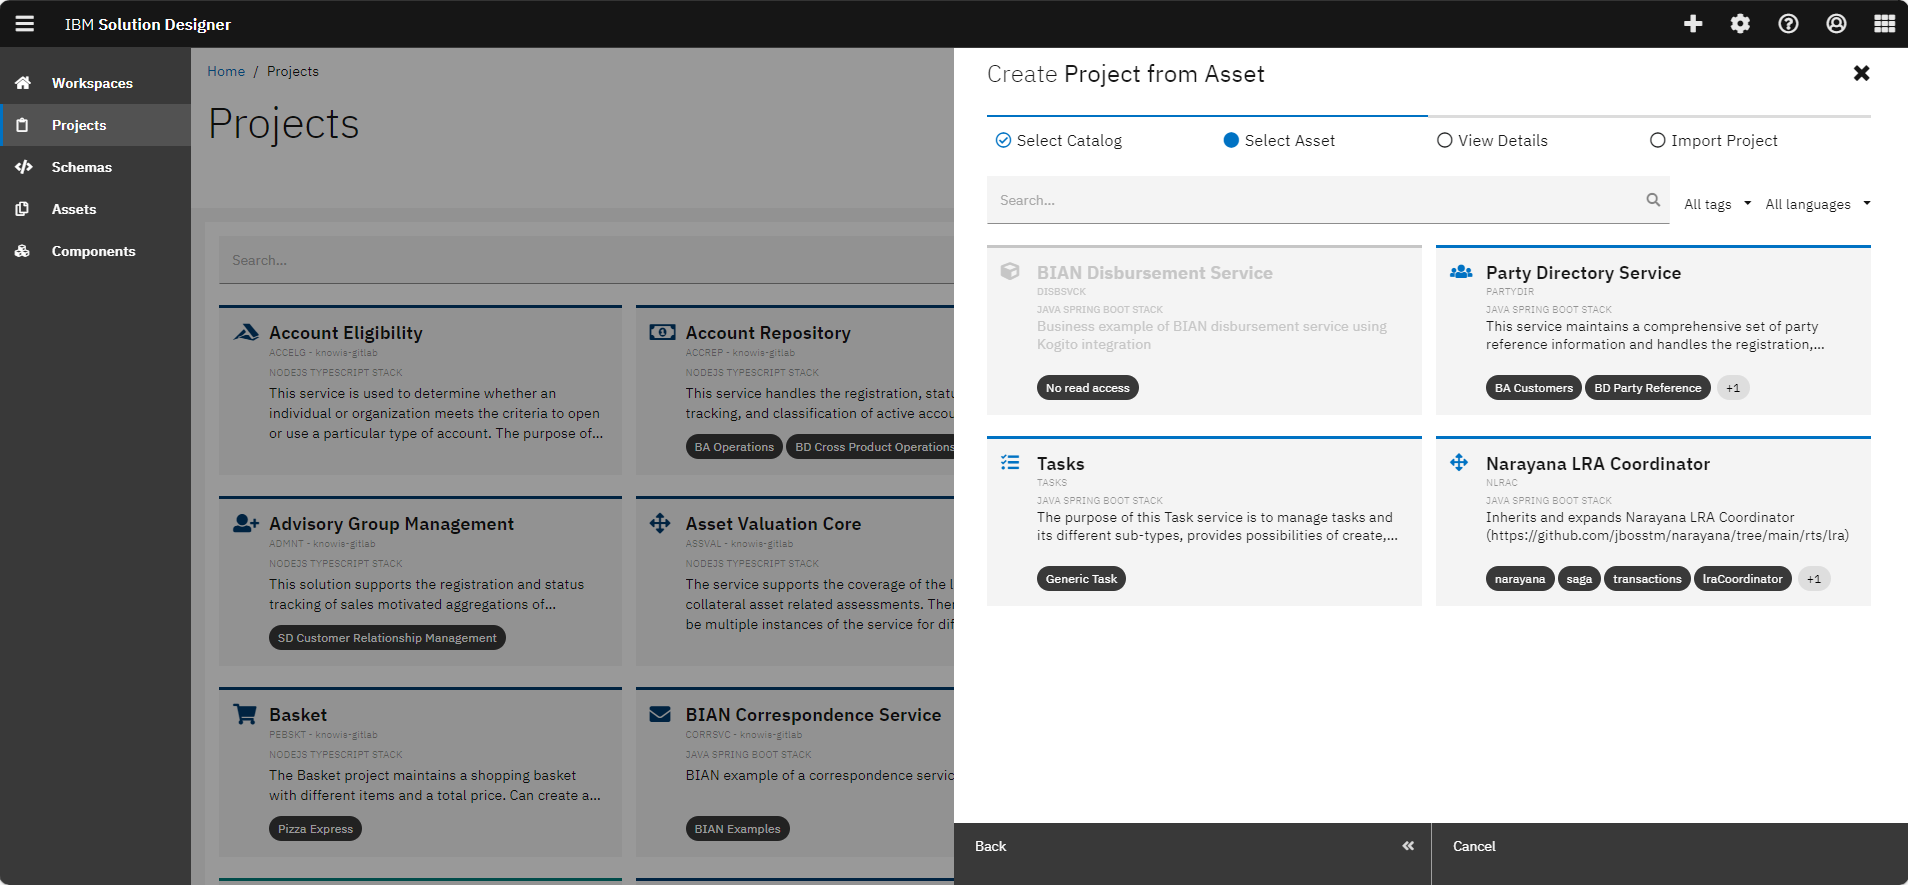
-
Select project 'Narayana LRA Coordinator'.
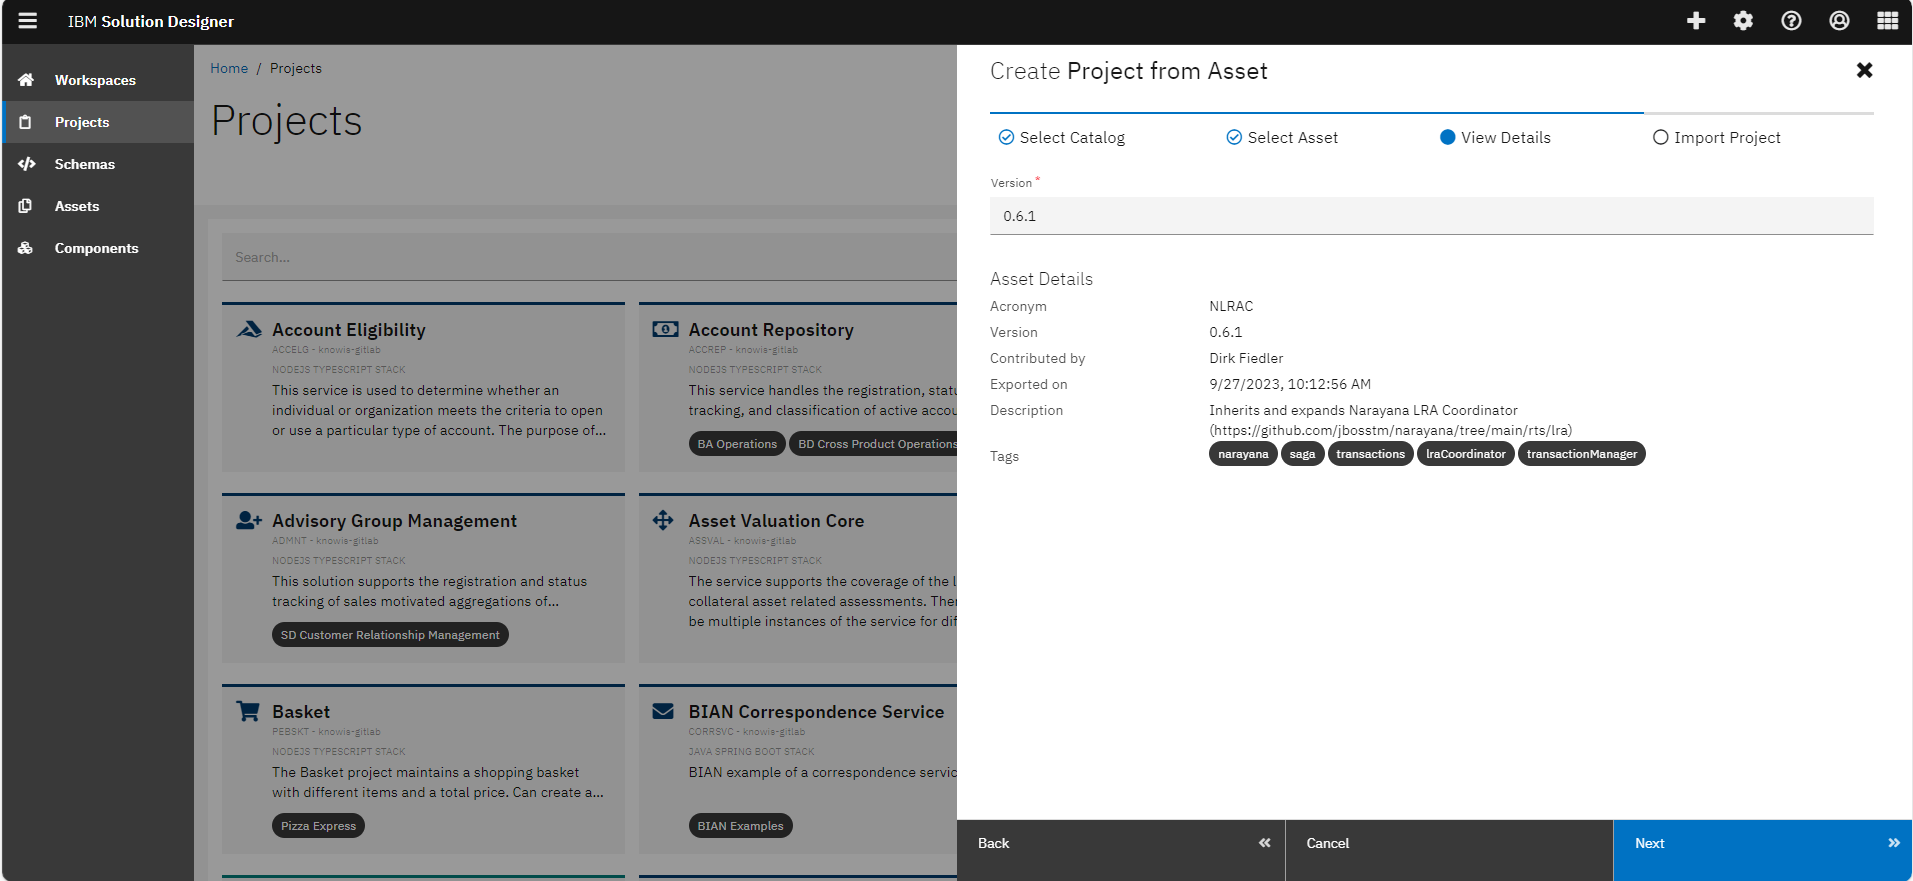
-
In this screen, you can see the details of the Asset
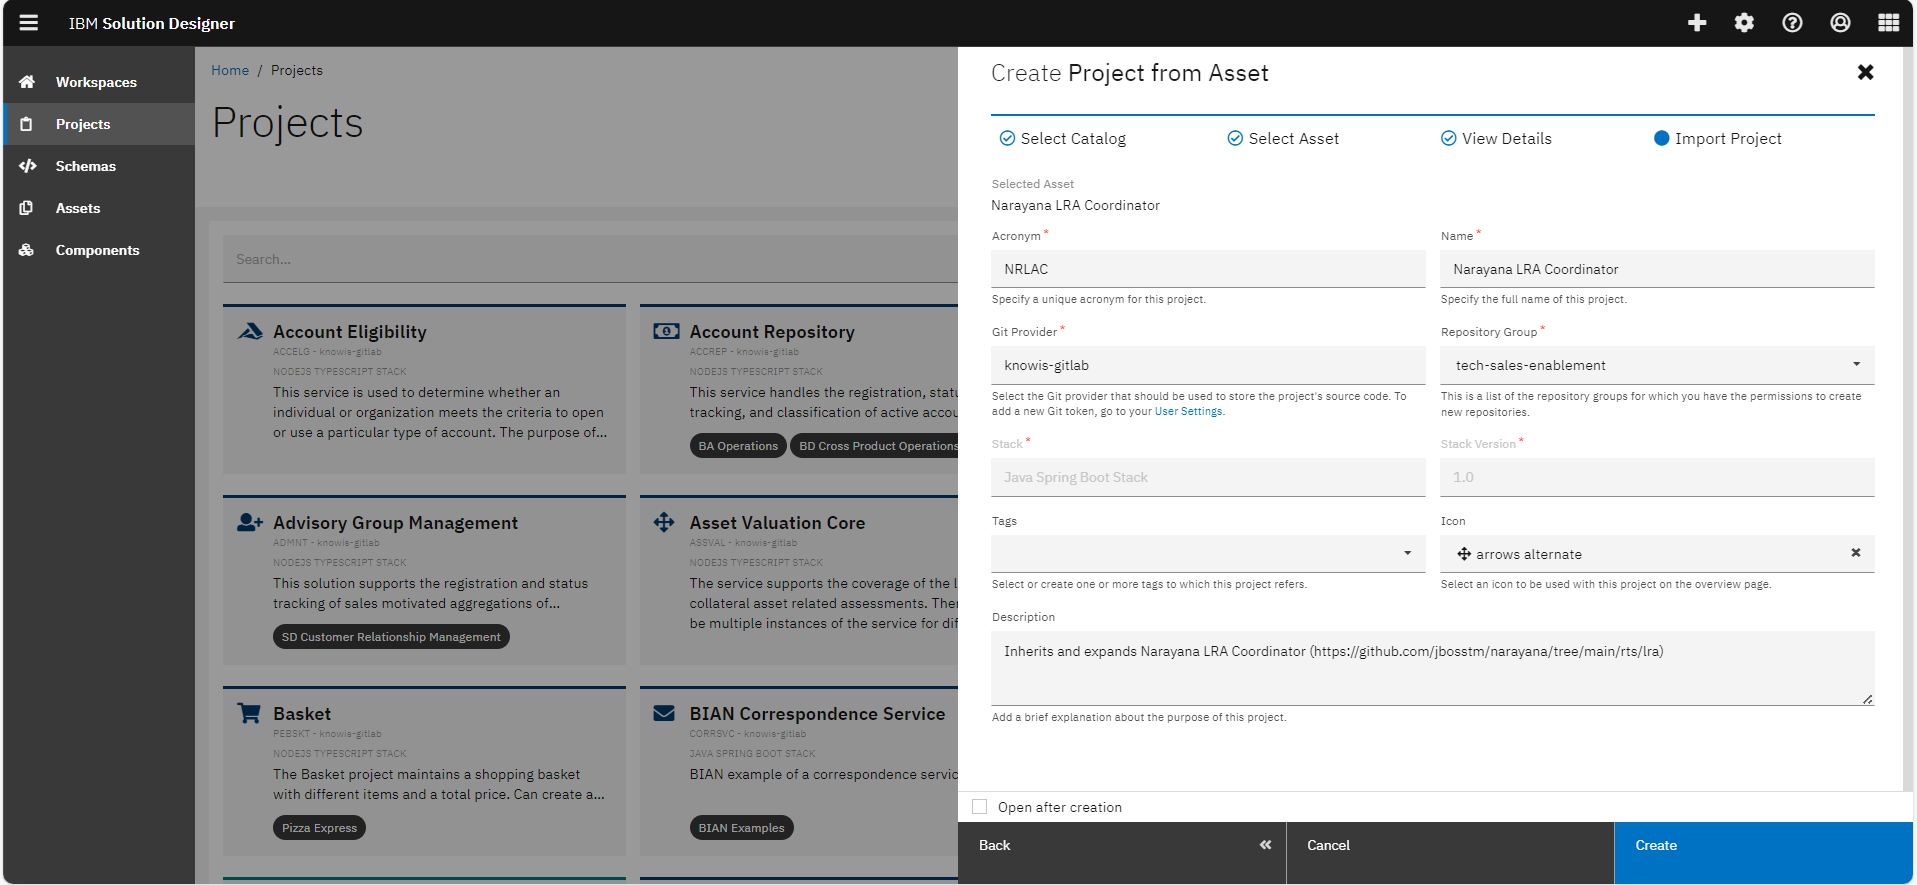
-
Use the acronym 'NLRAC' and specify the git provider data to store your project into and then click create.
-
Open the project and click on "CI/CD" to create and execute a release pipeline. Once the pipeline is created, it will automatically run.
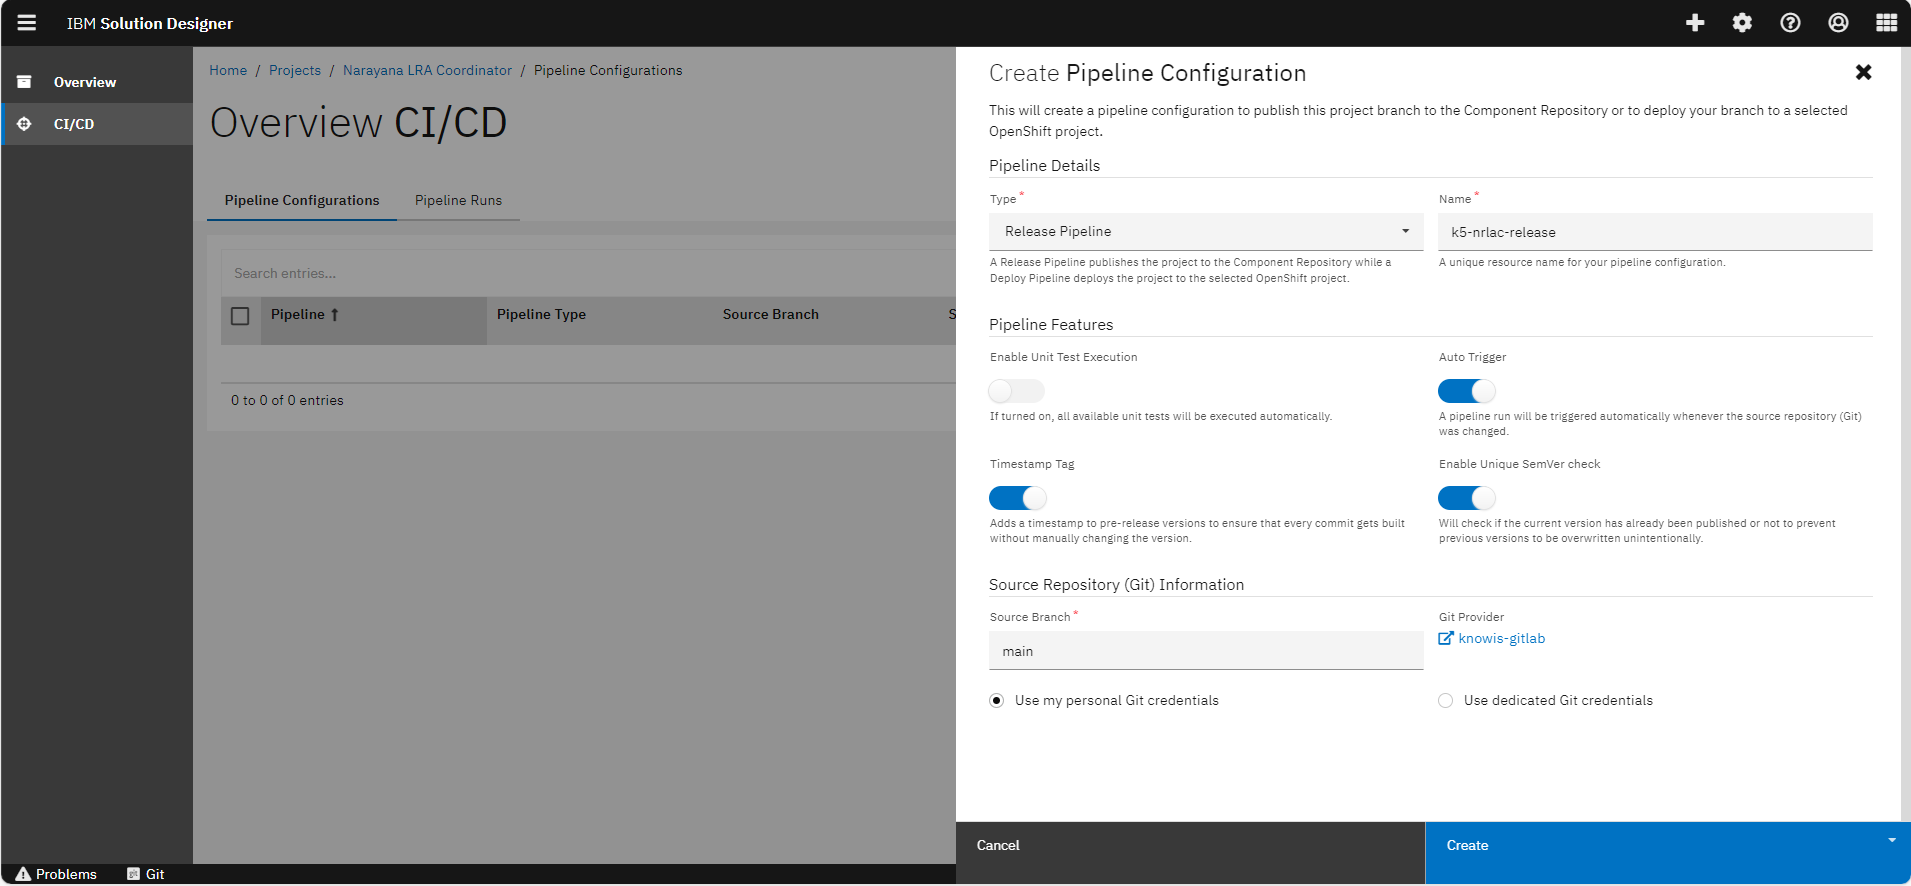
-
Wait for few minutes until the pipeline succeeds.
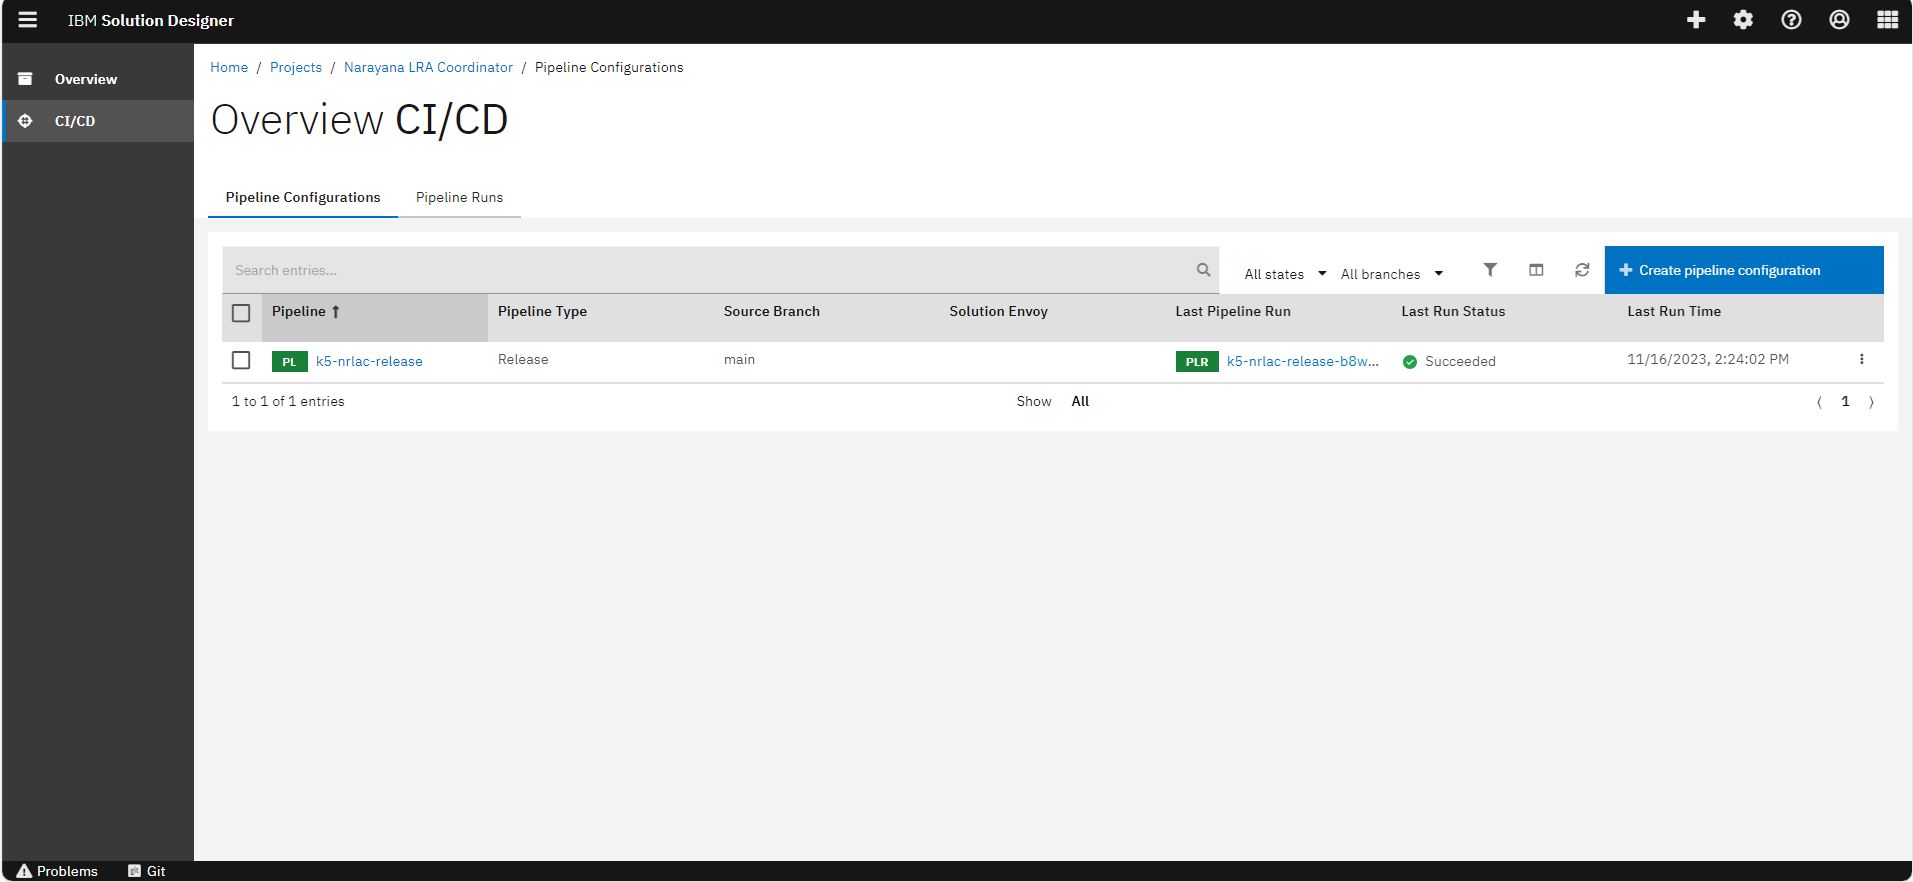
You have successfully imported an external asset (Narayana LRA-Coordinator) into Solution Designer Asset Catalog and are ready to use it to support your projects, in our case SAGA projects.
Related Links
Please find more information about Saga Pattern Support in the Workbench: