Use the Branching Feature in the Workbench
You want to try out something in your application without affecting anyone working on the same project. Solution Designer provides a branching feature so you can create your separate branch, design, model, and implement your own changes.
This feature is available only from IBM DevOps Solution Workbench version 4.1.0.
Description
This How-To will show you how to create and checkout different branches in your project and run a different pipeline without affecting the main branch.
Please note that the links to the workbench tools in this tutorial only apply to the IBM Education Environment we provide. If you are using a different environment, e.g. your own installation, you will need to navigate directly to the required tools.
Create and checkout a new branch
-
Login into Solution designer.
-
Open your project.
-
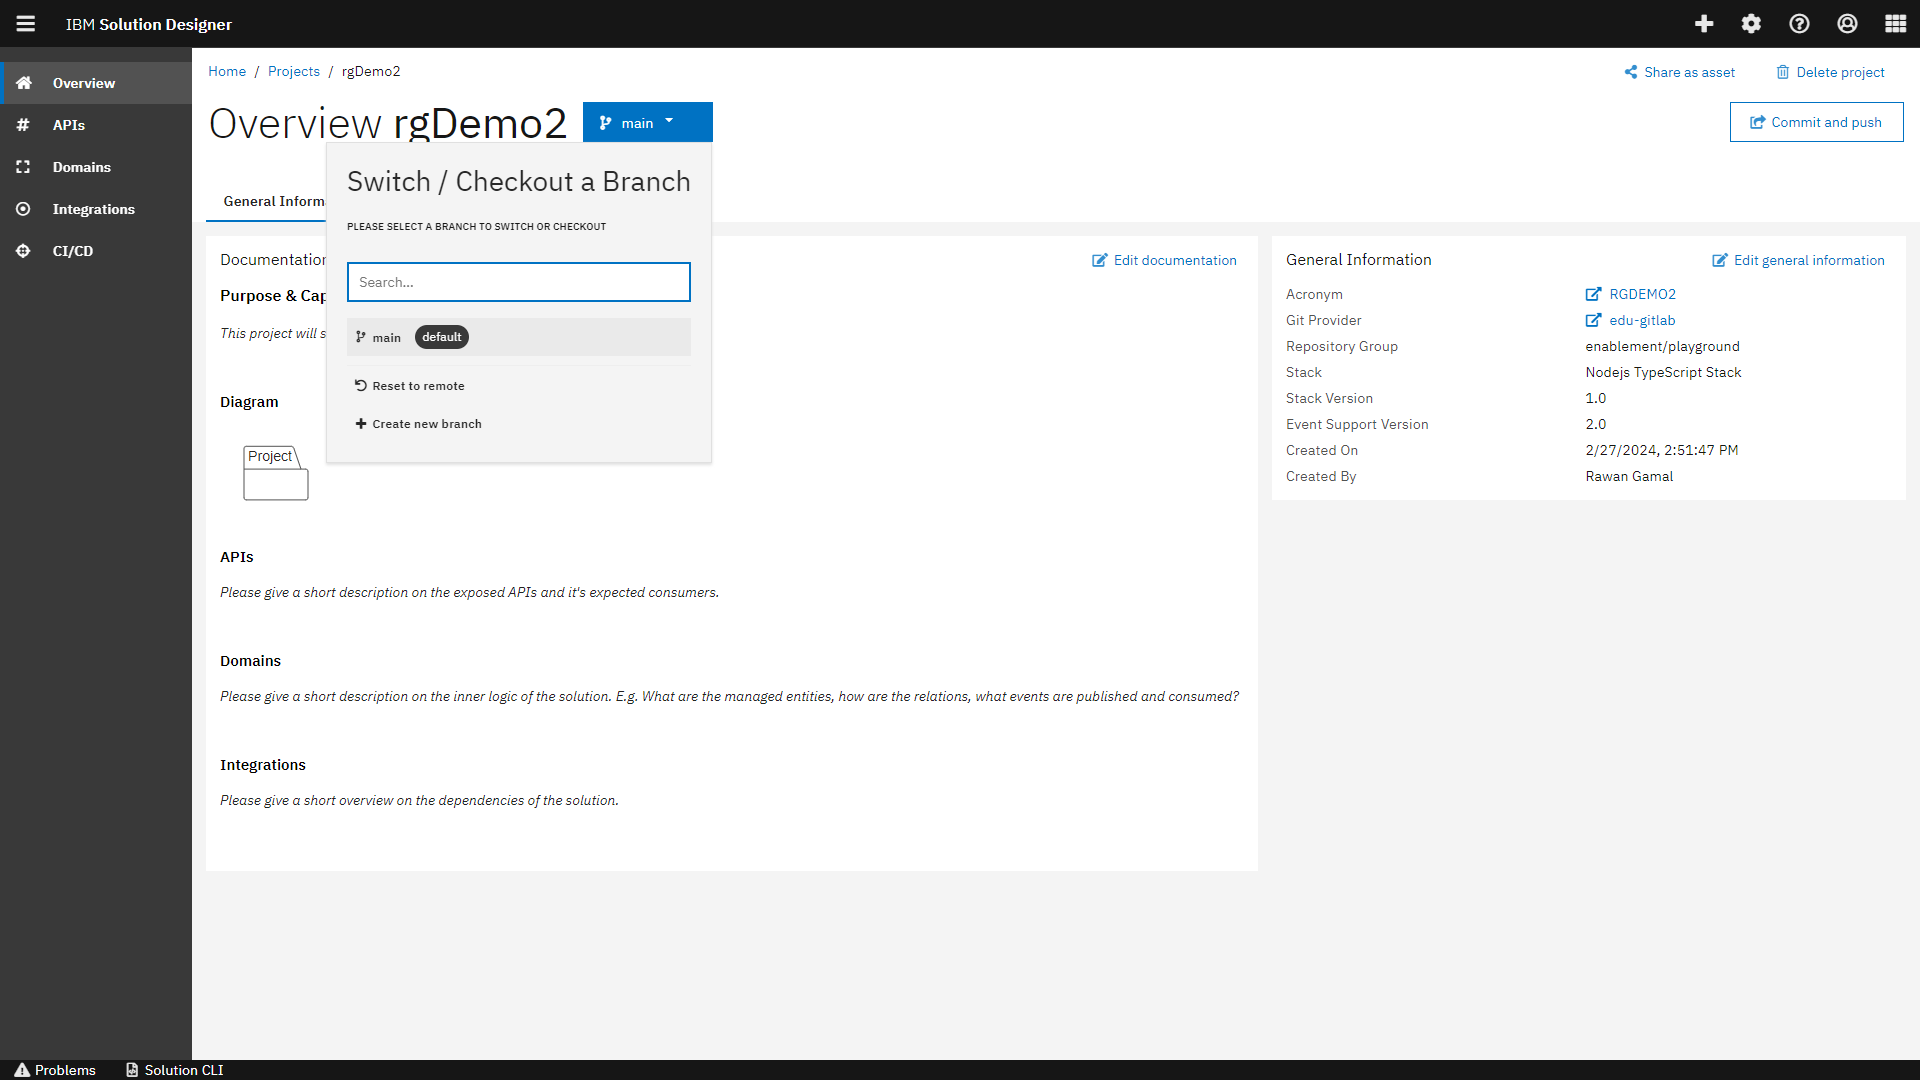
The current branch you are working on is shown next to the header of each page. The default branch will be opened automatically.
-
To create a new branch, click on the current branch and select create new branch from the drop down. This will automatically redirect you to the project's repository and then you can create it manually.
Please contact your administrator for the access rights.
-
Go back to your project in Solution Designer, refresh your project.
-
To checkout the newly created branch, click on the current branch and a list of all created branches will appear. Select the desired branch to checkout and confirm switching branch.
- In case you checkout a branch that no longer is available in the repository, you will get a hint and be able to delete the local (checked out) branch by confirming the info.
- The created branches can be accessed by several users at once.
Commit your changes to the branch
In order to commit and push changes to the remote Git repository, use the Commit & Push button. Once your commit is done, an auto-merge with the current state of the remote branch happens automatically. In case the merge fails, you will get a failure notification and details about what went wrong. To resolve conflicts, you must do it manually where you will create a new branch based on the local branch in the repository.
Reset to Remote
In case you want to fall back to a saved state in the repository and overwrite your local changes, you can use the Reset to remote function. Click on the checkout action to open the drop down menu and select Reset to Remote. This will automatically discard all unsaved changes in your current local branch and retrieve the latest saved state.
Please be aware that all the local changes can not be restored.
Run branch pipeline
If you want to release or deploy your changes, you need to create a new pipeline for the newly created branch. Please follow these steps:
-
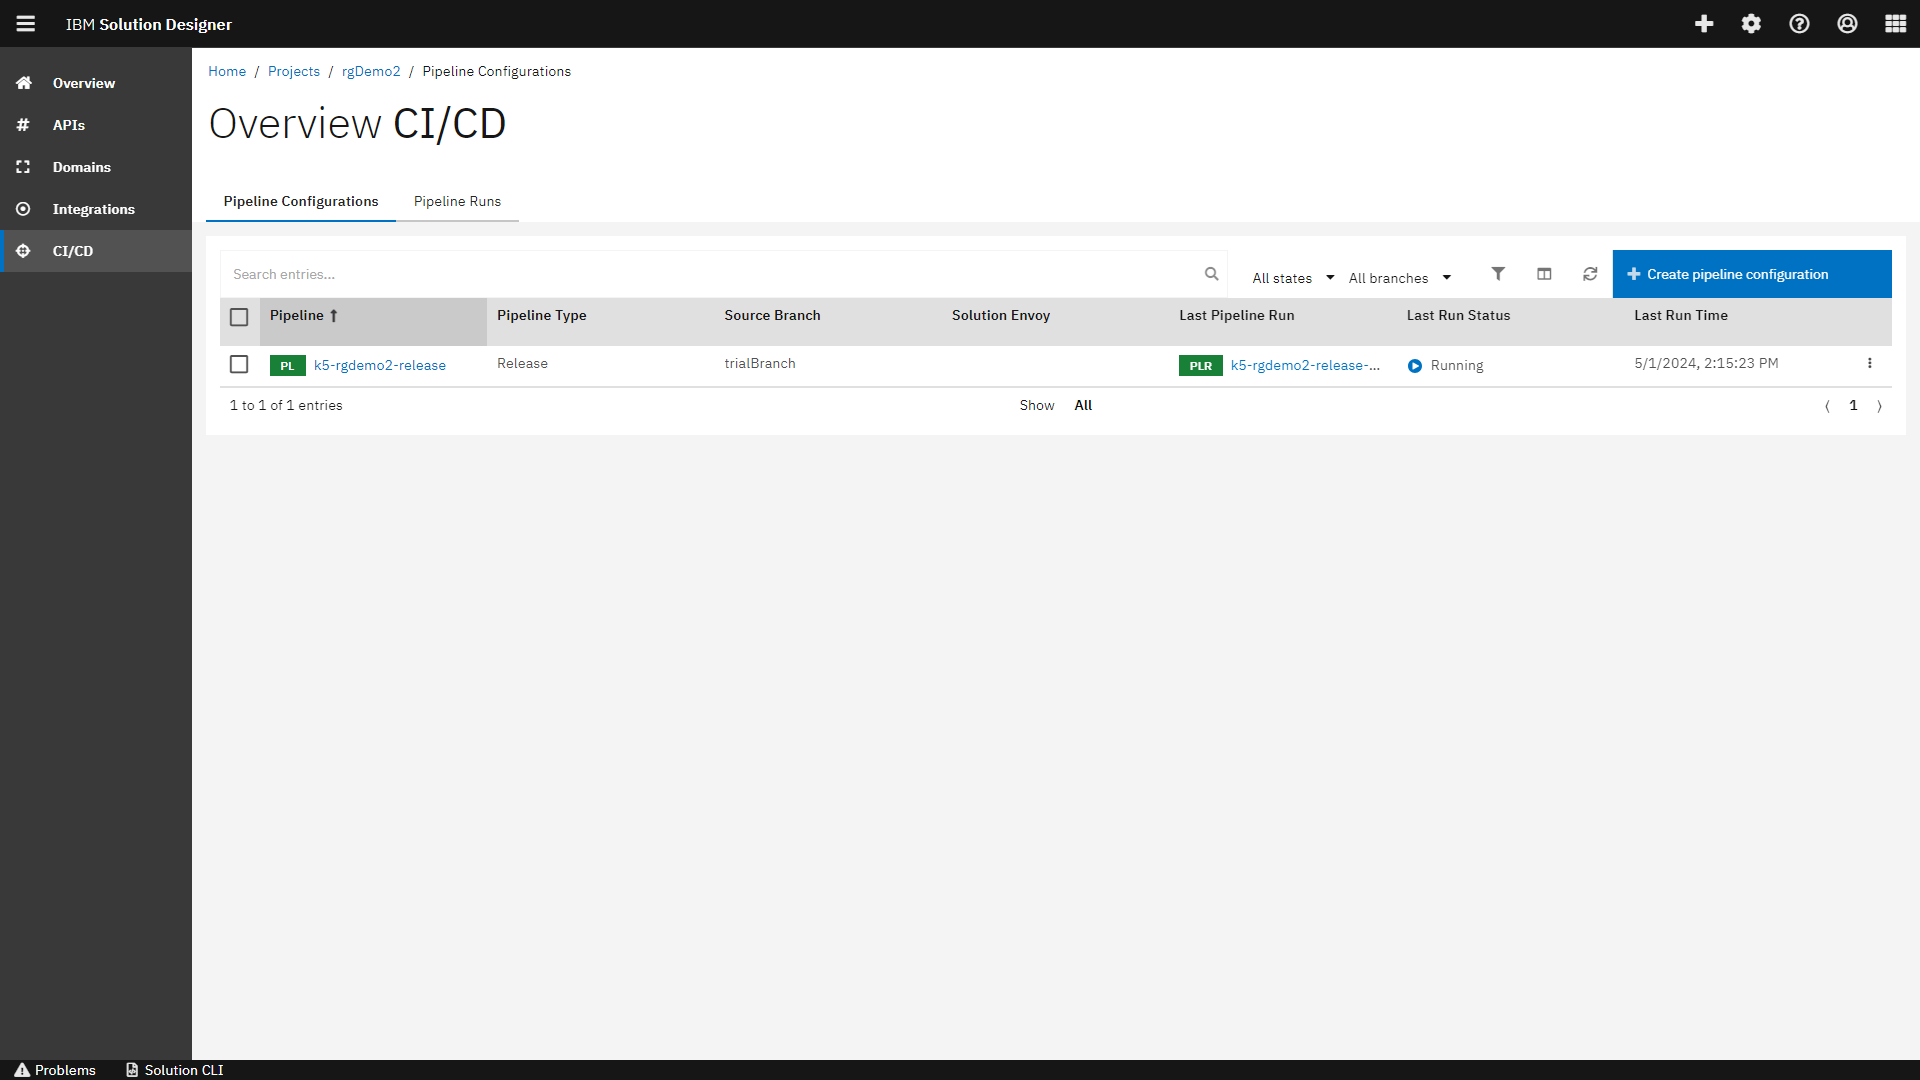
Open the CI/CD section in your project to view the current pipelines.
-
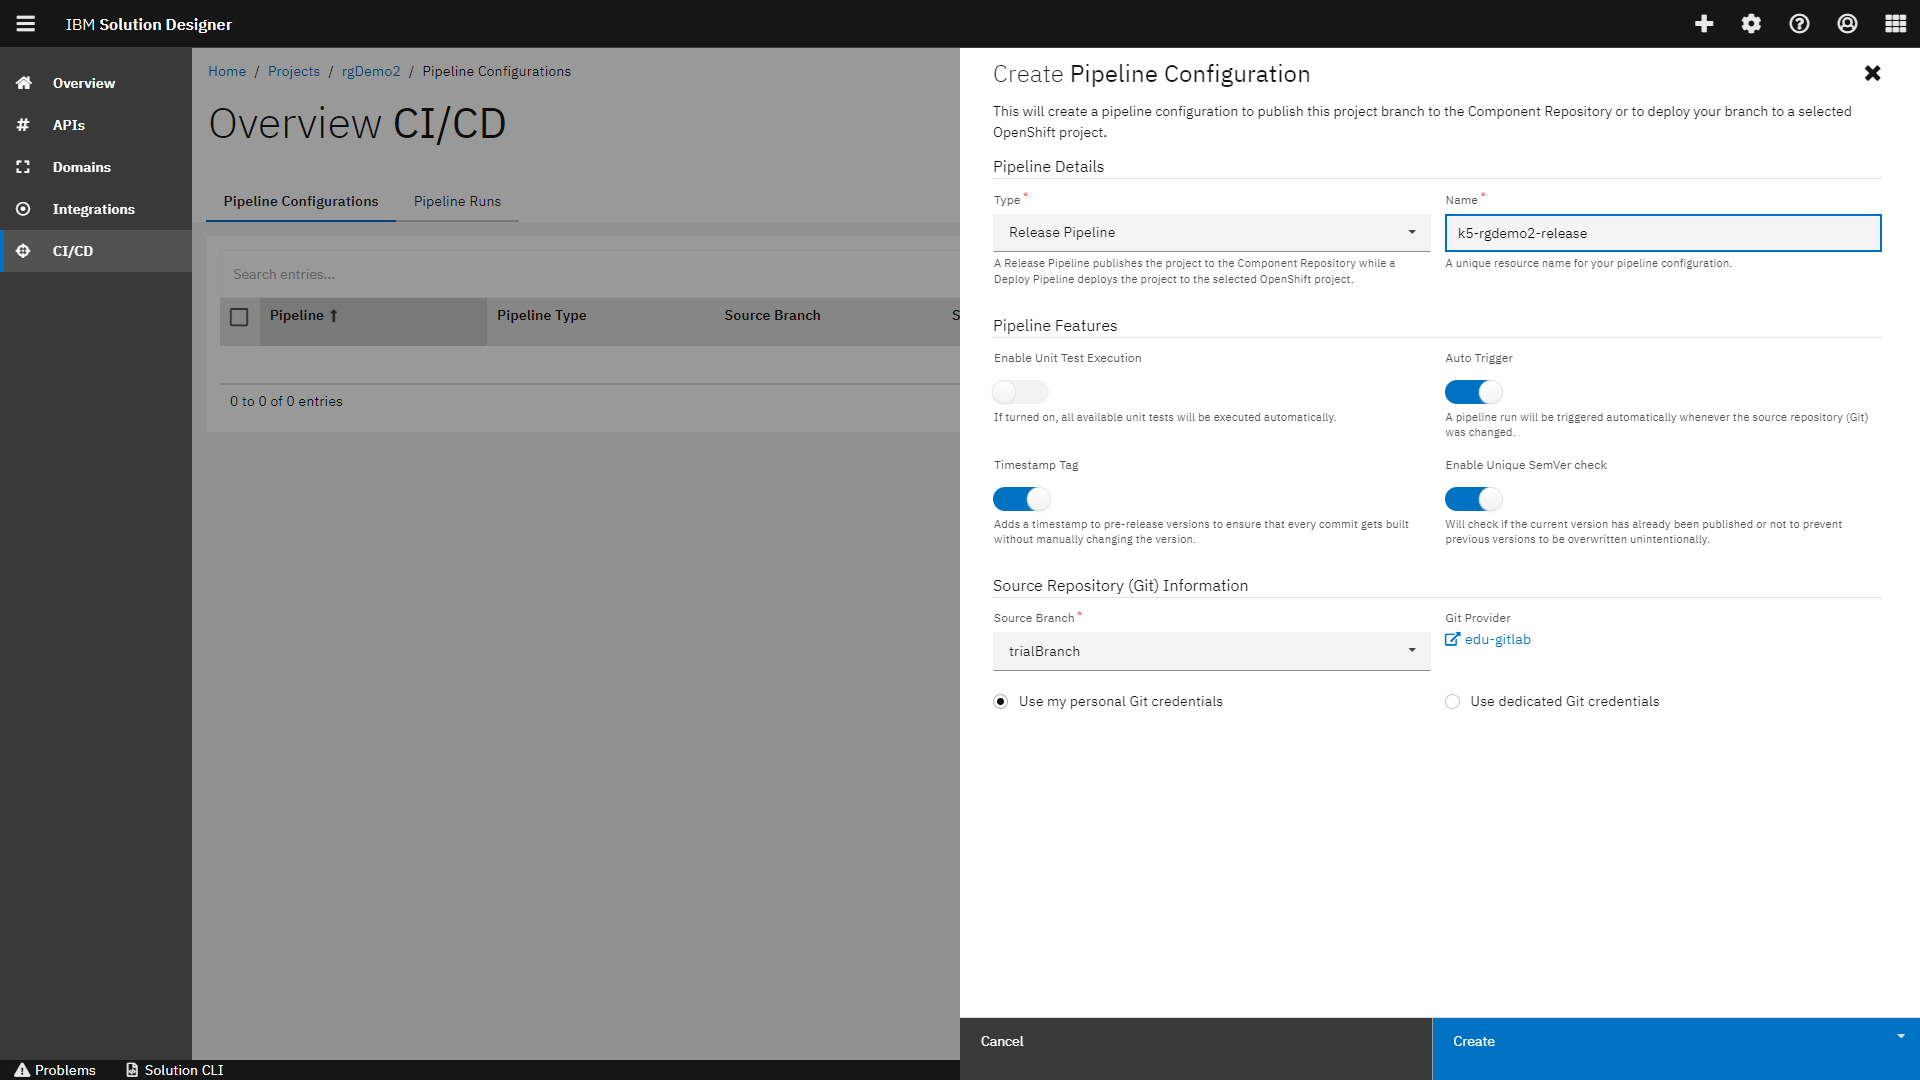
Click on create pipeline configuration.
-
Fill in the required data and make sure to select your branch in the Source Branch field.
-
On click create, the pipeline will automatically run against the selected branch.
You have created a new branch within your solution, made changes, committed and pushed the changes and run your pipeline successfully against the new branch.