Use a different OIDC Provider
You want to use a different Identity provider than the default one.
Description
This How-To will show you how to configure a different Identity provider for your deployed services by setting up the necessary configurations in the k5-Project configuration and applying it on your services.
Preconditions
- OIDC Support: Your Identity Provider supports OIDC and has implicit flow enabled
- Information Access: You have access to the required OIDC provider information (Client ID, Secret, URIs)
To know more about OpenID Connect (OIDC), please check the official documentation.
Step-by-Step Guide
The following steps apply for Domain Service projects only. For Basic service projects, this needs to be implemented explicitly.
General Steps
- Gather OIDC Provider Information:
- Client ID
- Client Secret
- Issuer
- JWK URI
- User authorization URI
- Token URI
You may need to contact your admin to get the needed information
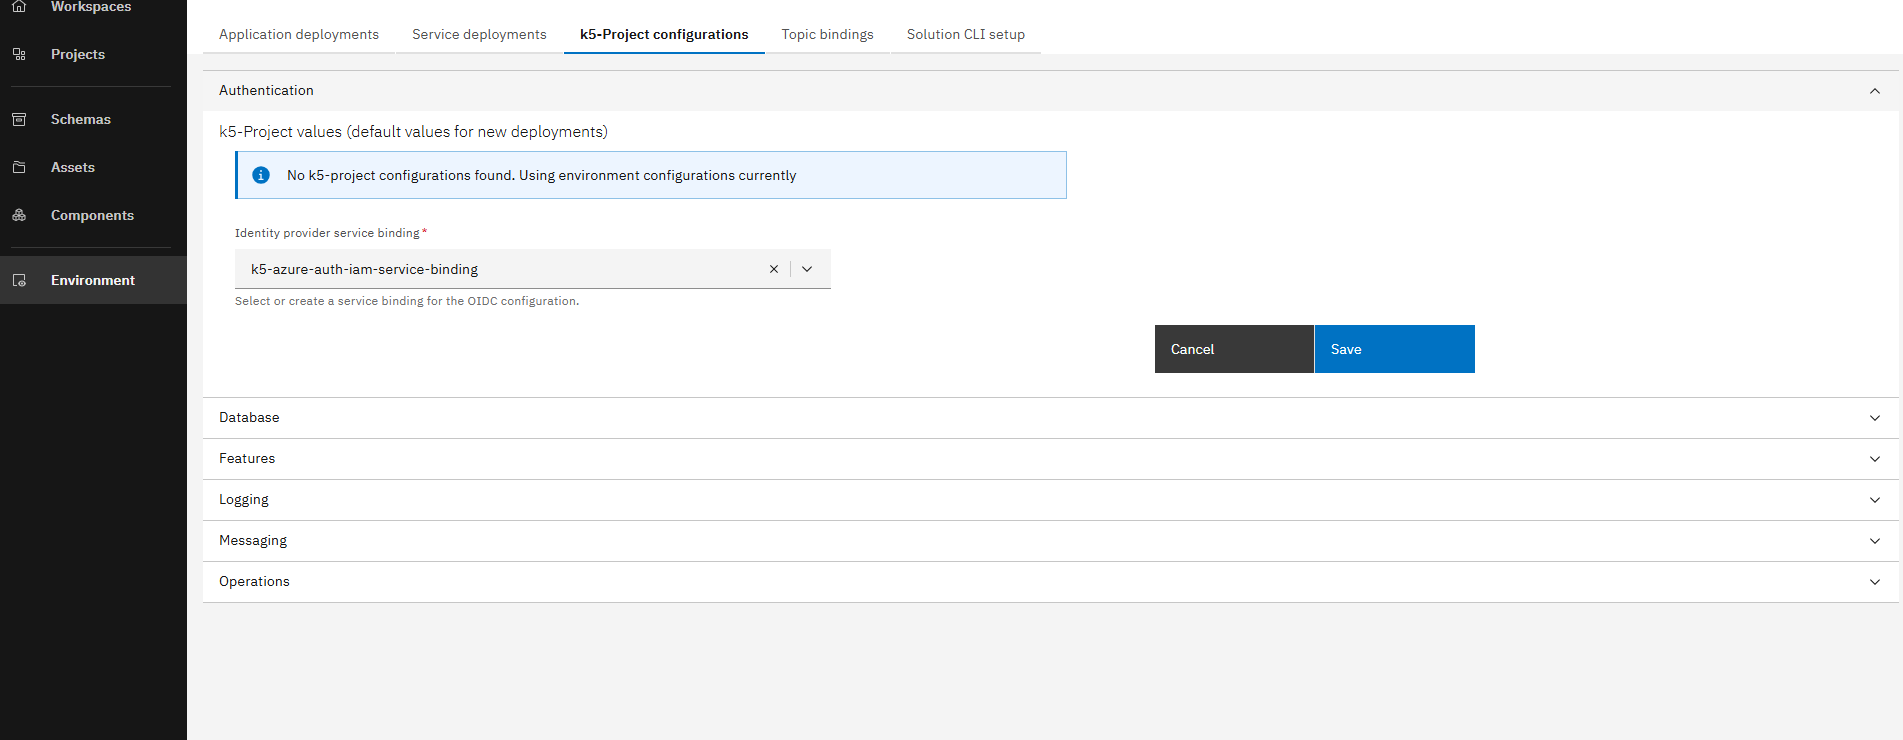
- Navigate to Authentication Settings:

Go to the Environment page. Open your deployment target that you want to apply the change on
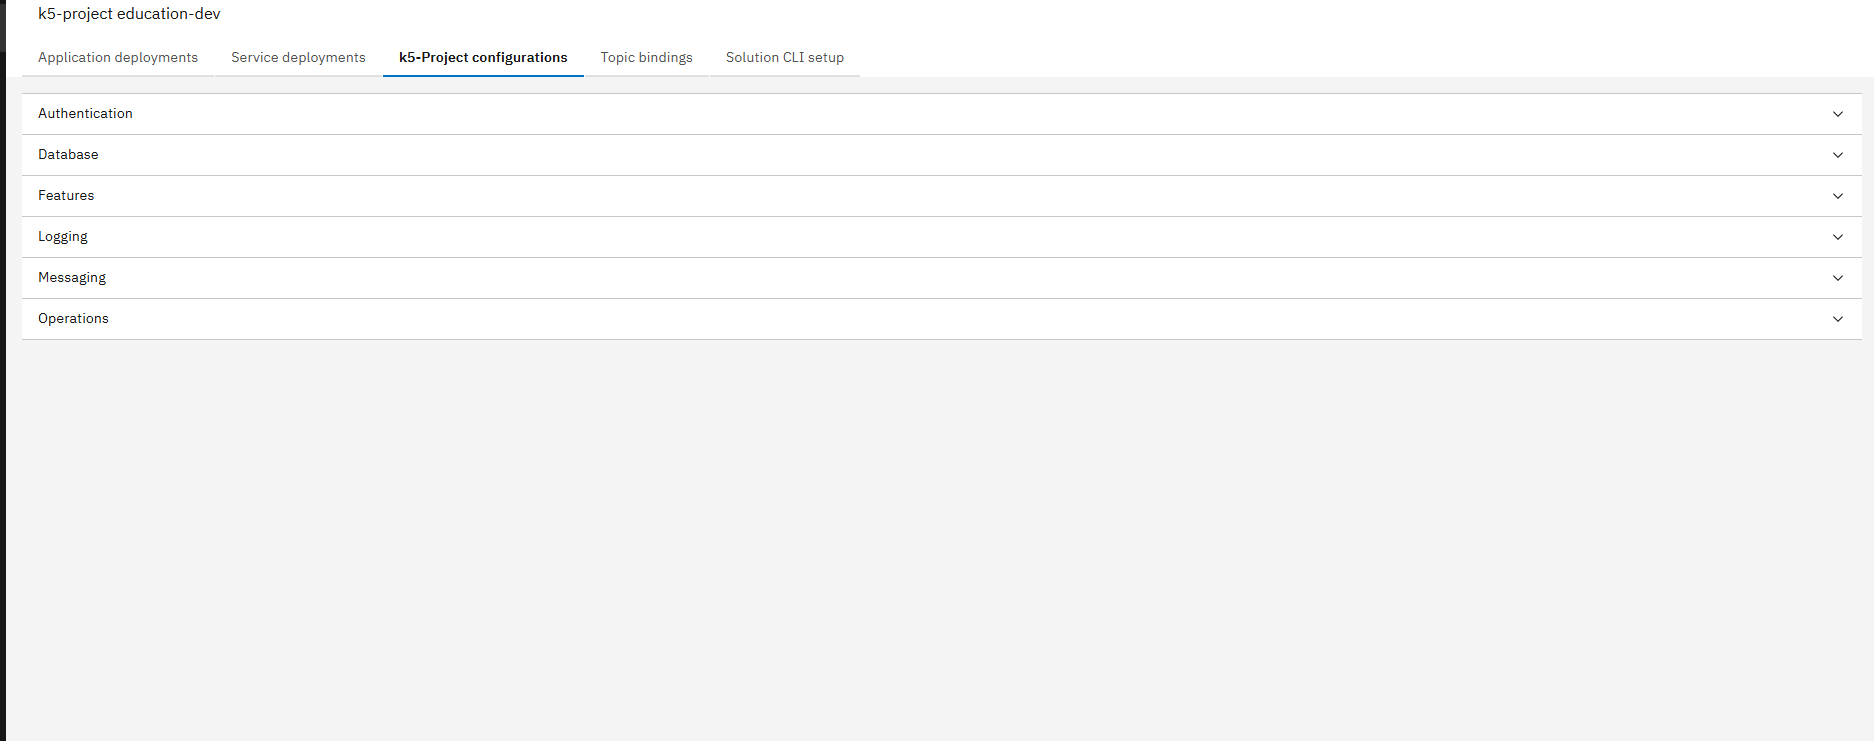
Navigate to k5-project-configurations tab
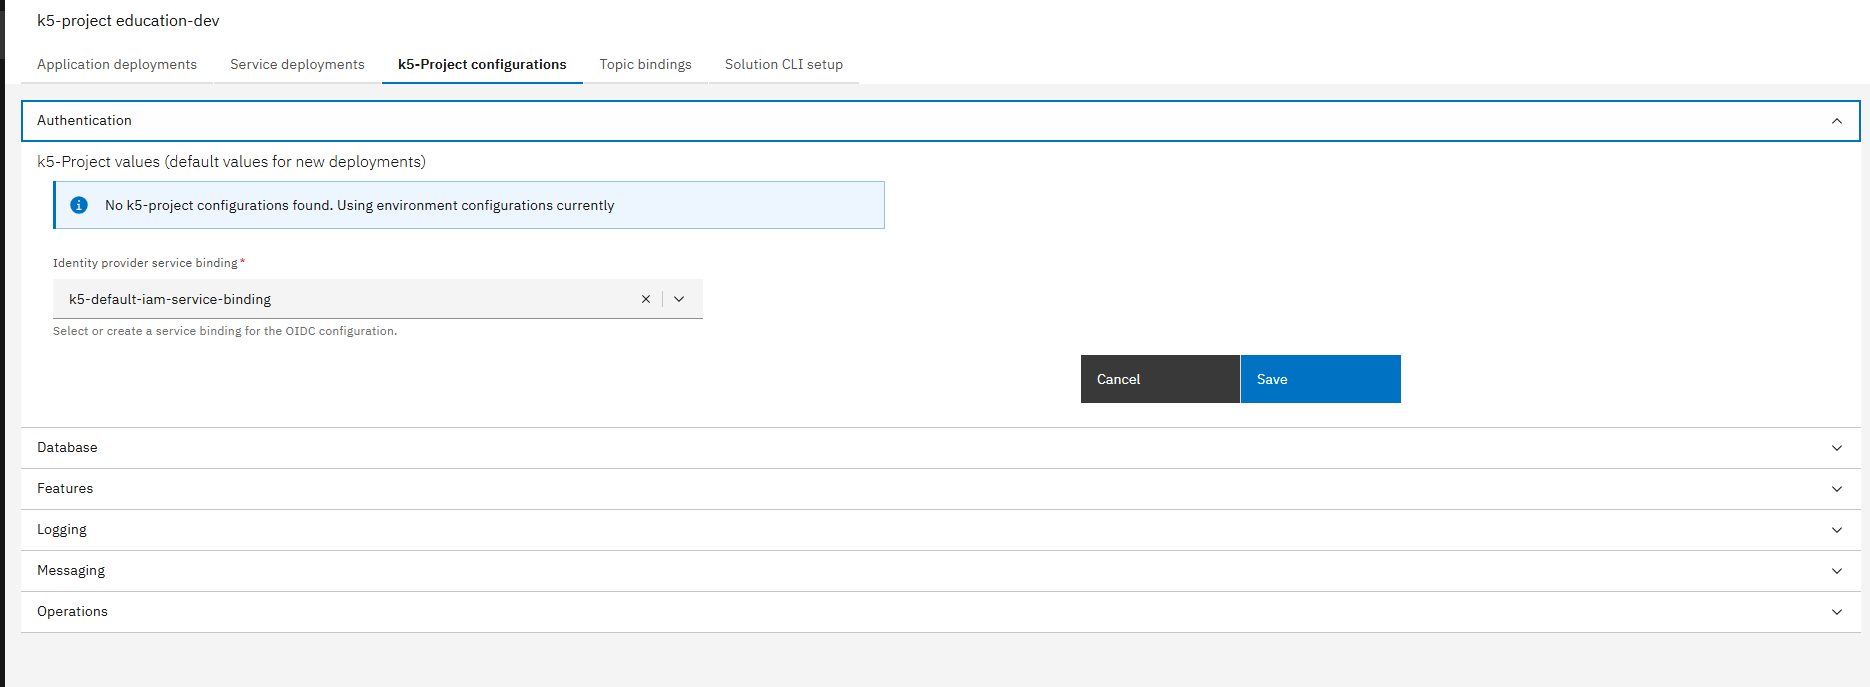
Unfold the Authentication section
- Create New Identity Provider:
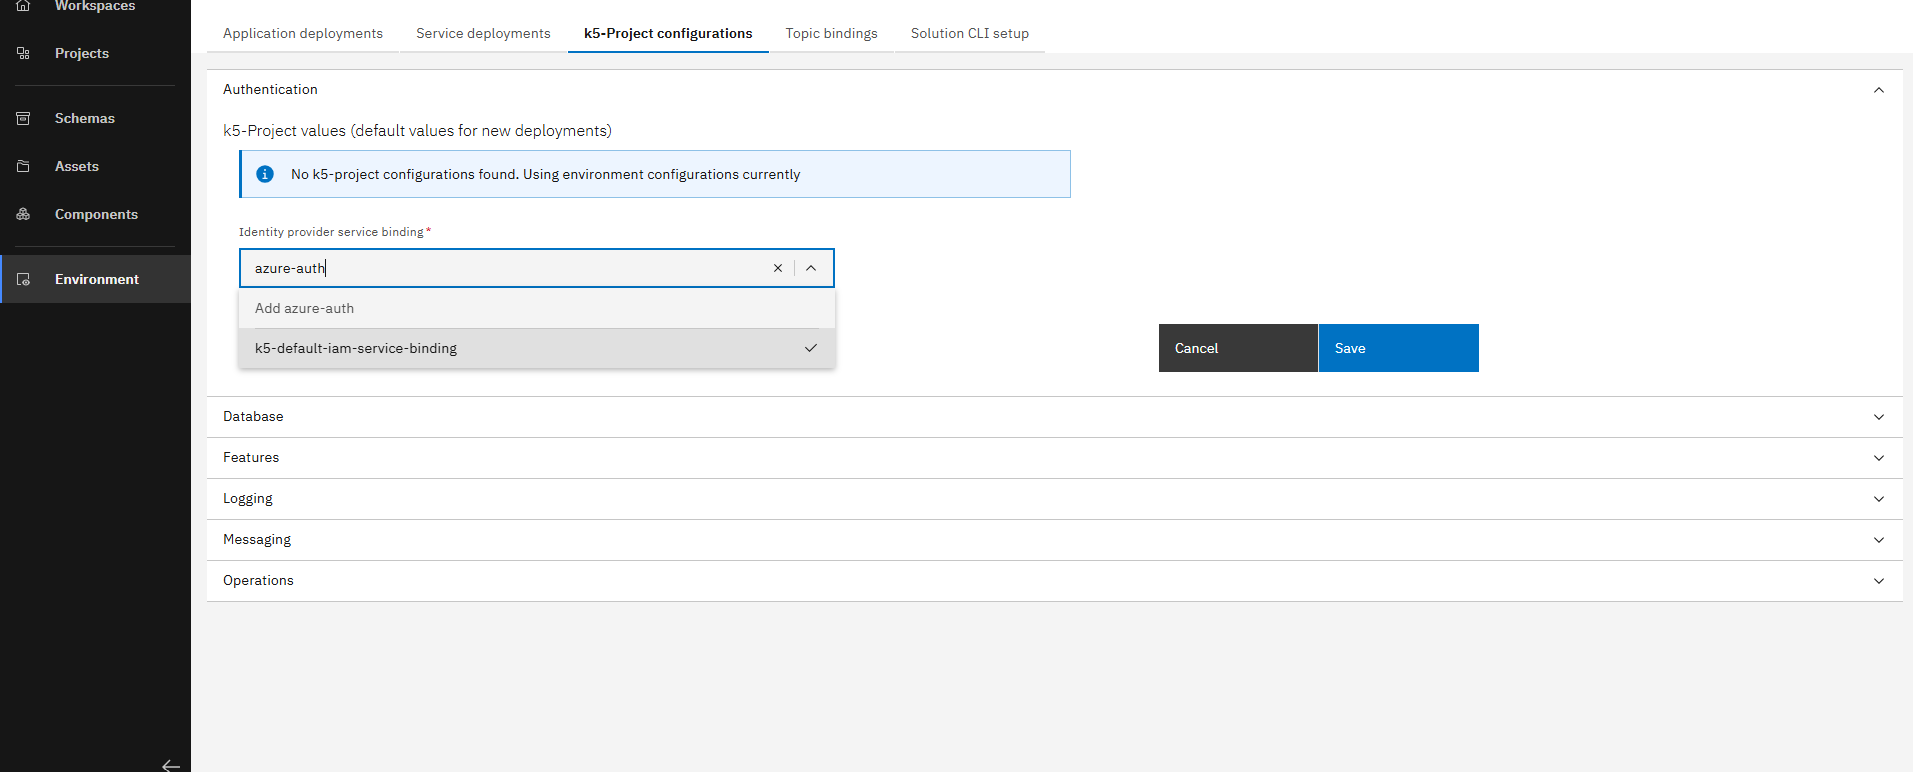
Select field "Identity provider service binding" and add a new name (Example: "azure-auth")
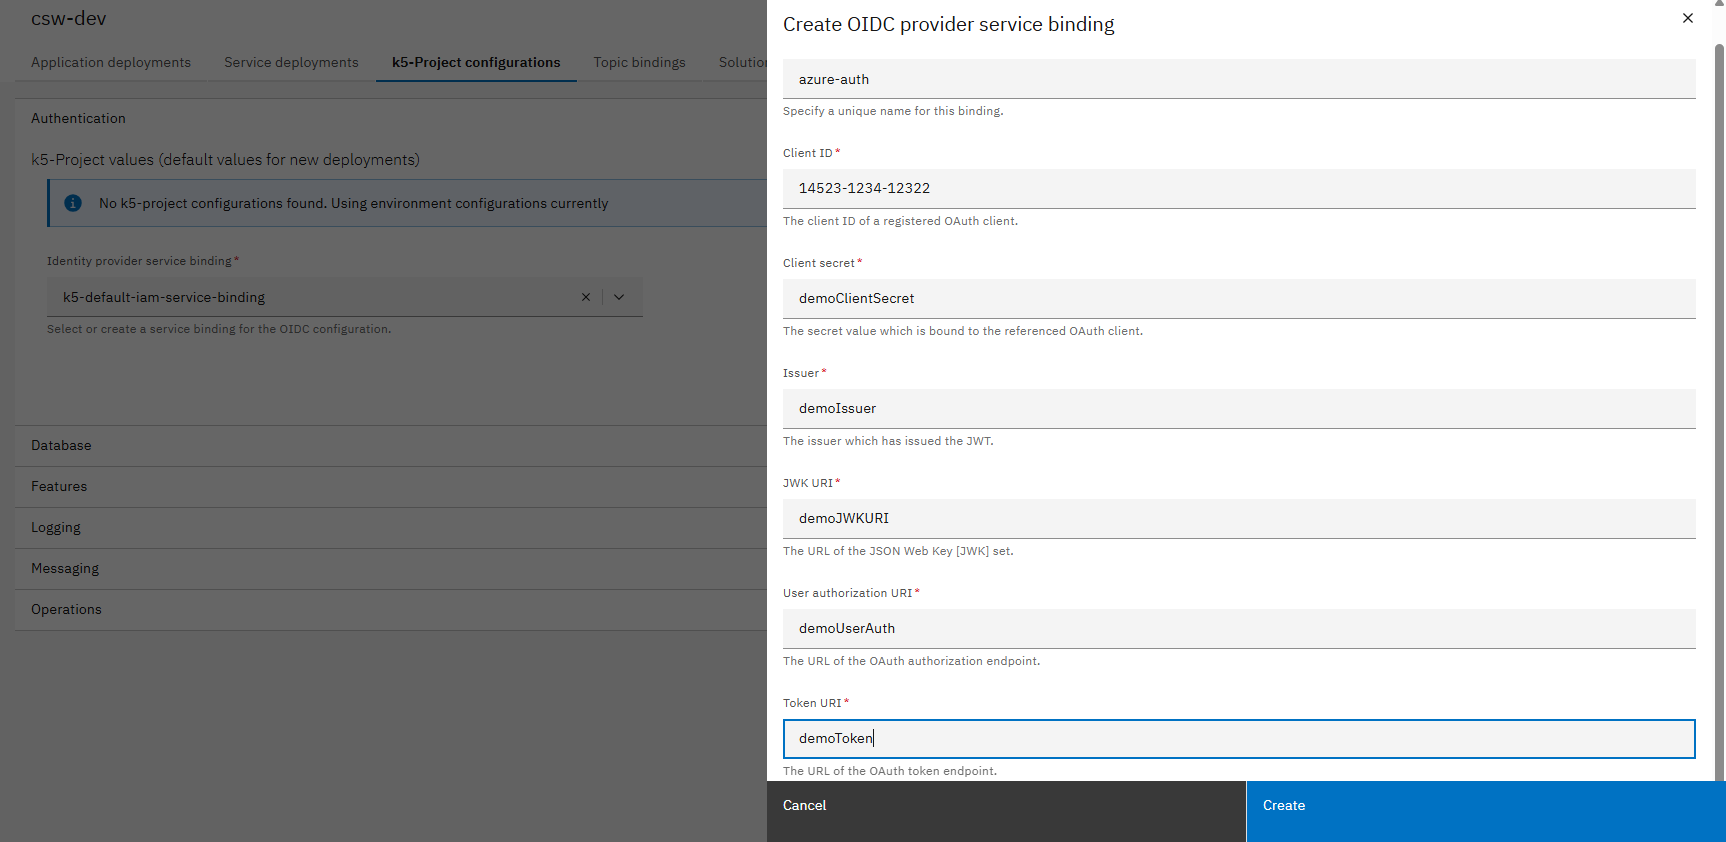
Using the gathered information from step 1, fill in the required fields and click on create
New Identity provider service binding
Make sure not to click on save button, as the new Identity Provider is automatically selected and applied on all deployments in the selected environment.
Use Case Options
Change Identity Provider for All Deployments
Change Identity Provider for All Deployments
- Select and Apply New Binding:
- Select the newly created binding and click on save
- Trigger Redeploy:
- Trigger deploy pipelines for all your single deployments
- Delete application deployments using OpenShift console to force redeployment
Change Identity Provider for One Service (Single Deployment)
Change Identity Provider for One Service (Single Deployment)
- Maintain Default Binding:
- Make sure that the default binding is selected
- Navigate to Service Deployment:
- Navigate to service deployments tab
- Open your specific service deployment
- Change Authentication Settings:
- Unfold the Authentication section
- Select the newly created secret and click on save
- Redeploy Service:
- Trigger deploy pipeline for your service to apply the changes
Change Identity Provider for Services within an Application
Change Identity Provider for Services within an Application
- Access Solution Designer:
- Go to Solution Designer
- Open the application you want to apply the change on
- Configure Components:
- Navigate to the deployment target
- Open the component configuration
- Specify Custom Configuration:
- Add the following YAML to the "Custom configuration" field and click save:
oidc:
secretName: k5-azure-auth-iam-service-binding
- Configure All Components:
- Adjust all other components where you want to use a different OIDC provider
For easy integration of services within an application, it is recommended that all components use the same OIDC provider
- Commit Changes:
- Click Commit to apply the changes
Conclusion
Congratulations! You have successfully changed the Identity Provider of one or all your deployments/services. Your services are now authenticating using your custom OIDC provider.