Manage Workspaces
In this course, you'll learn how to create and manage workspaces within the IBM DevOps Solution Workbench.
Outline
Workspaces in IBM DevOps Solution Workbench are a powerful way to organize and streamline your development process by grouping related projects. Managing many projects can quickly become overwhelming. Workspaces help you keep things structured, manageable, and shareable with colleagues.
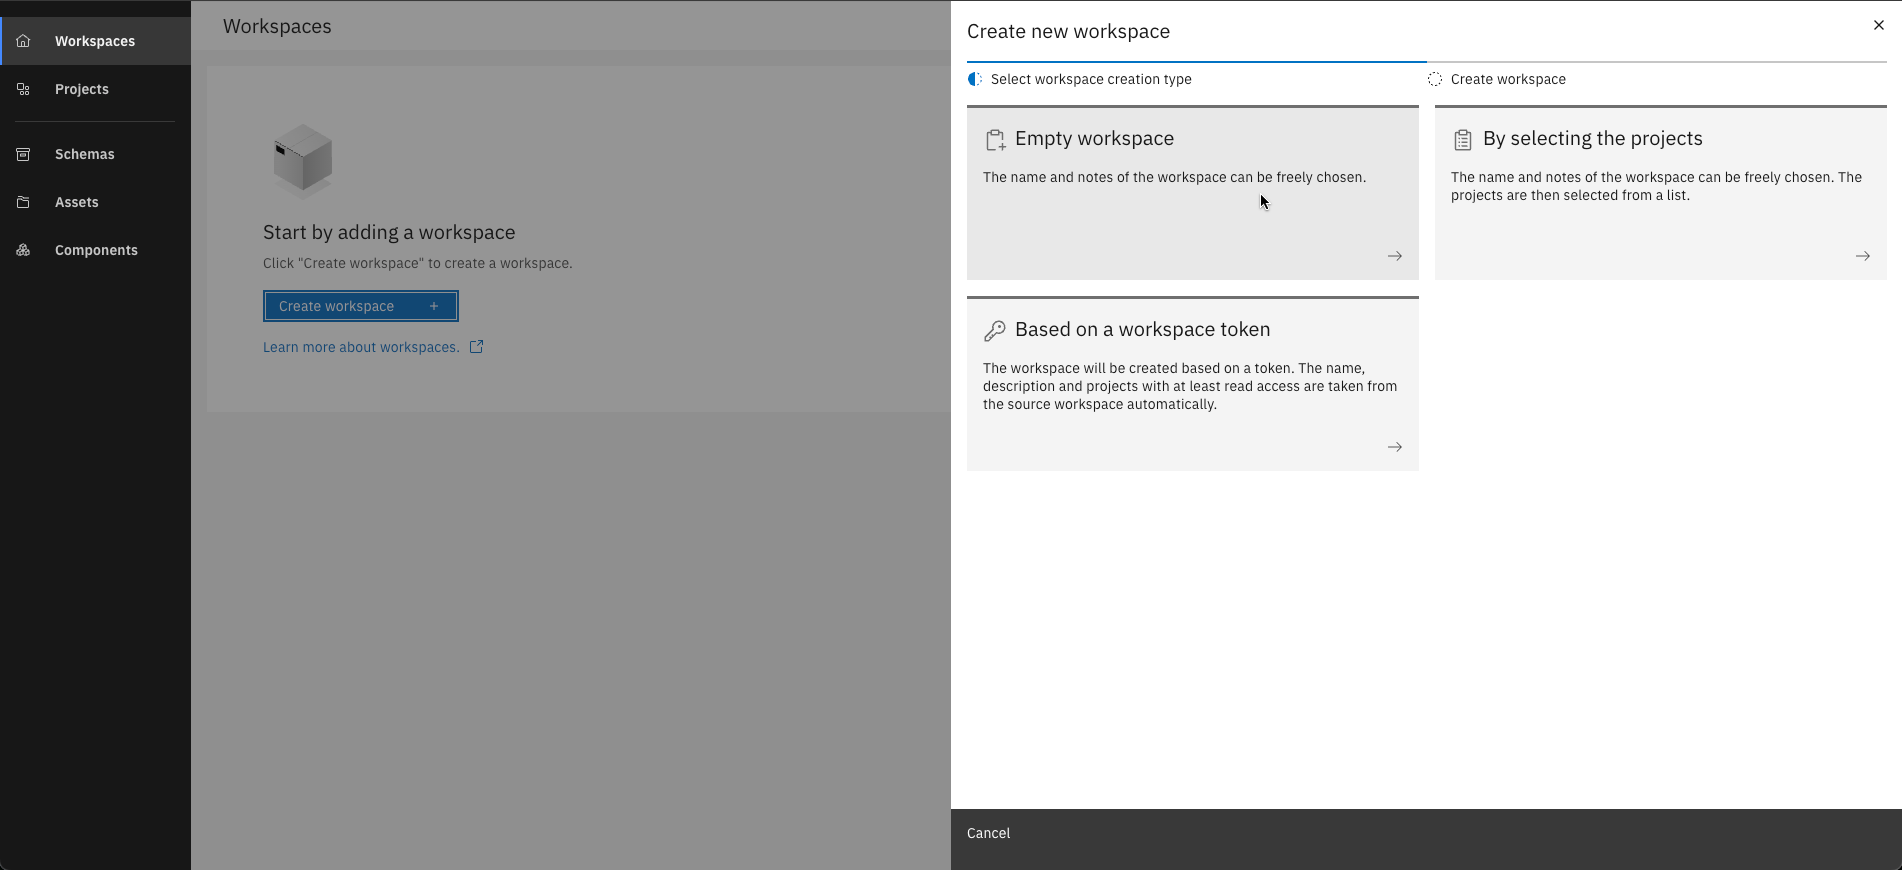
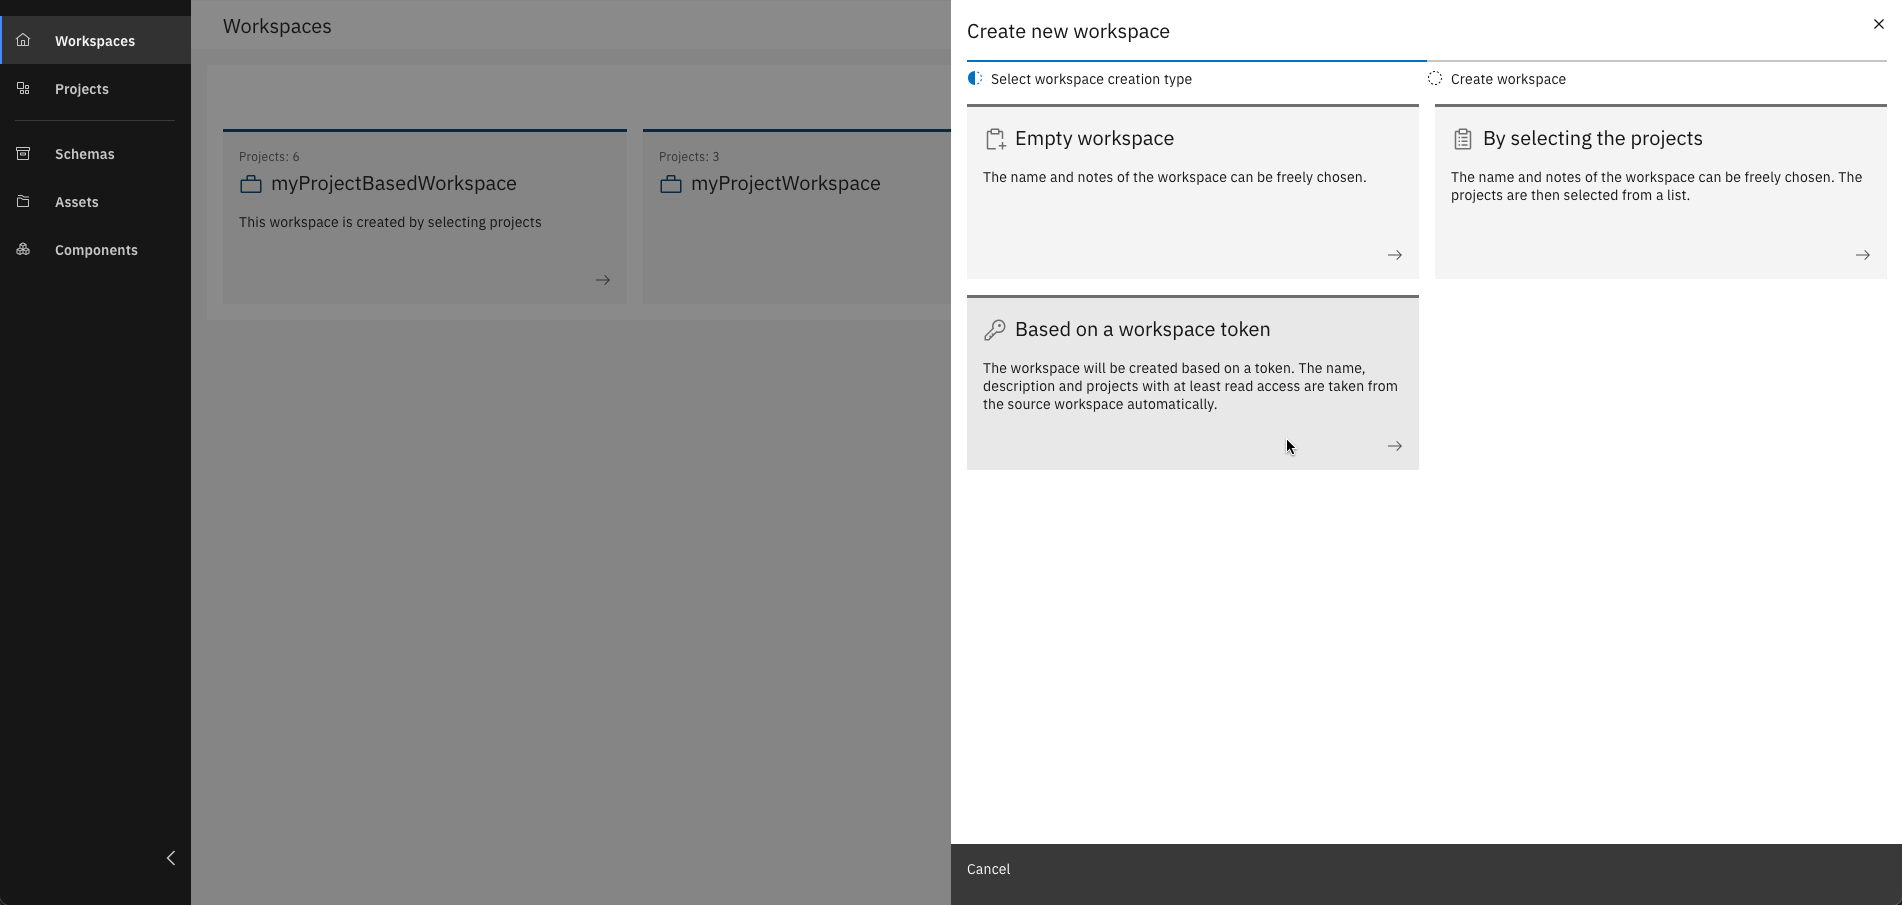
There are three different types of Workspaces:
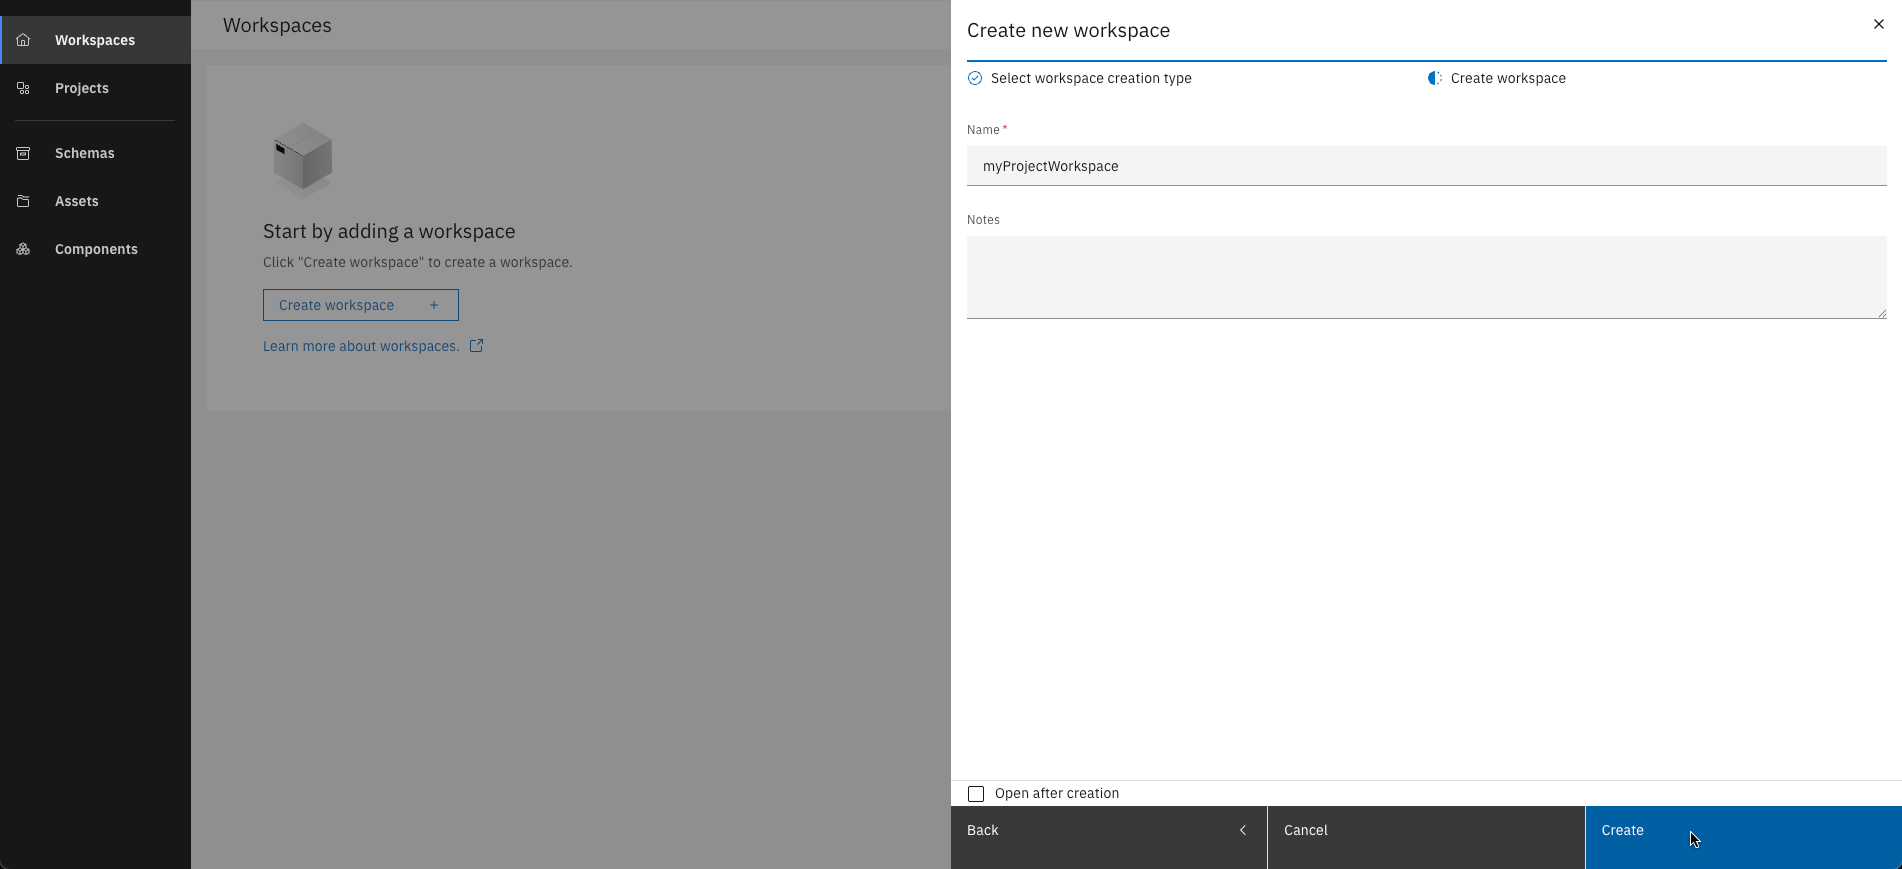
- Empty workspace: You only define the workspace name and notes, projects can be added later
- By selecting projects: Choose existing projects to group into a new workspace
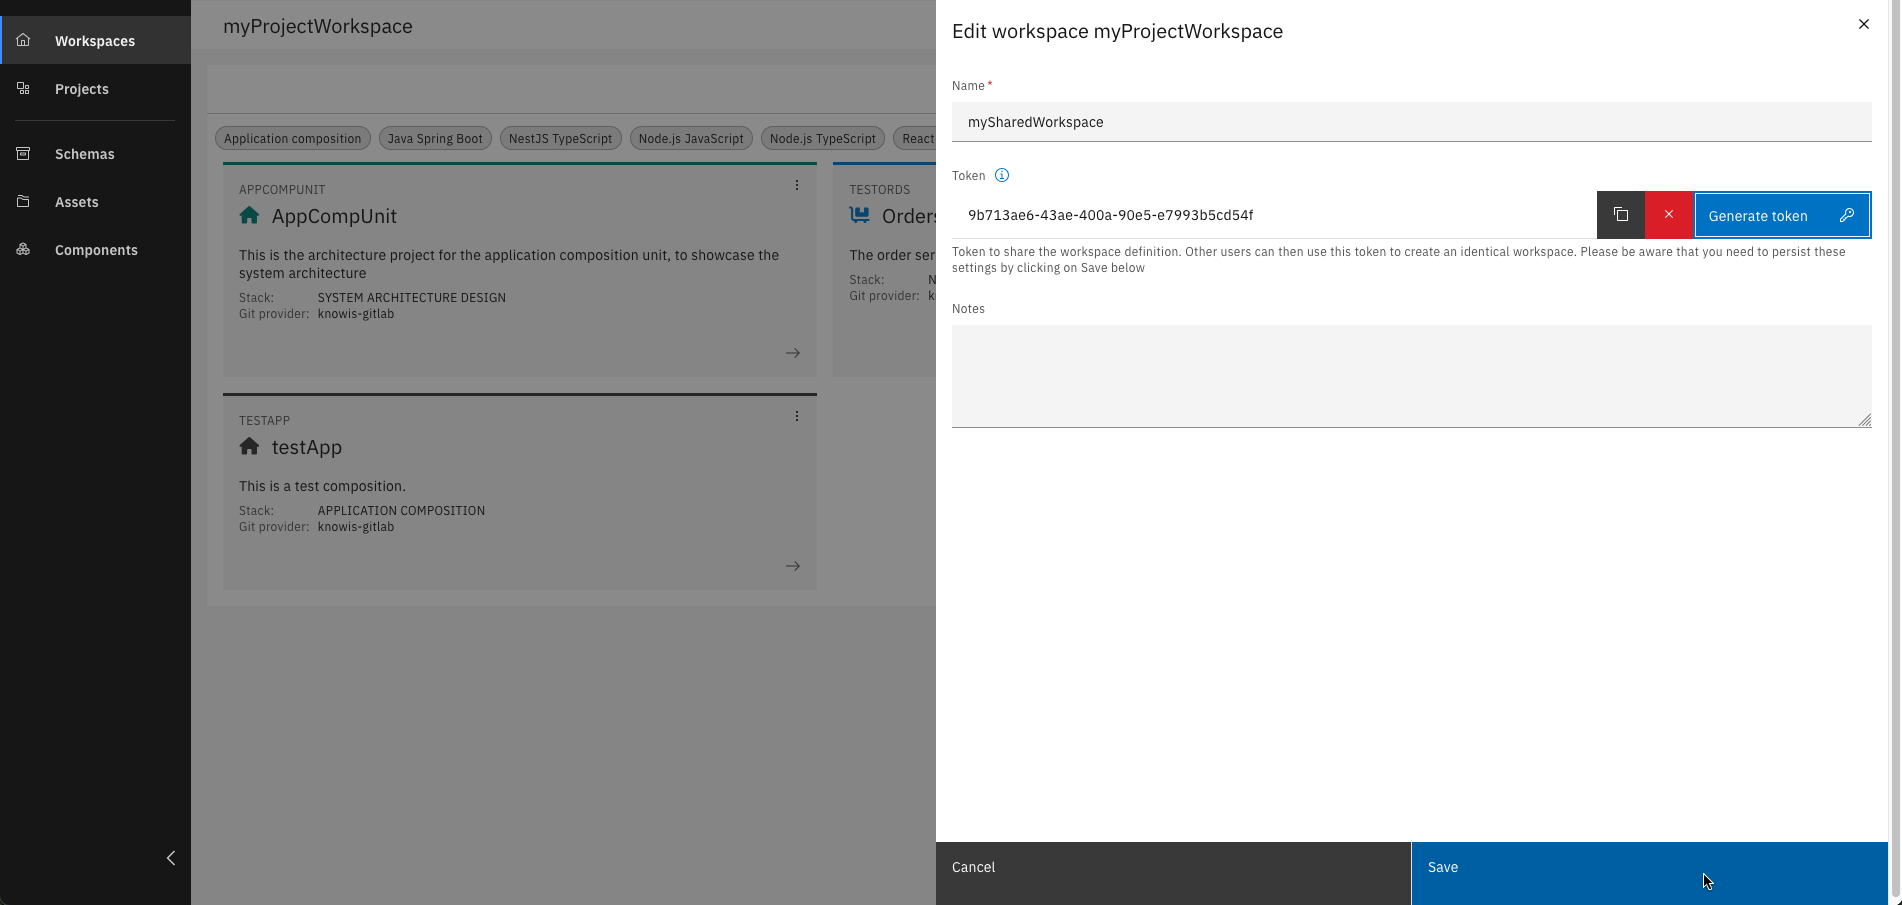
- Based on a workspace token: Automatically import the name, description, and shared projects from another workspace (read access required)
Exercise
Estimated time: 10 minutes
Exercise goal: You will be able to create and manage workspaces
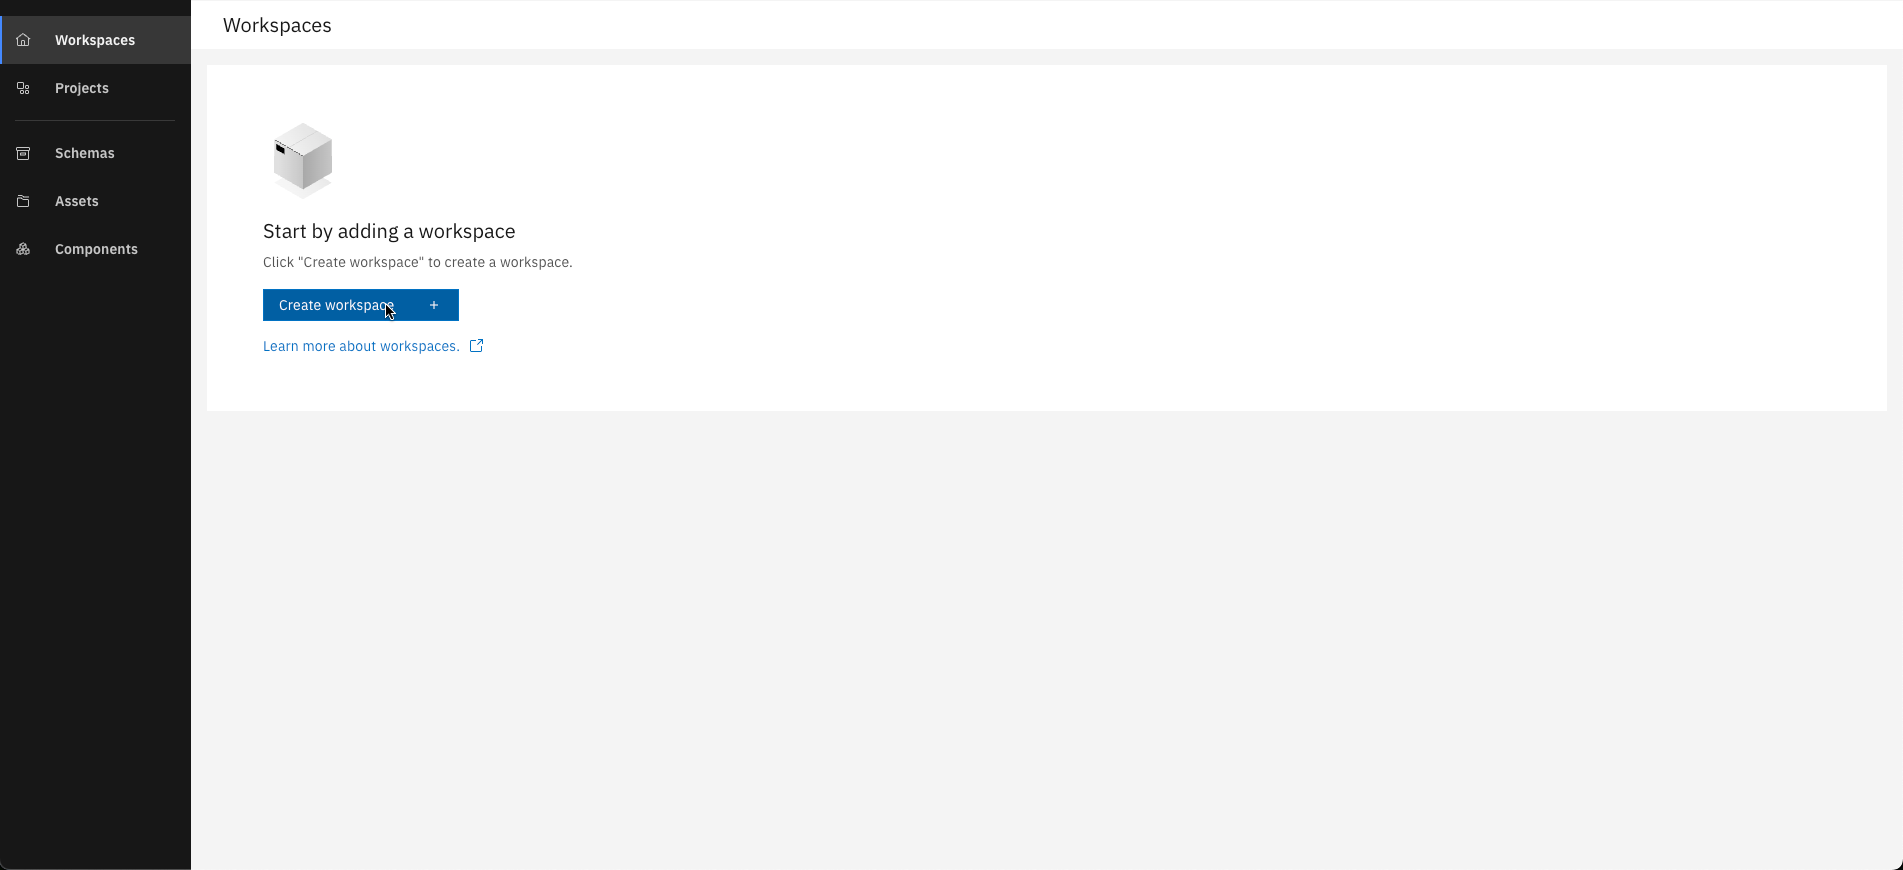
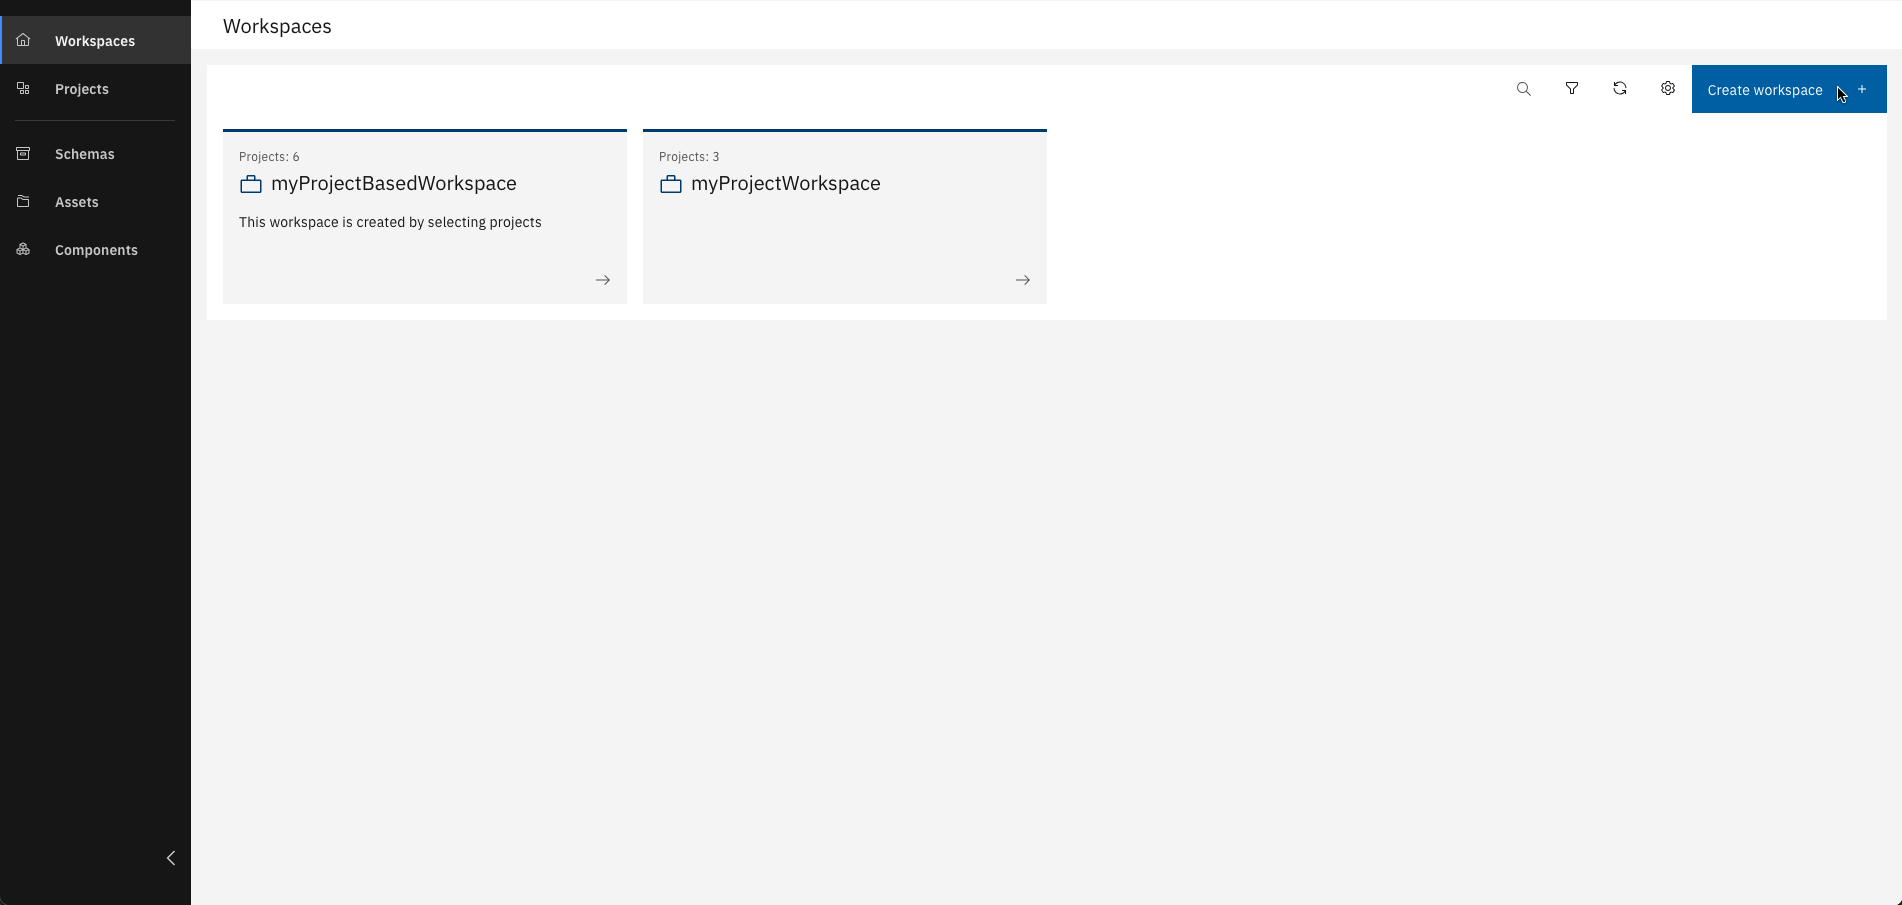
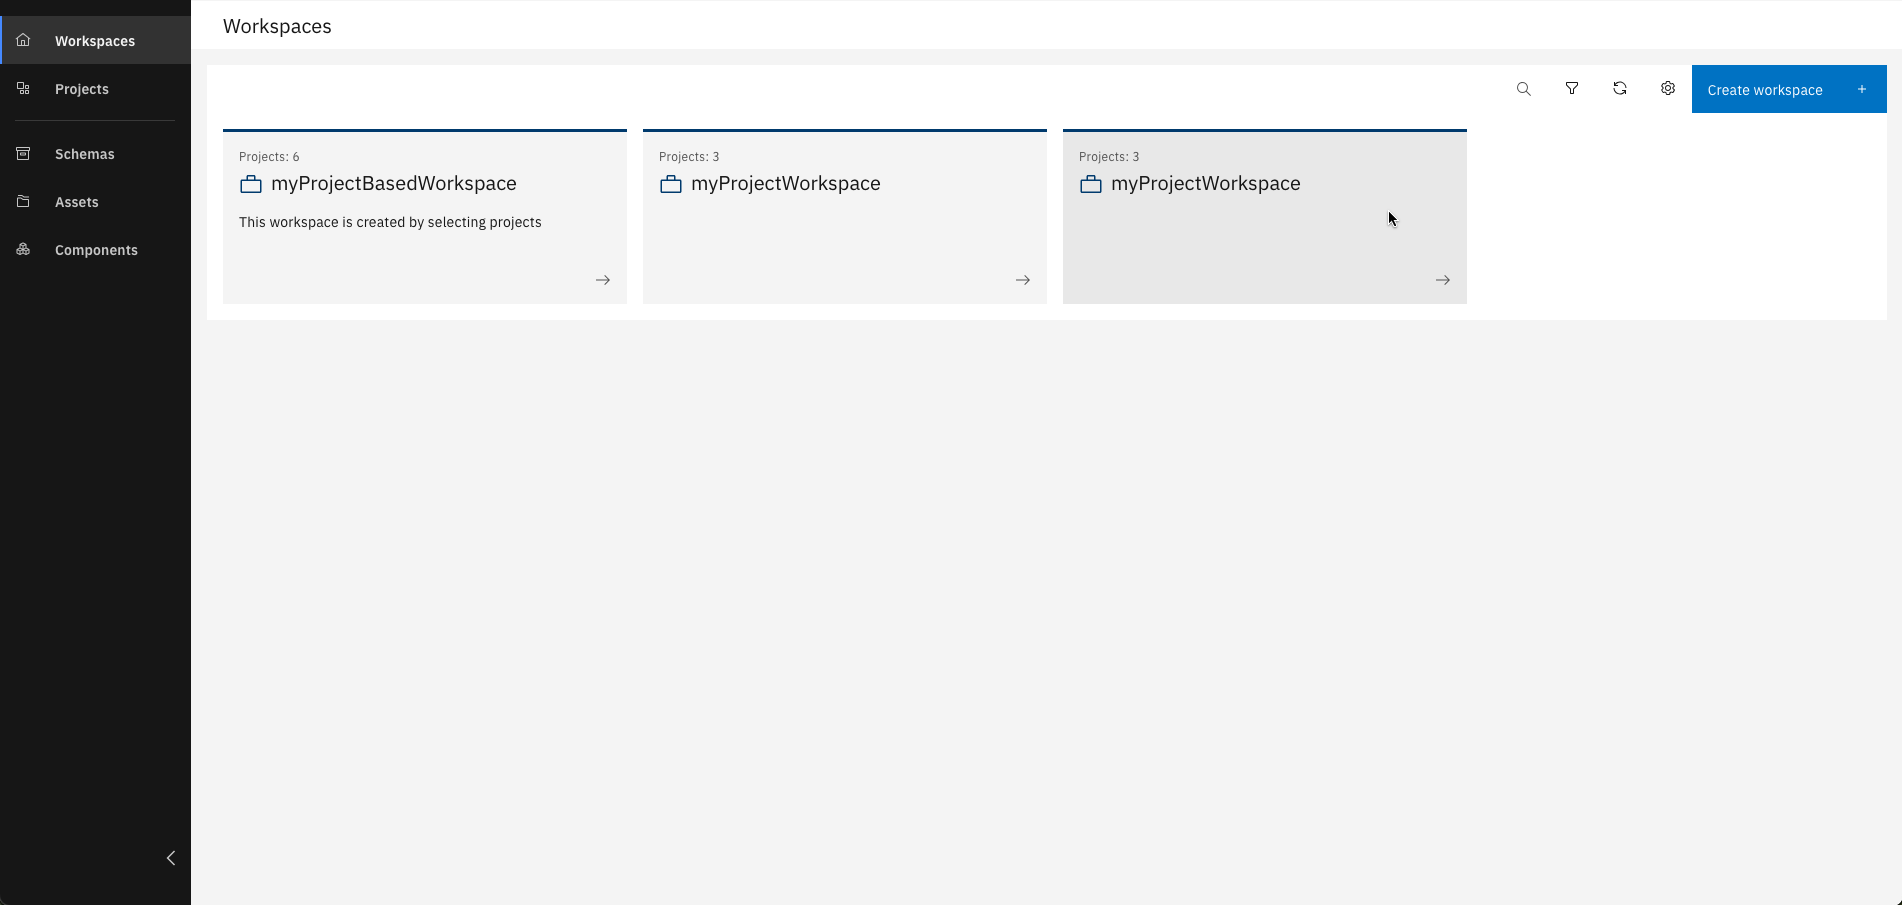
Step 1: Create a Workspace
- Empty Workspace
- Custom Workspace
- Token-based Workspace
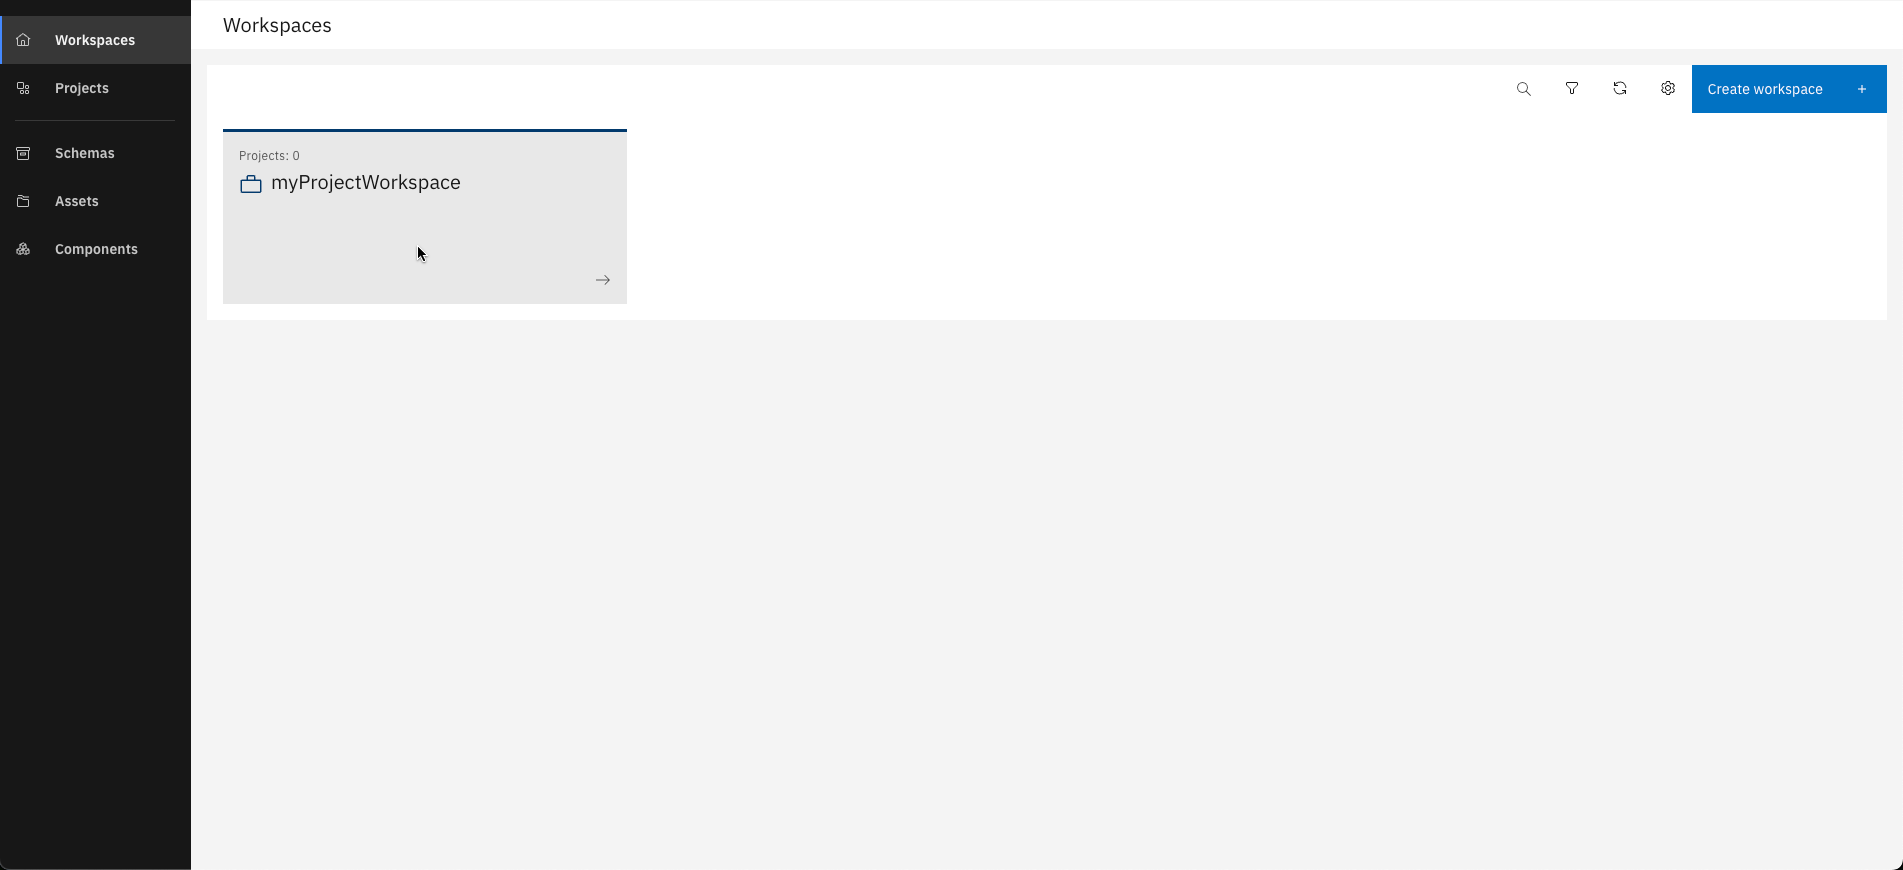
Create your workspace without adding existing projects or using a shared token.
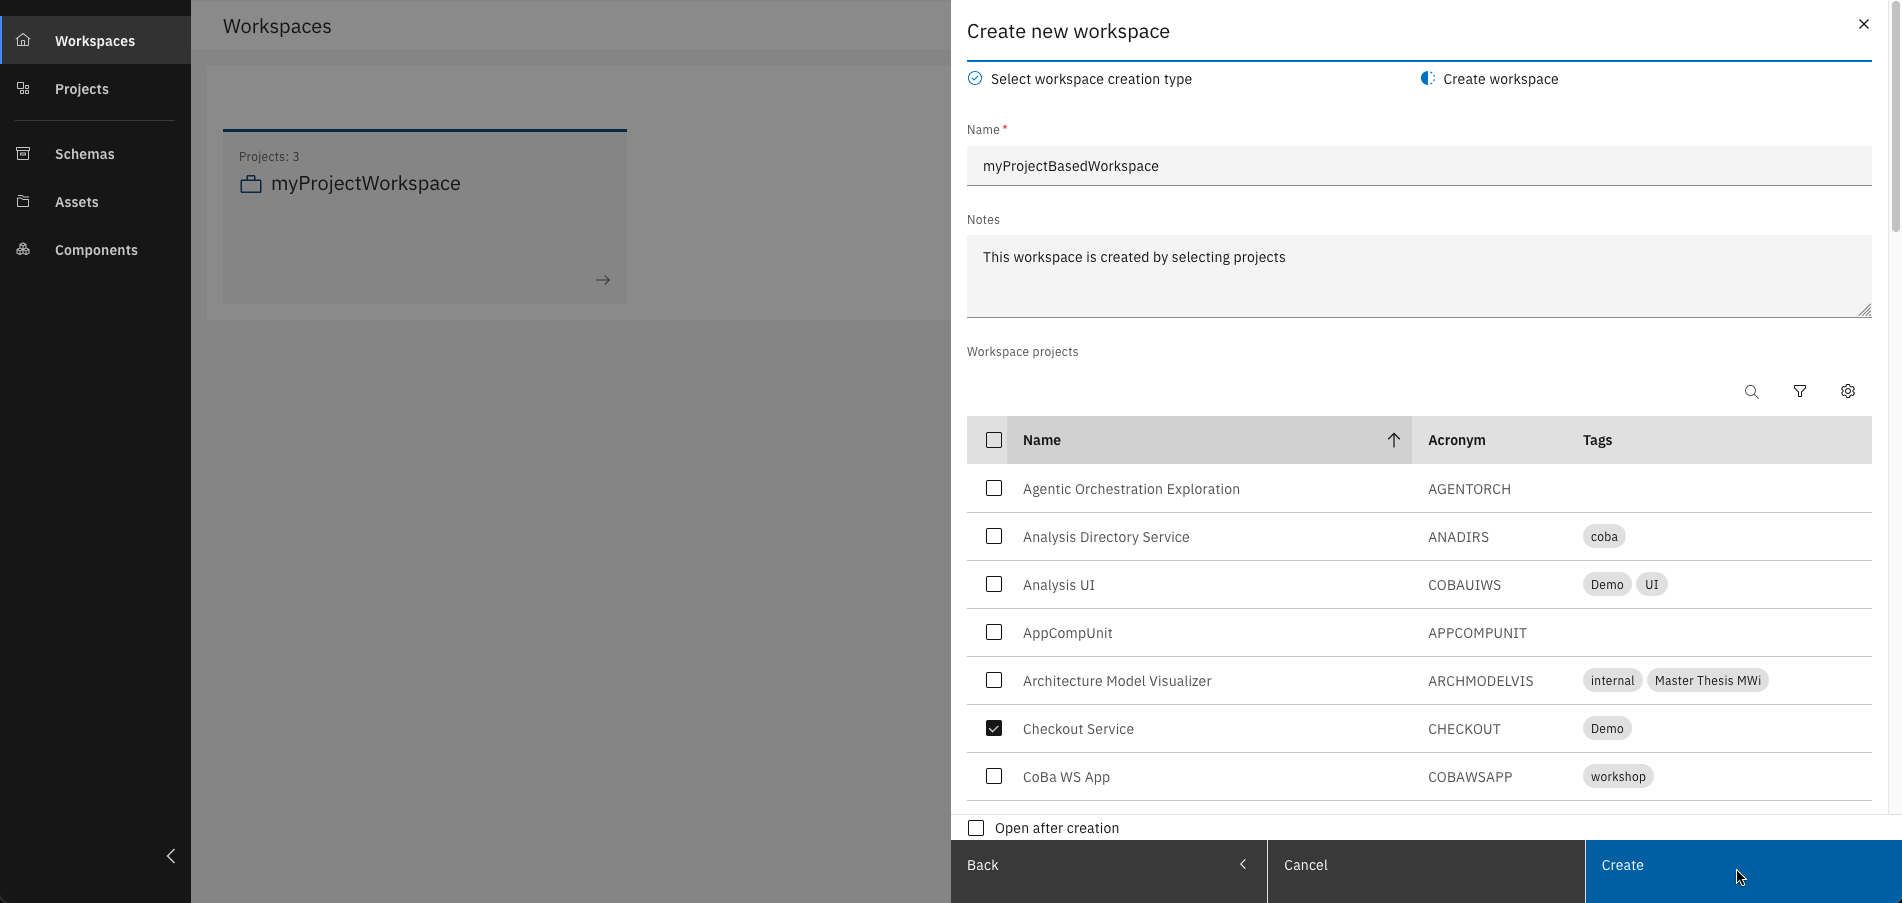
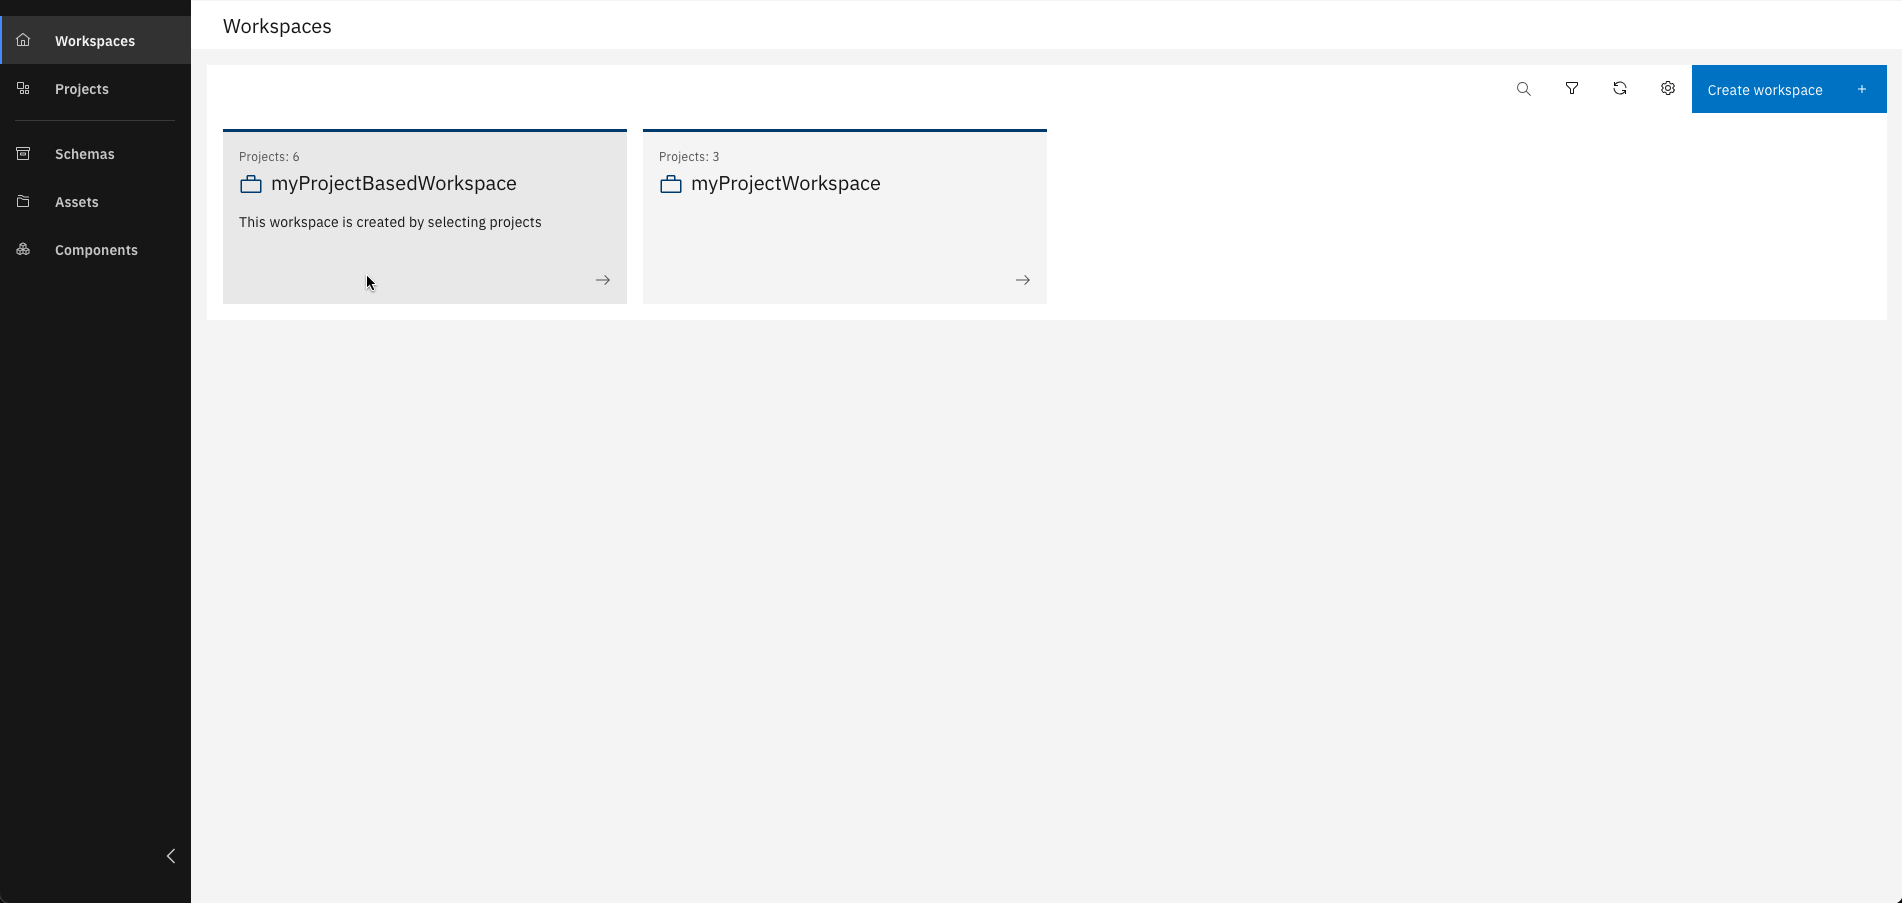
If you've already worked on projects and want to organize them, you can create a workspace by selecting those projects.


If a colleague shares a workspace token with you, you can use it to replicate their workspace setup.
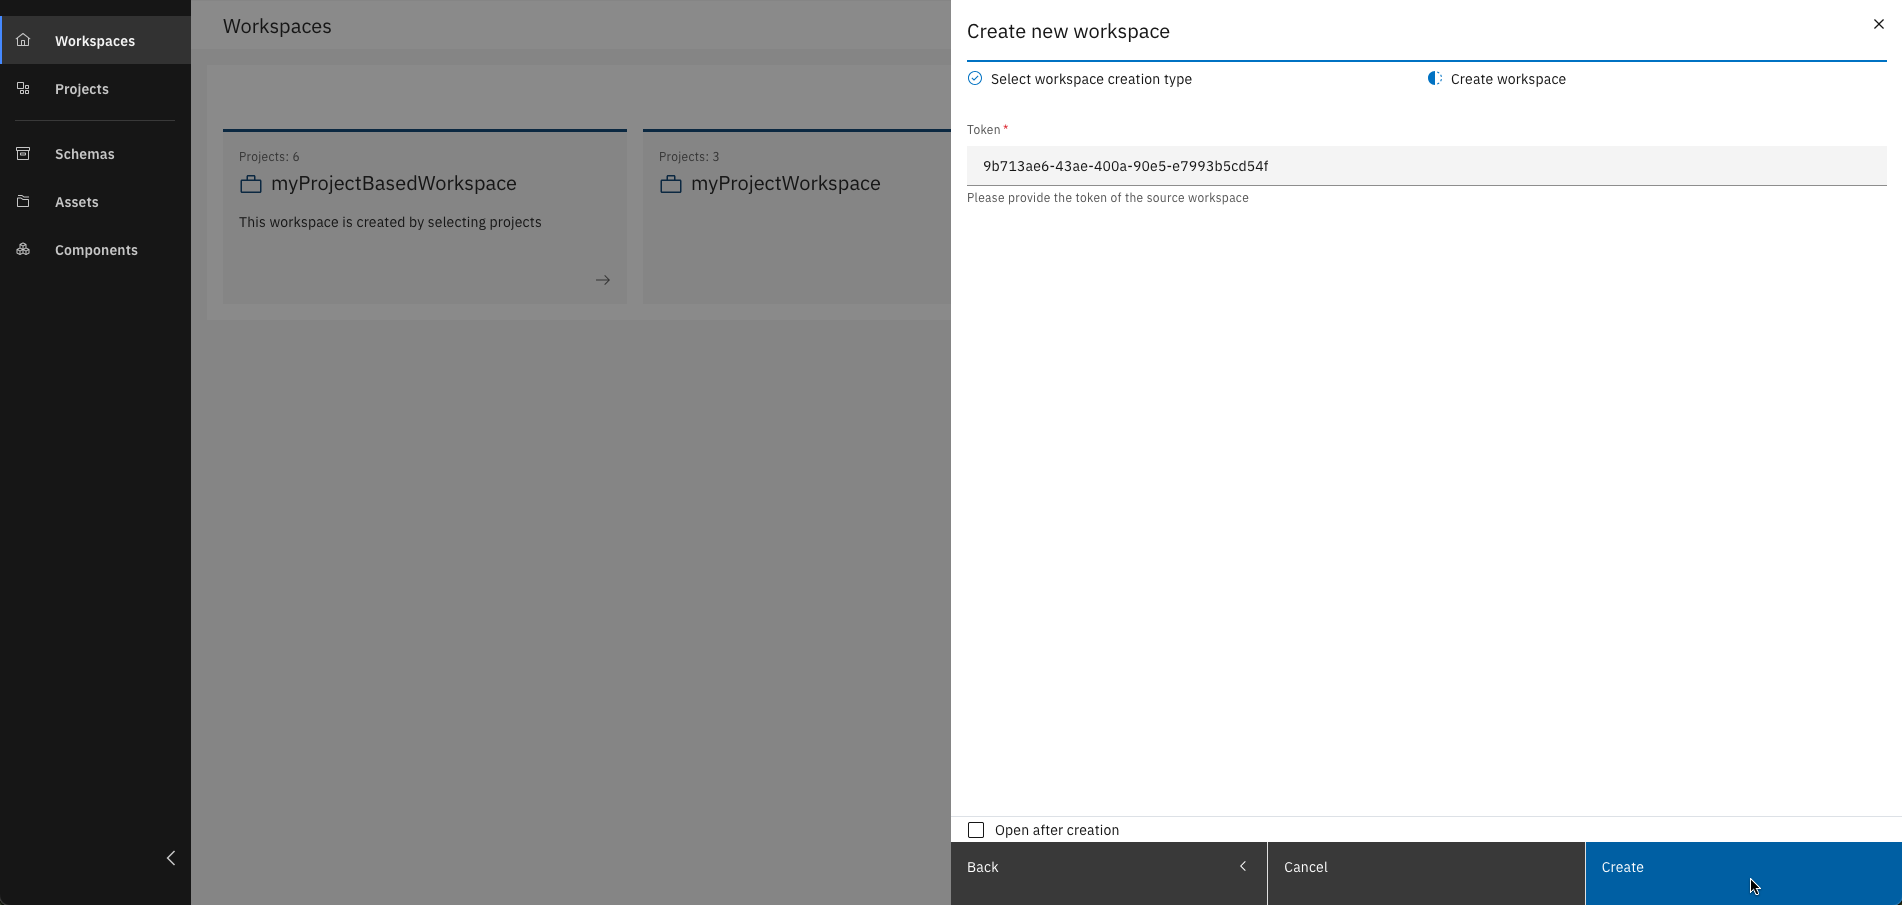
Token-based workspaces can only be shared and modified by the original owner.
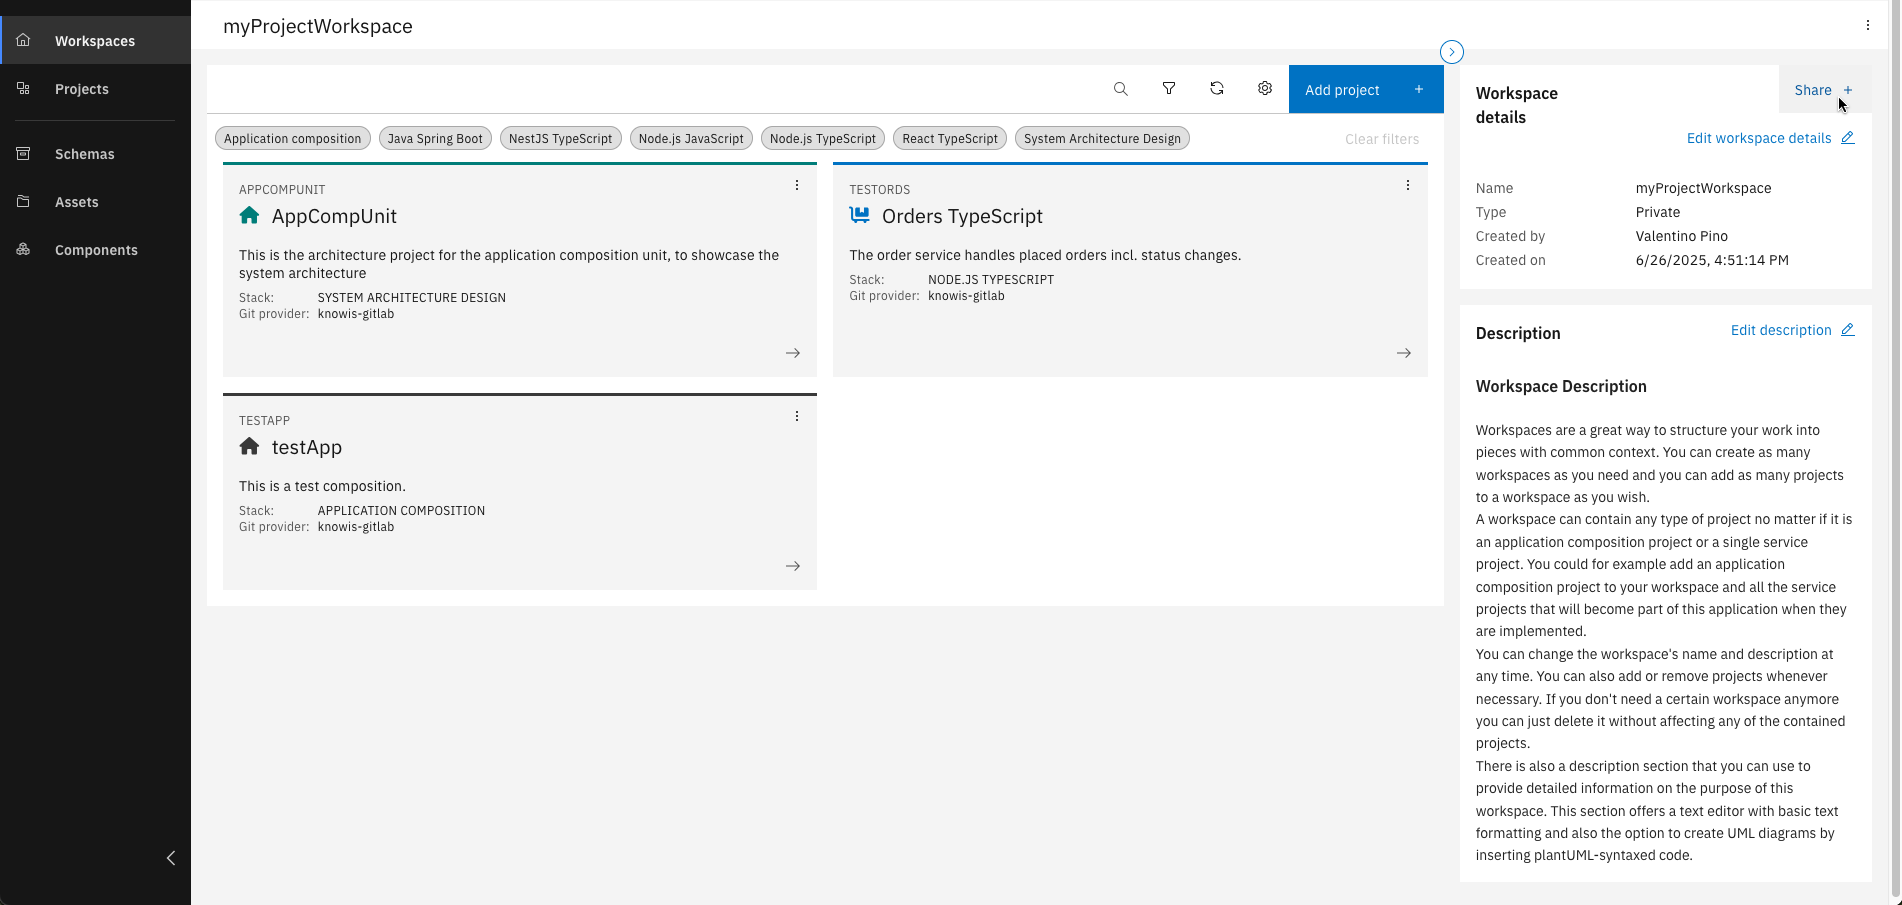
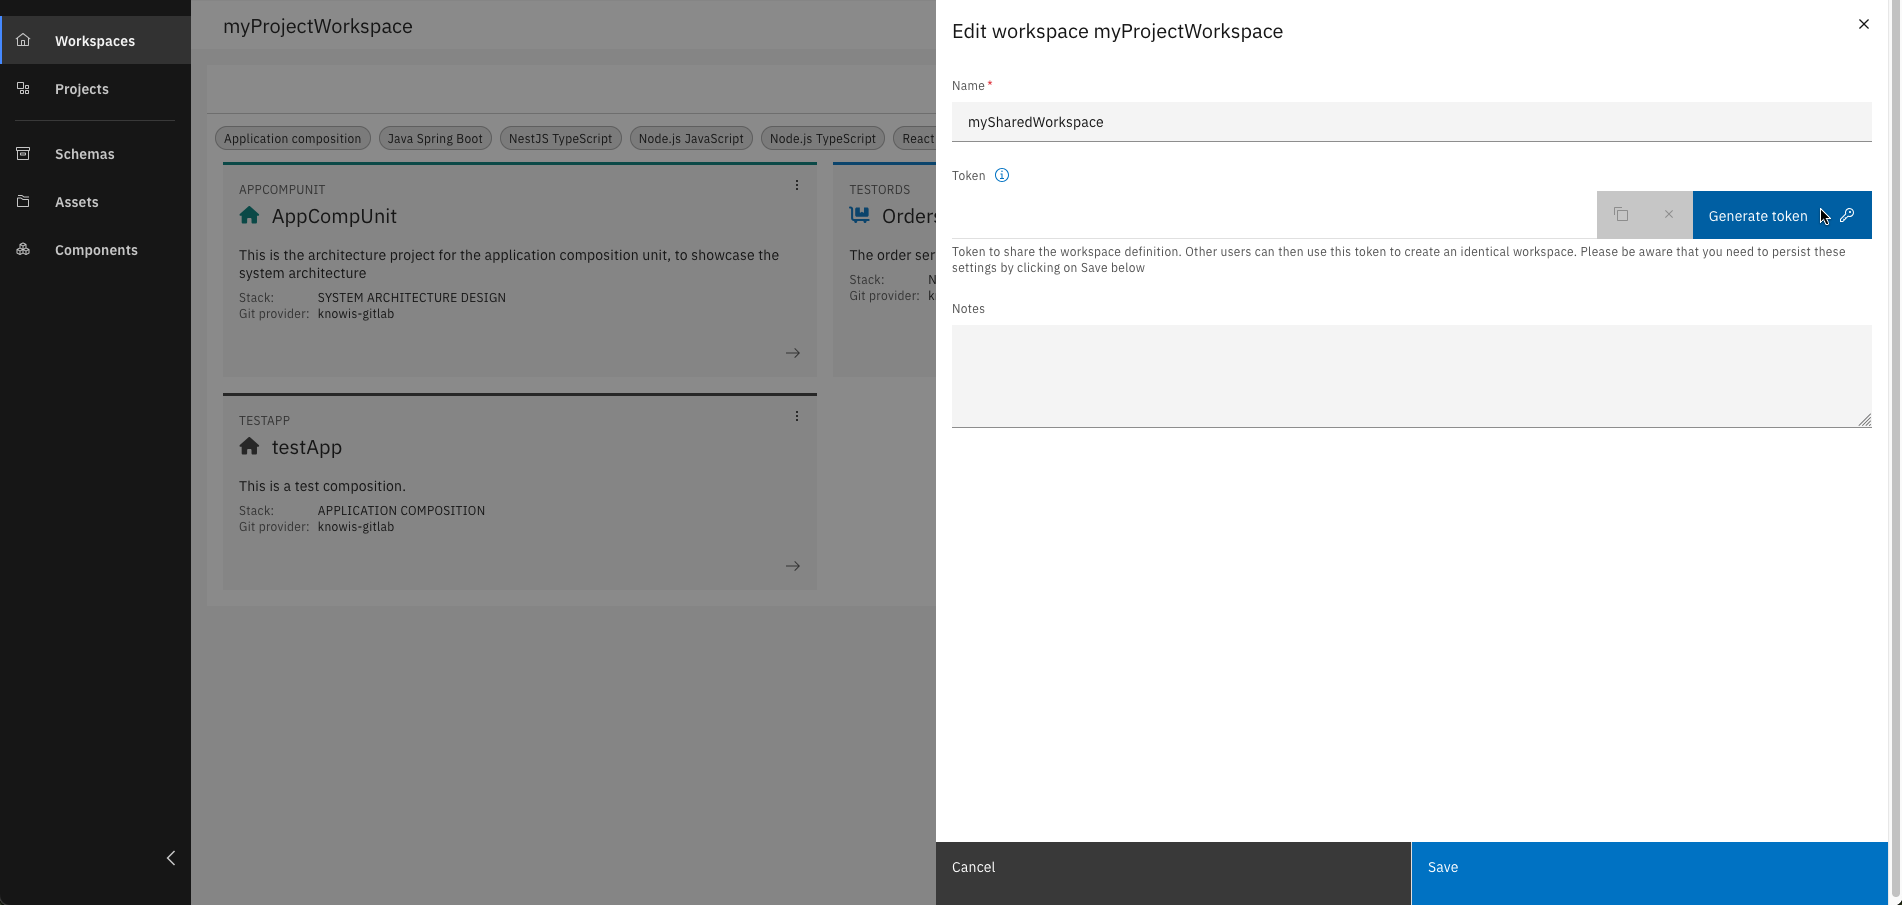
Step 2: Share your Workspace with others
To share your workspace with others, generate a workspace token and provide it to them.
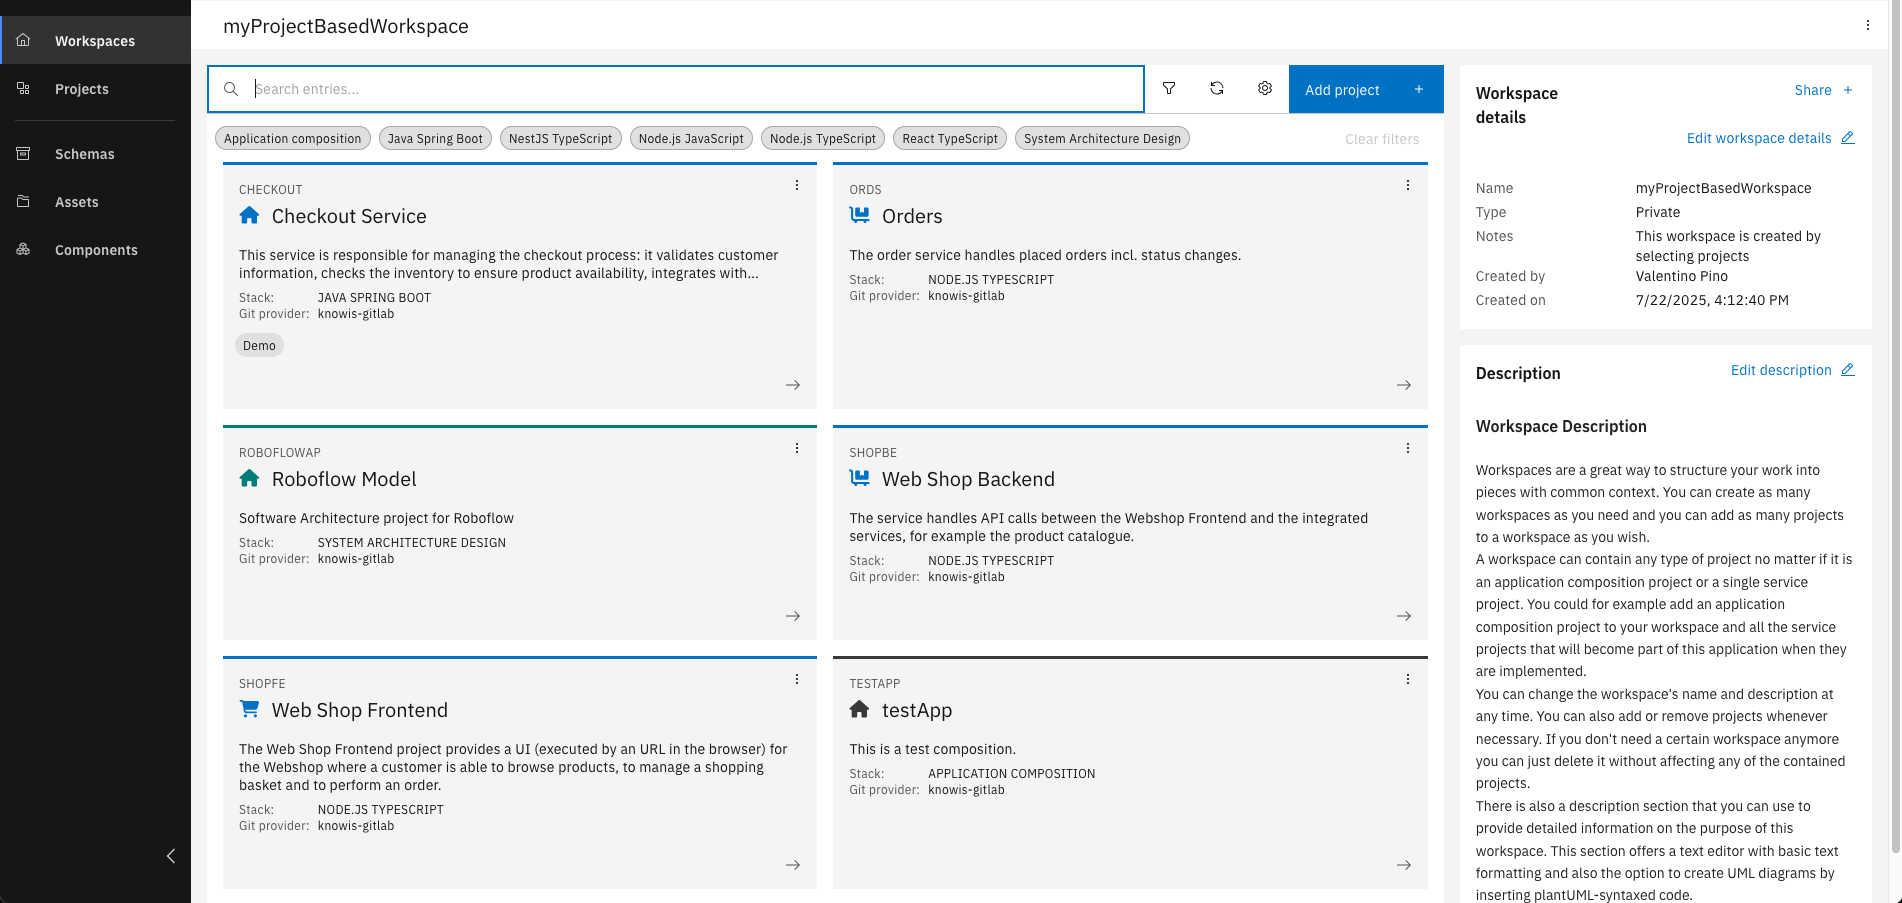
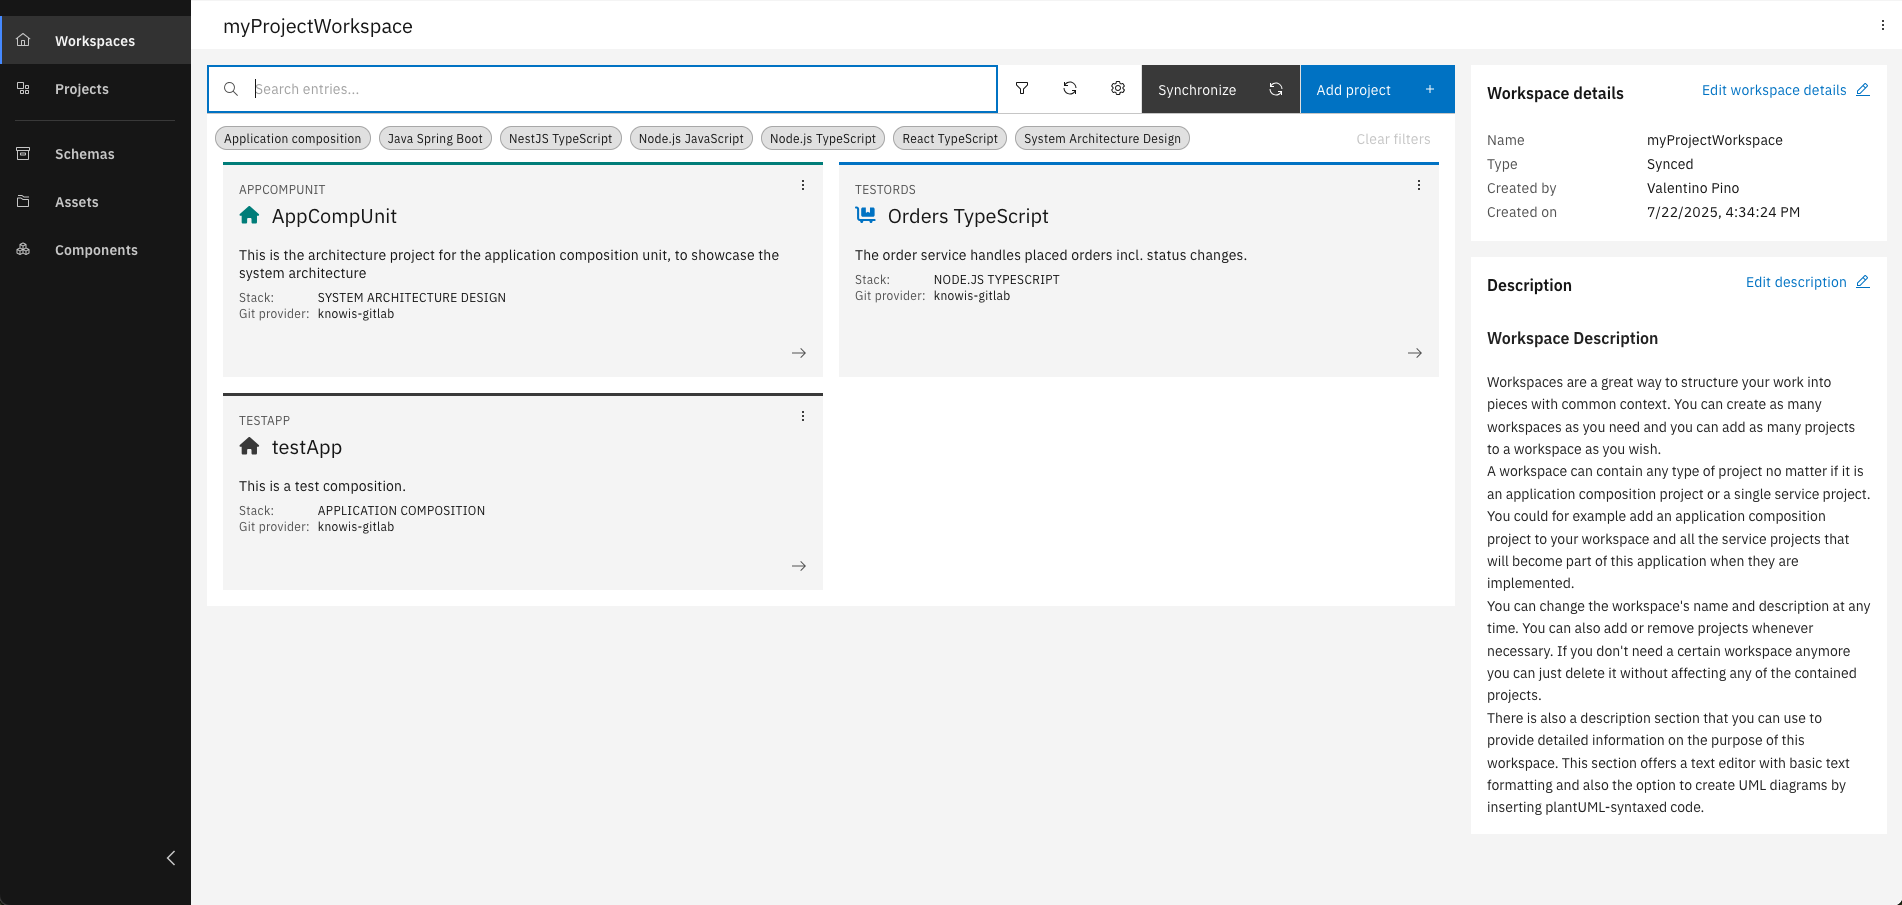
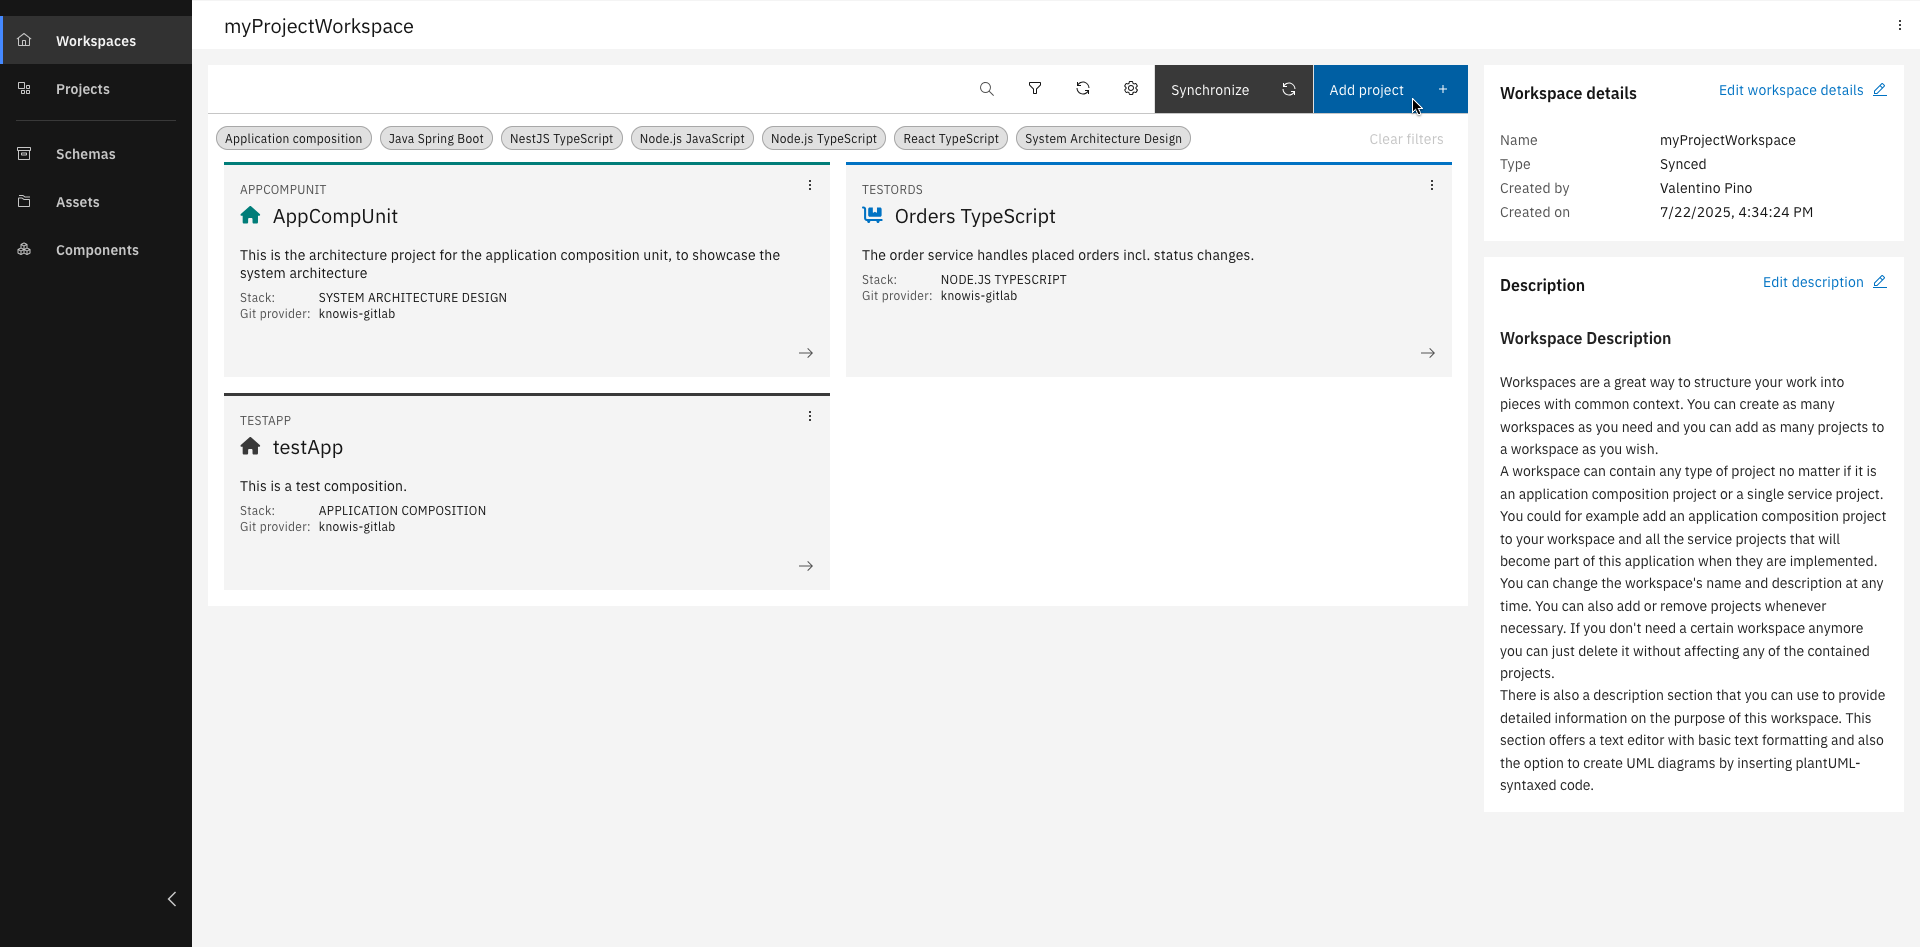
Step 3: Add projects to your Workspace
Once your workspace is set up, you can:
- Add existing projects
- Create a new project
- Create a project from a repository
To dive deeper, check out the Project Types Course.
You've successfully learned how to create, manage, and share workspaces and understand how they support project collaboration within IBM DevOps Solution Workbench!
Related Links
For more technical details on workspaces: