Application Composition
In this course, you will learn everything important around application composition within IBM DevOps Solution Workbench. You will also practice how to compose an application.
Outline
This course introduces the concept of application composition within IBM DevOps Solution Workbench and shows how multiple microservices can be combined into a single deployable application.
Application composition allows developers and architects to group together logically related services, configure communication between them, and deploy them as one unit. The feature brings value by simplifying the deployment process, improving maintainability, and supporting a modular architecture approach.
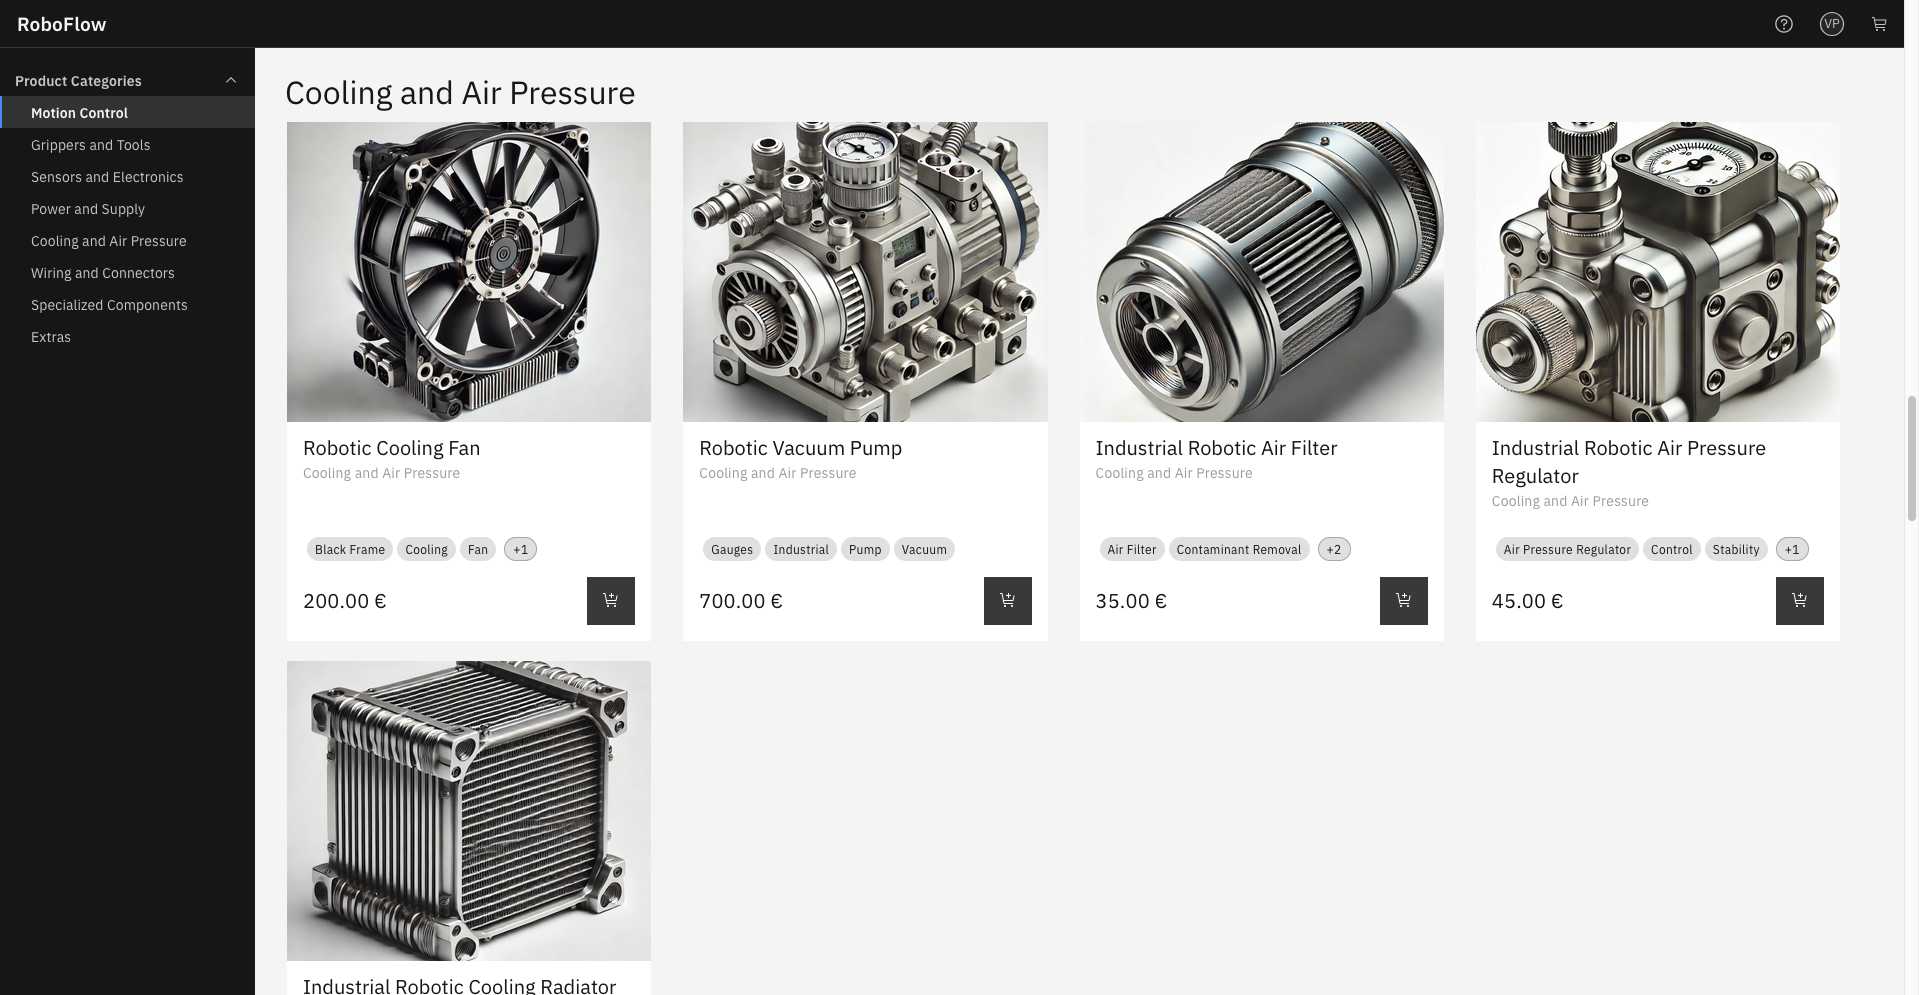
Use case "RoboFlow"
For our robotics webshop, we want to create a sleek web UI that allows business customers to browse and select robots and parts, then add them to their shopping cart. Once the selection is complete, the order can be submitted directly from the cart.
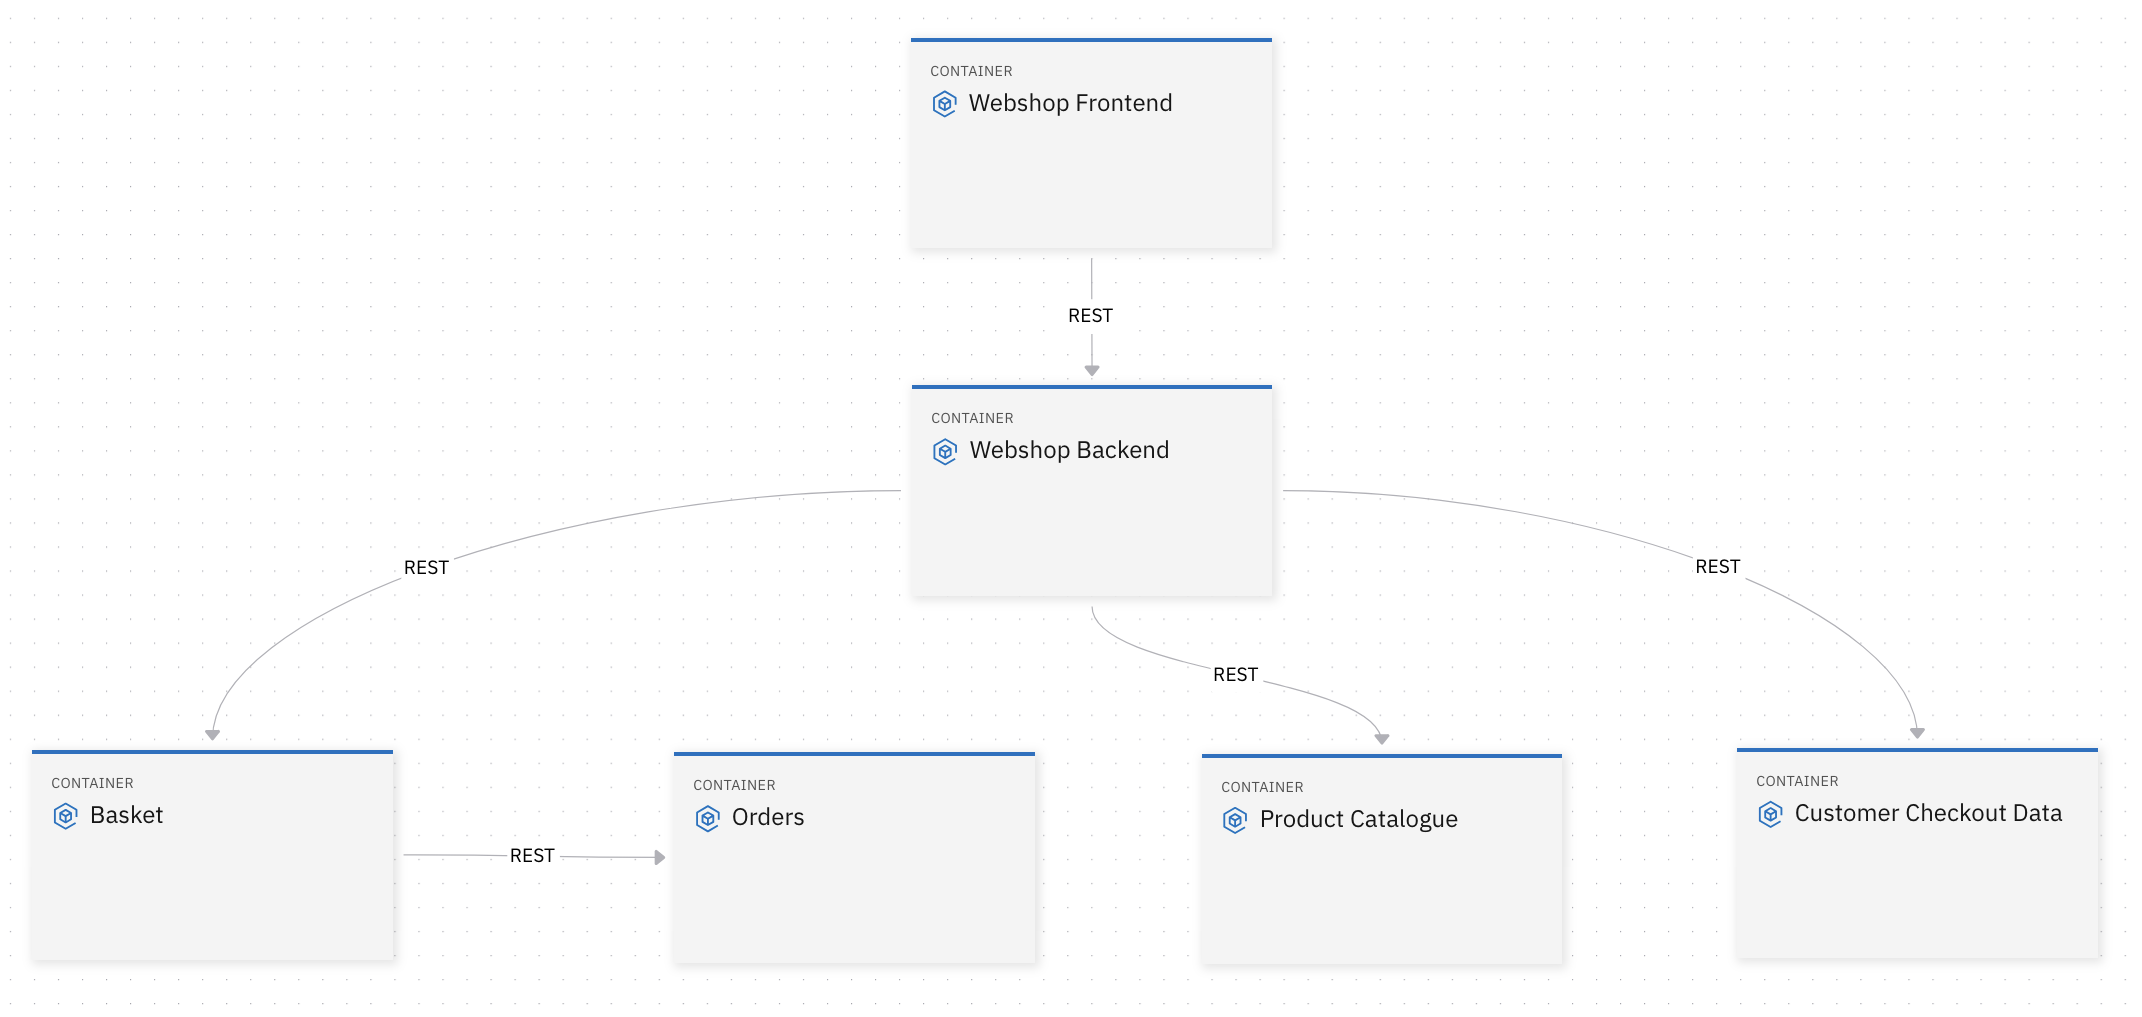
Service landscape
When you want to build a scenario like what we have described above, it is best practice to create multiple microservices for it to separate the responsibilities.
Since all of the services logically belong together and we also want to have one deploy strategy for all of them, the services are combined to the Application RoboFlow.
For this example all of the services are already prepared as released components within the component repository of the Workbench and ready to be used.
If want to learn more about releasing of components please have a look at the course CI/CD and Deployment.
Prerequisites
- Access to all needed components
Exercise
Estimated time: 45 minutes
Exercise goal: You will be able to do create and deploy an application composition
Please note that the links to the workbench tools in this tutorial only apply to the IBM Education Environment we provide. If you are using a different environment, e.g. your own installation, you will need to navigate directly to the required tools.
Step 1: Create new Application Composition Project
To compose multiple services to an application, you need to create an application composition project within your workspace in the Solution Designer.
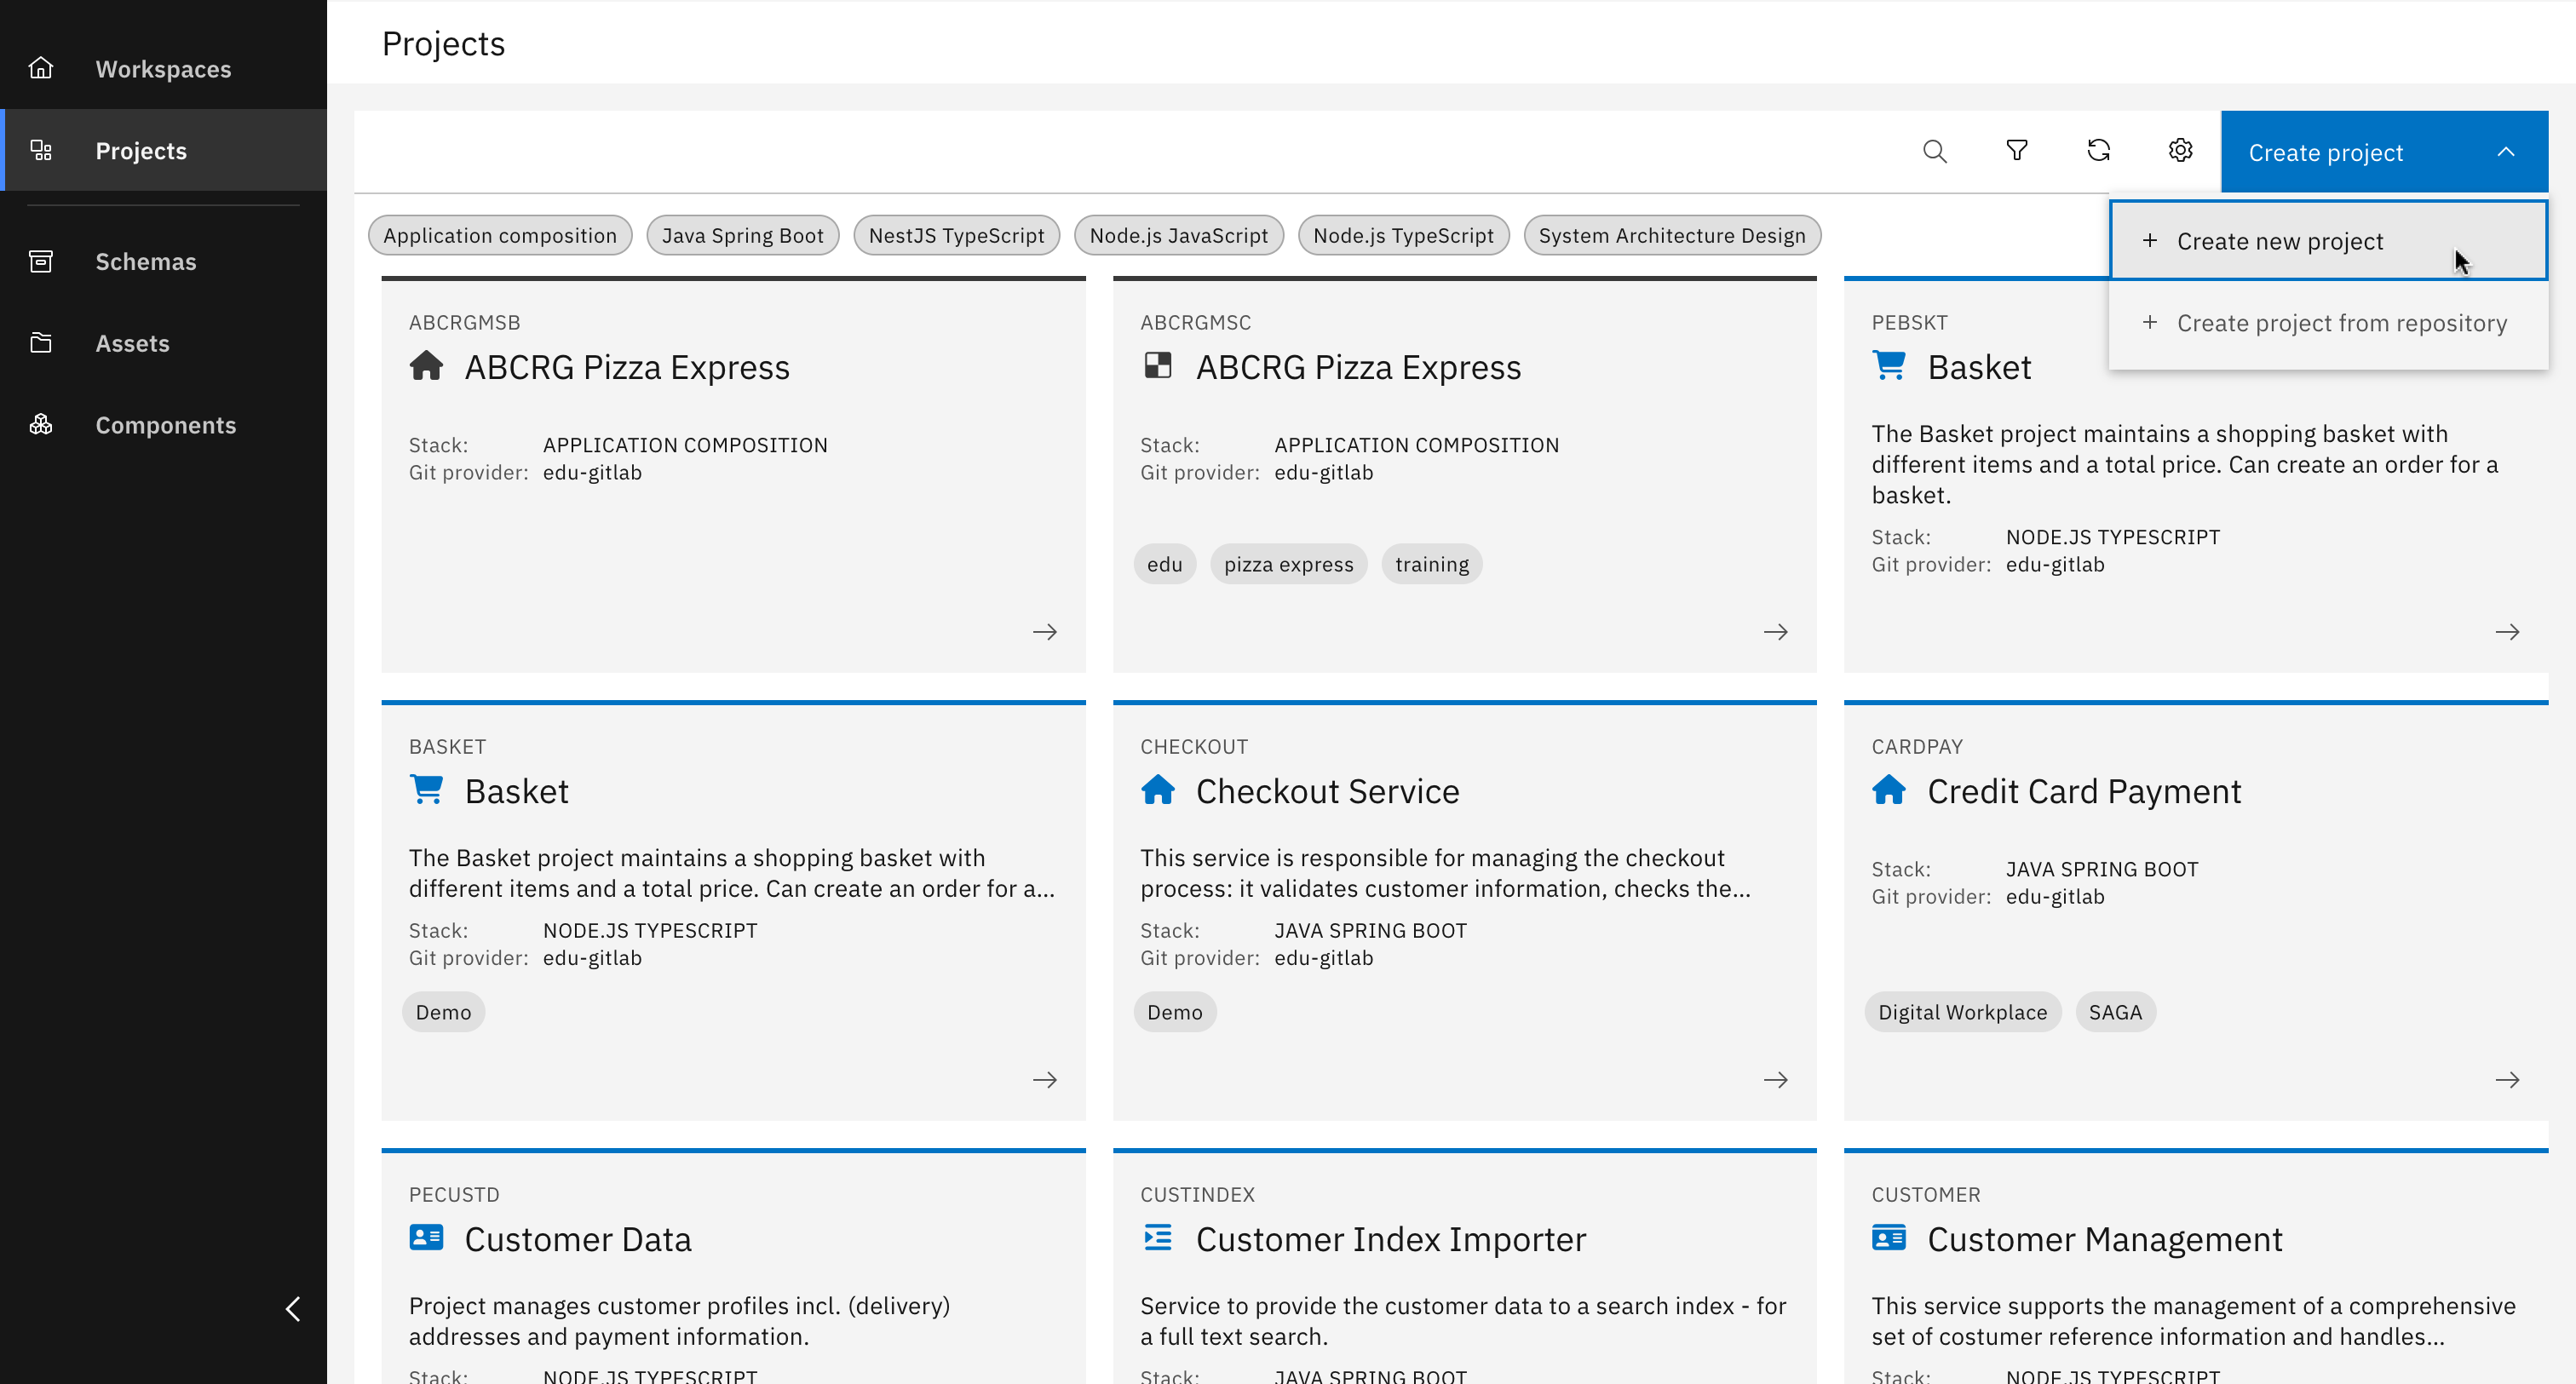
Click "Create project" and then "Create new project"
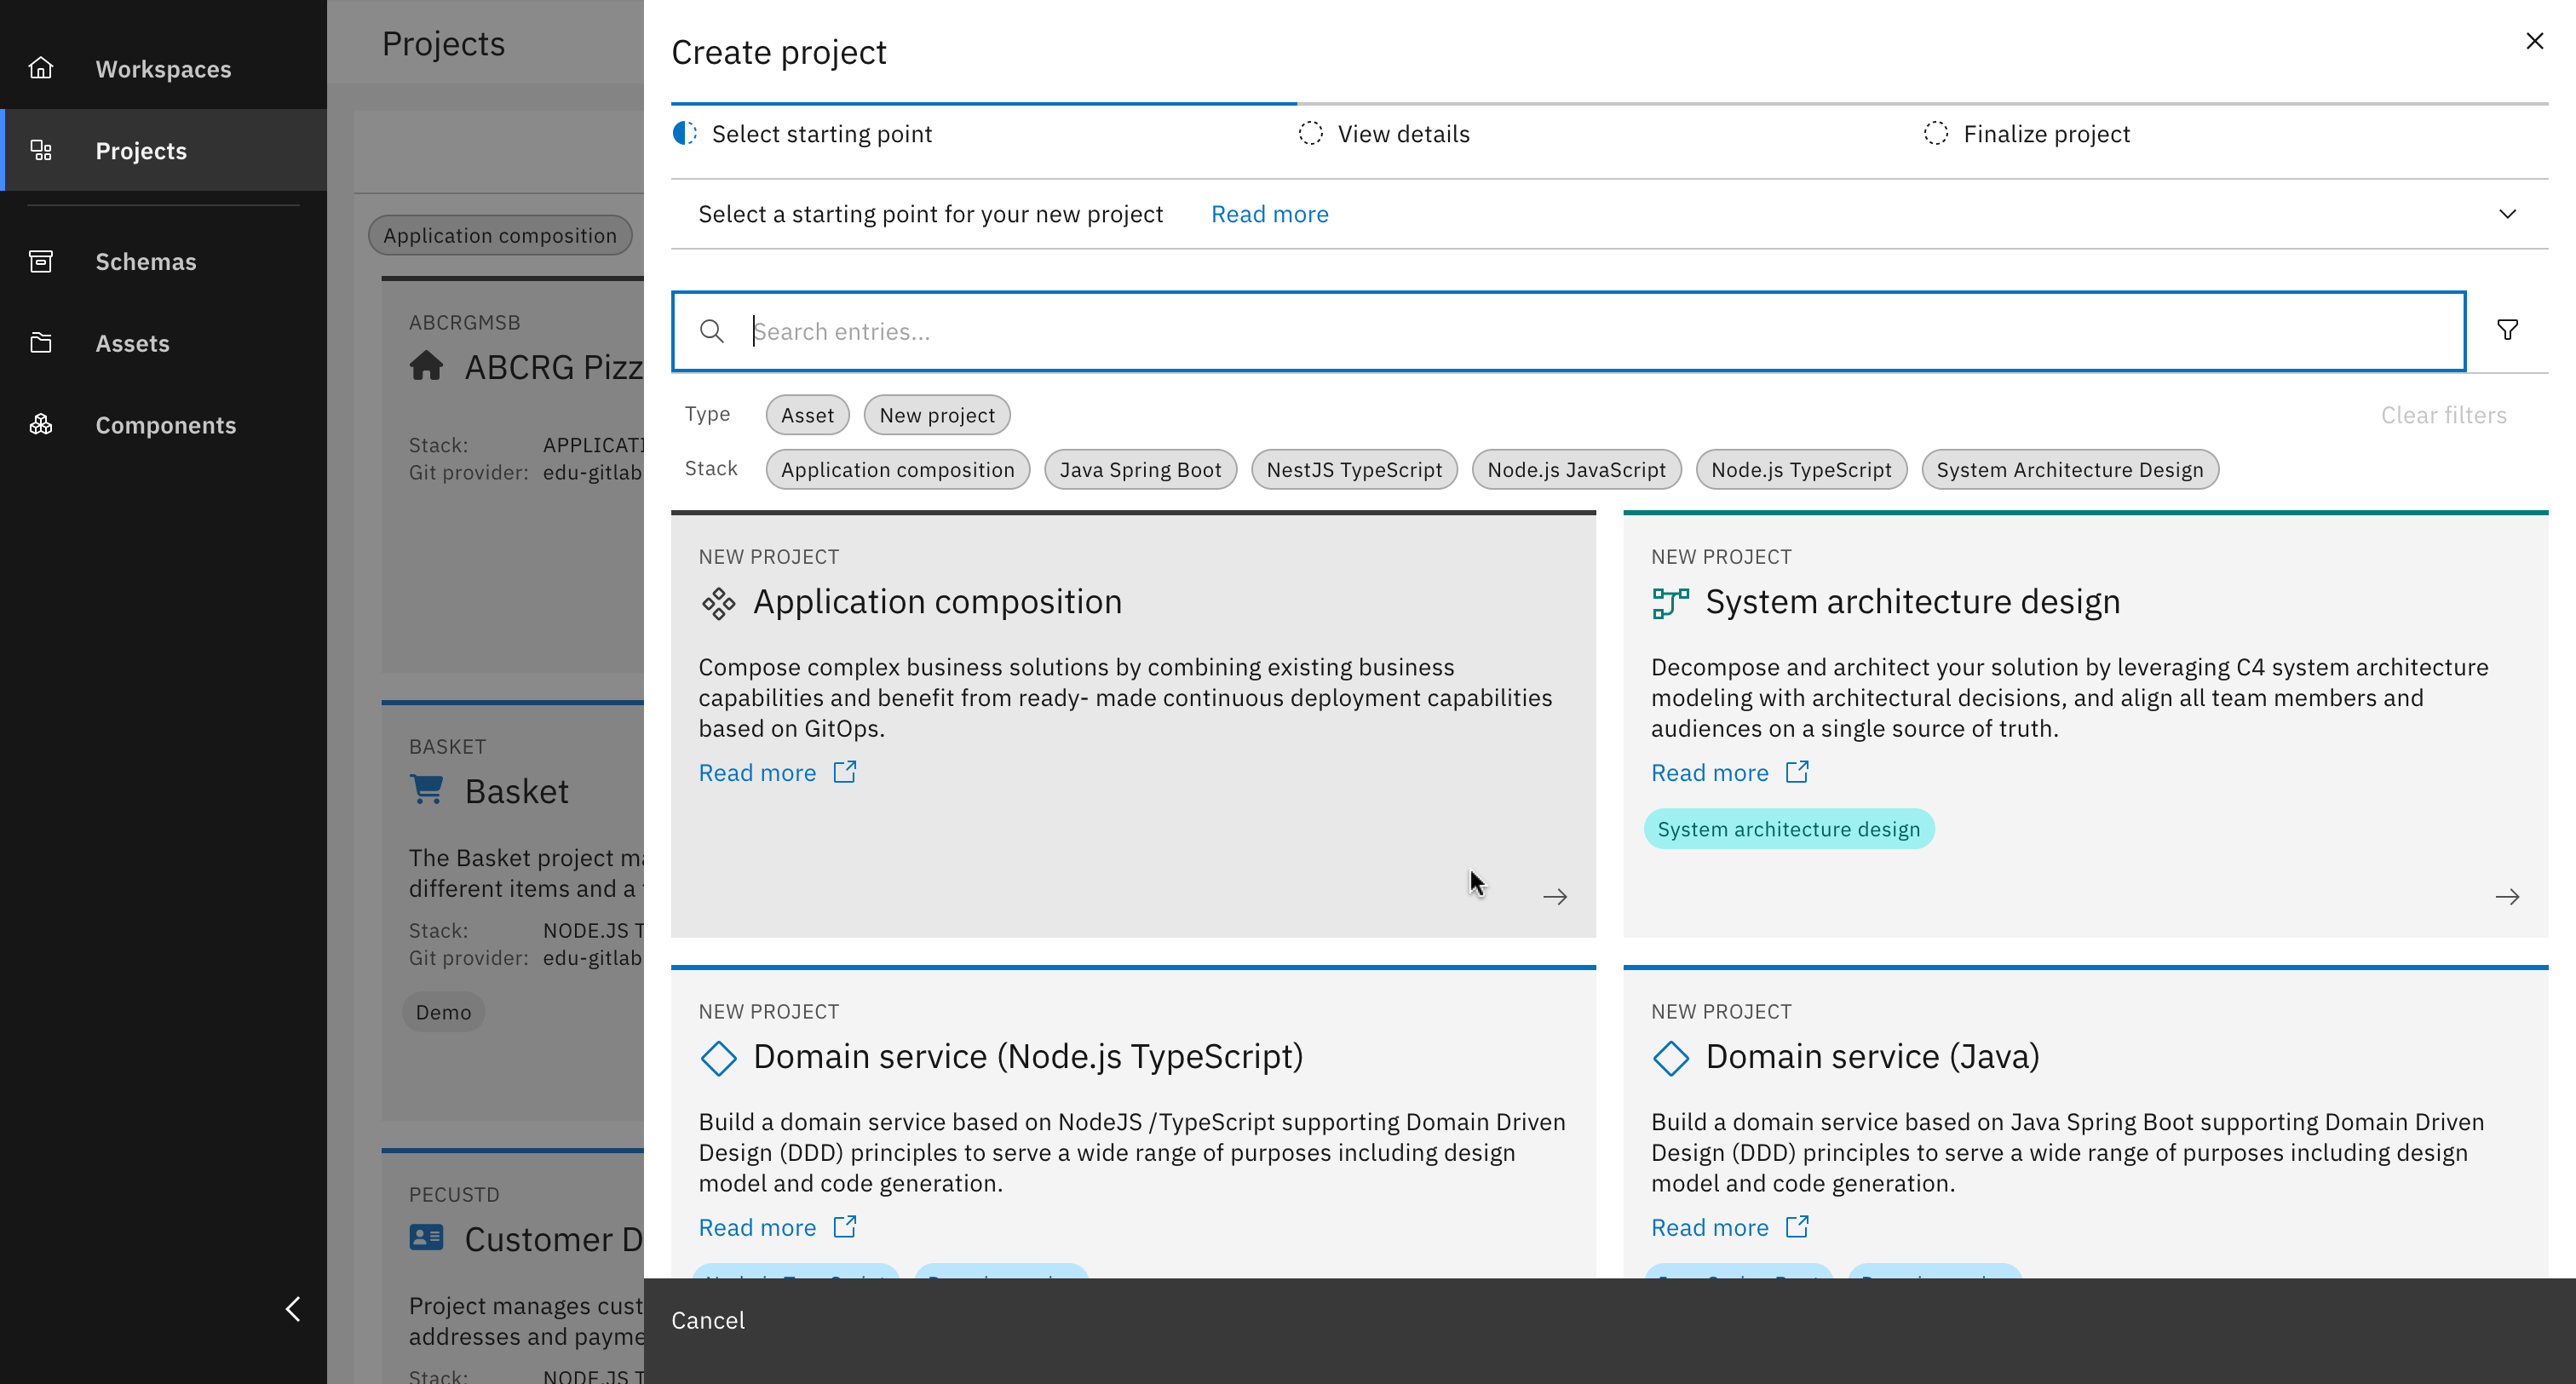
Select "Application composition"
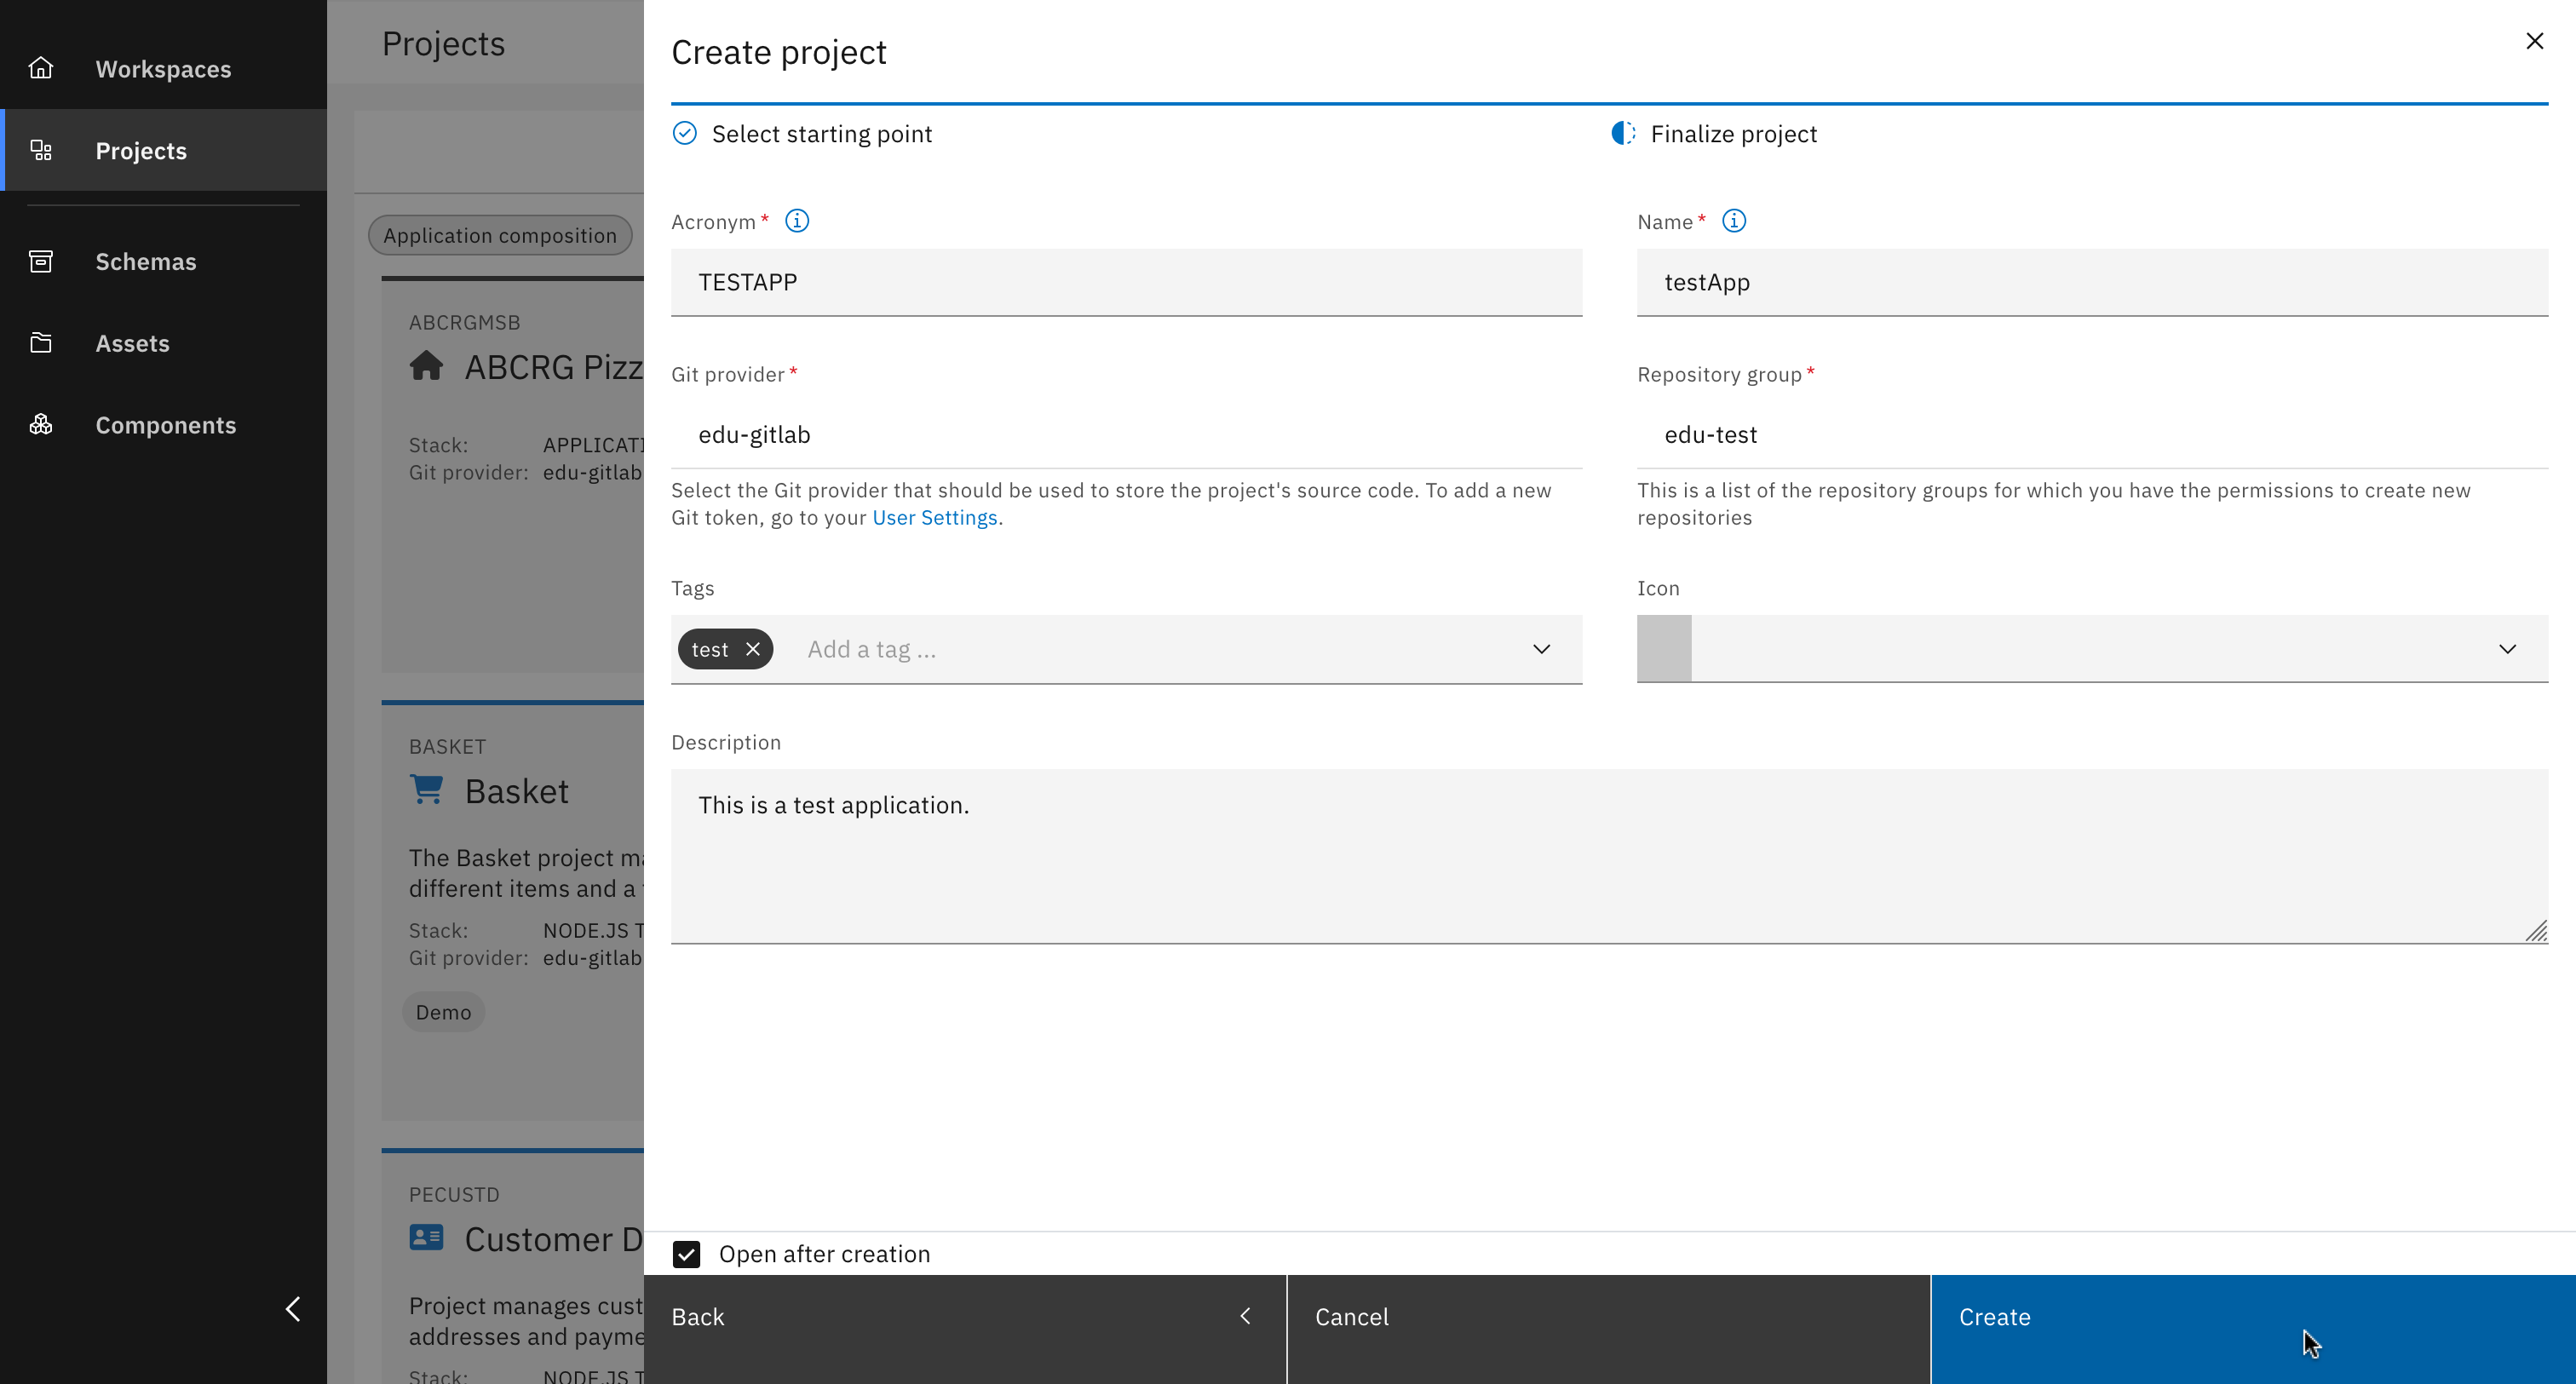
Fill out all details and click "Create"
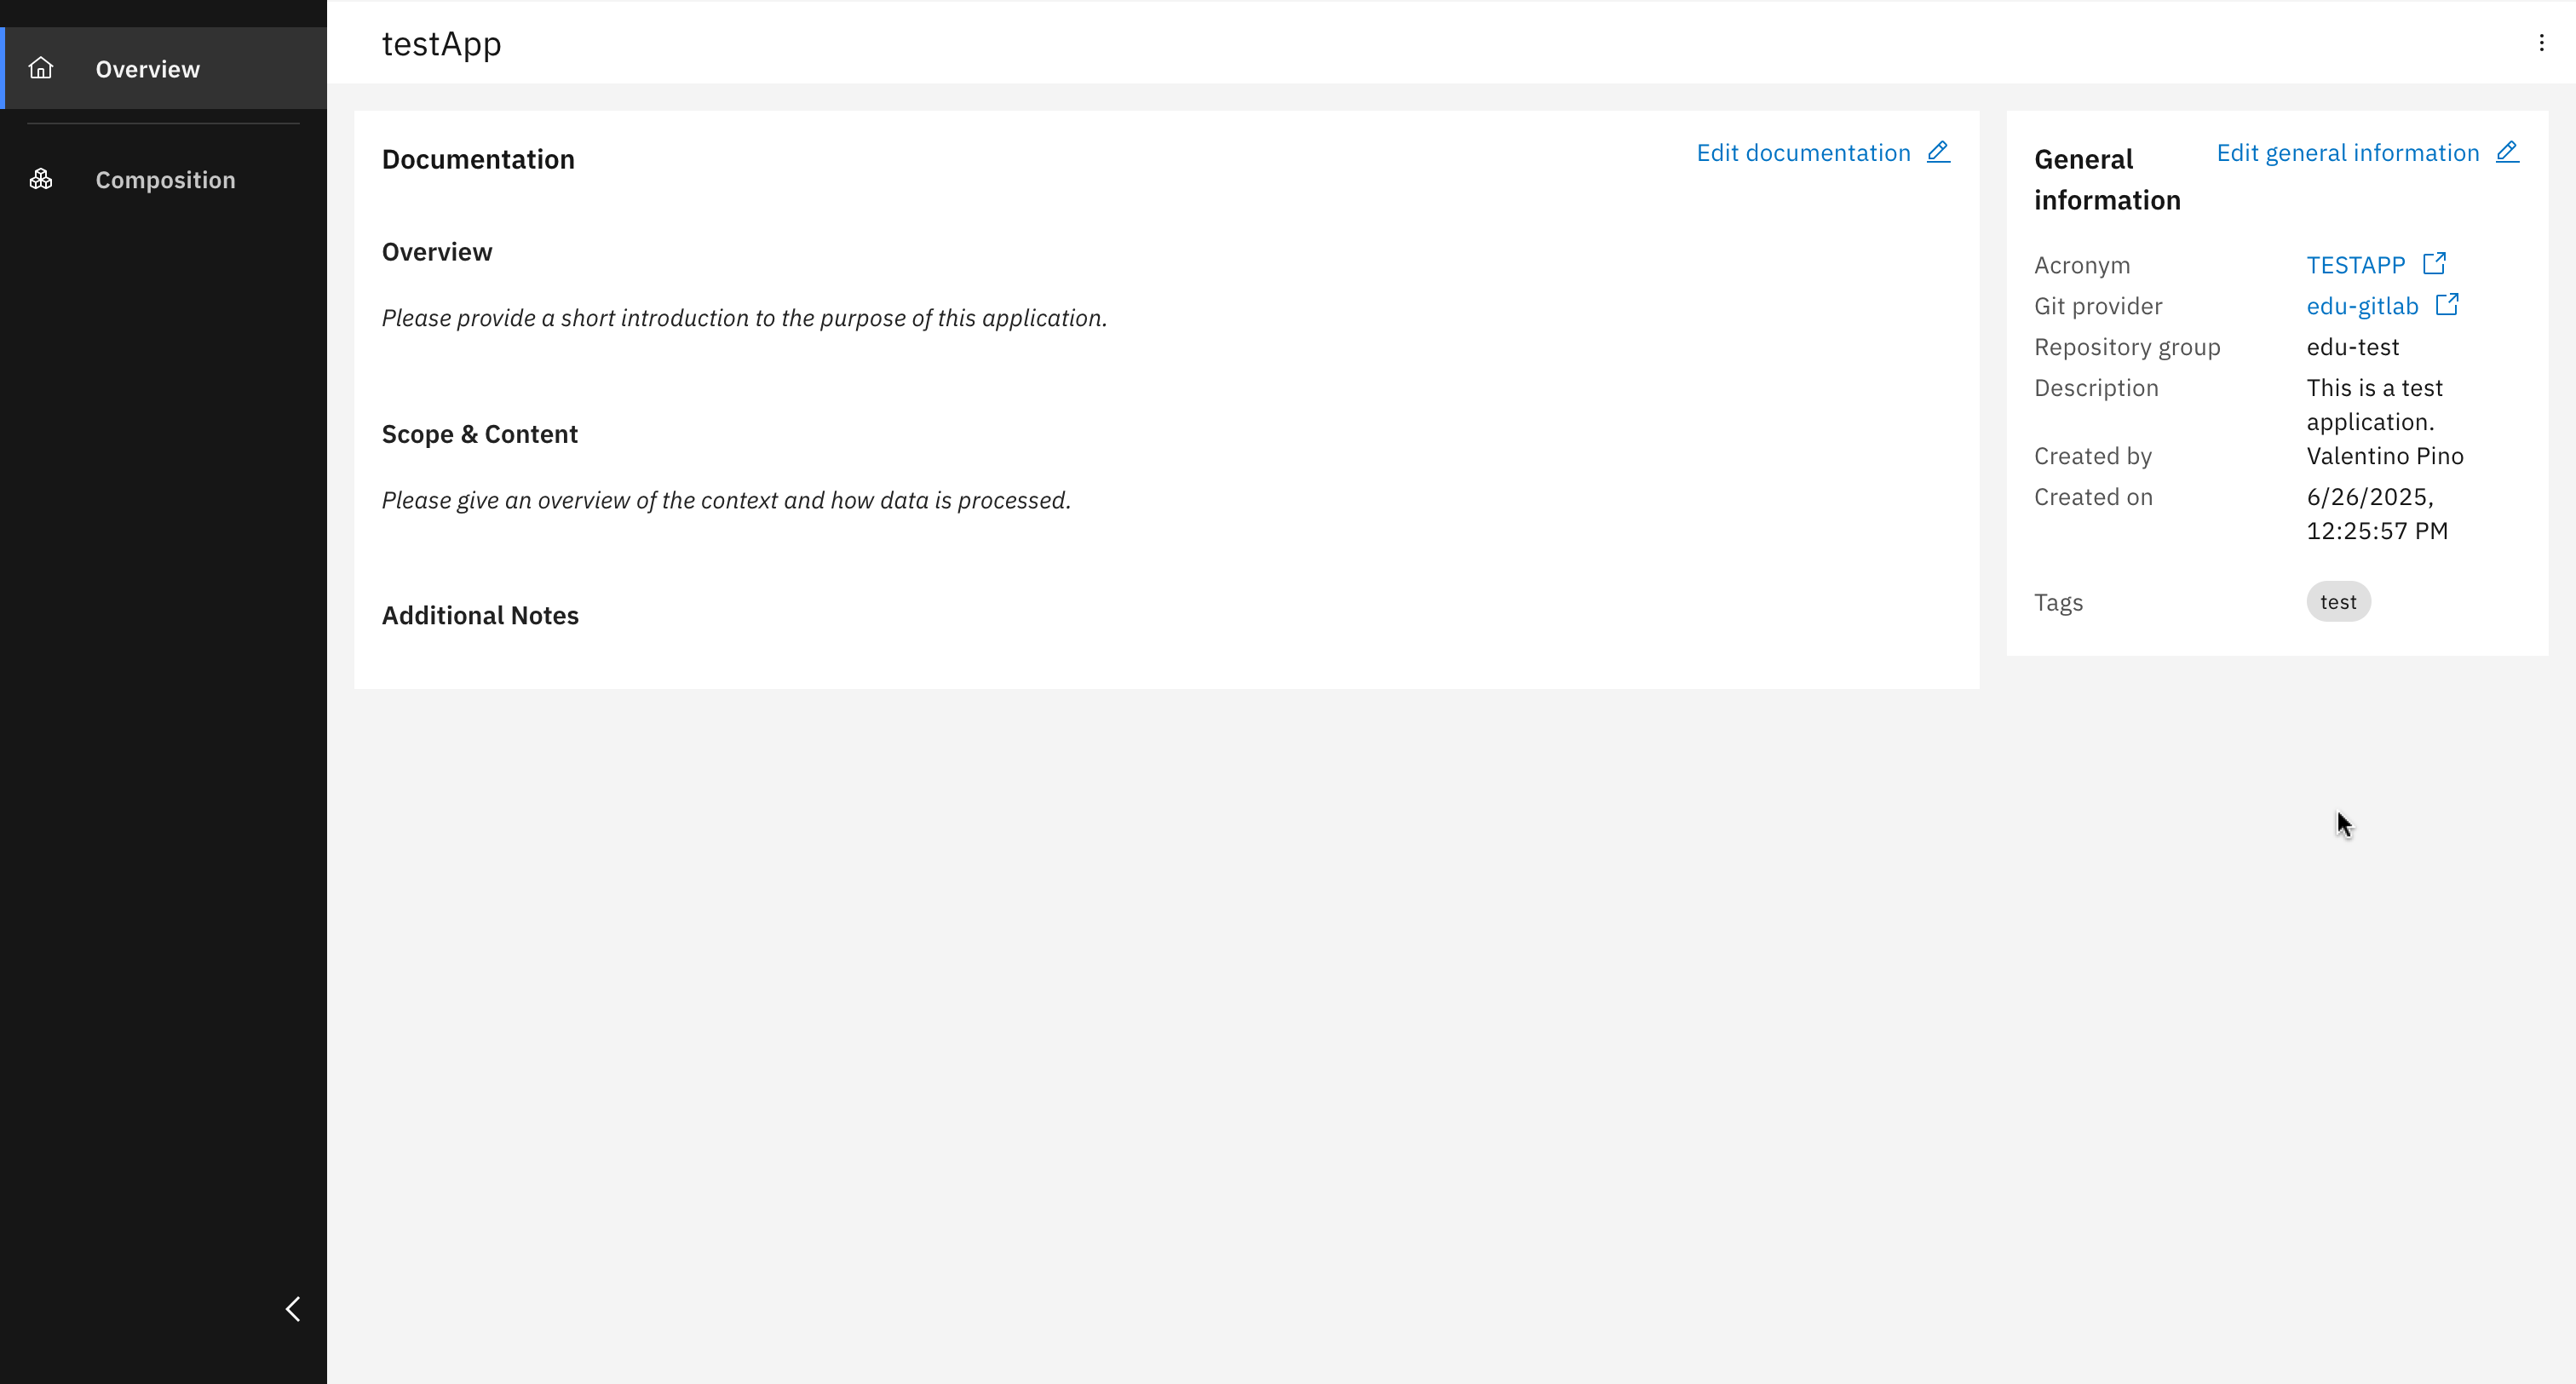
Great job! Your application composition project has been created
Step 2: Specify deployment target and add new components
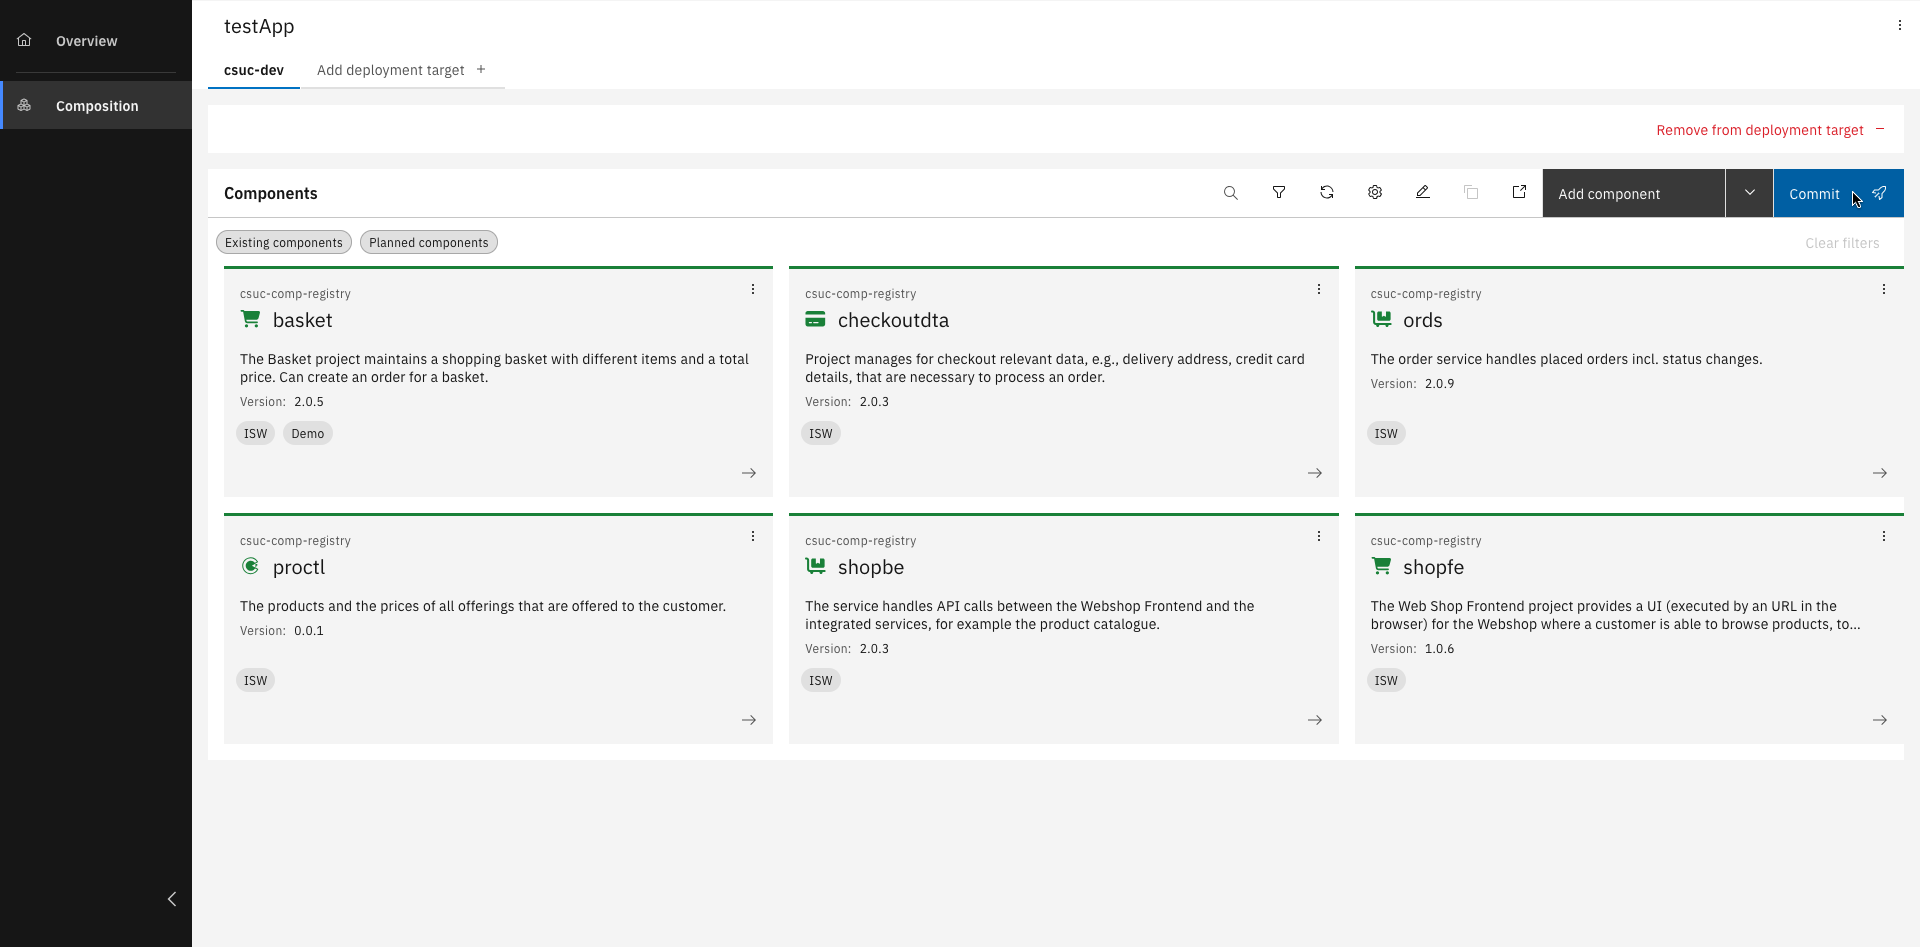
In this part, the application composition is defined by specifying the environment into which the application will be deployed. This involves setting up a deployment target that determines where the composed application will run. Once the deployment environment is configured, the necessary components for the application are added. We will include the following components to our application composition:
- Orders (ords)
- Basket (basket)
- Product Catalogue (proctl)
- Web Shop Backend (shopbe)
- Web Shop Frontend (shopfe)
- Customer Checkout Data (checkoutdta)
Each of these components is selected from a component repository and added to the composition to form a complete, deployable solution.
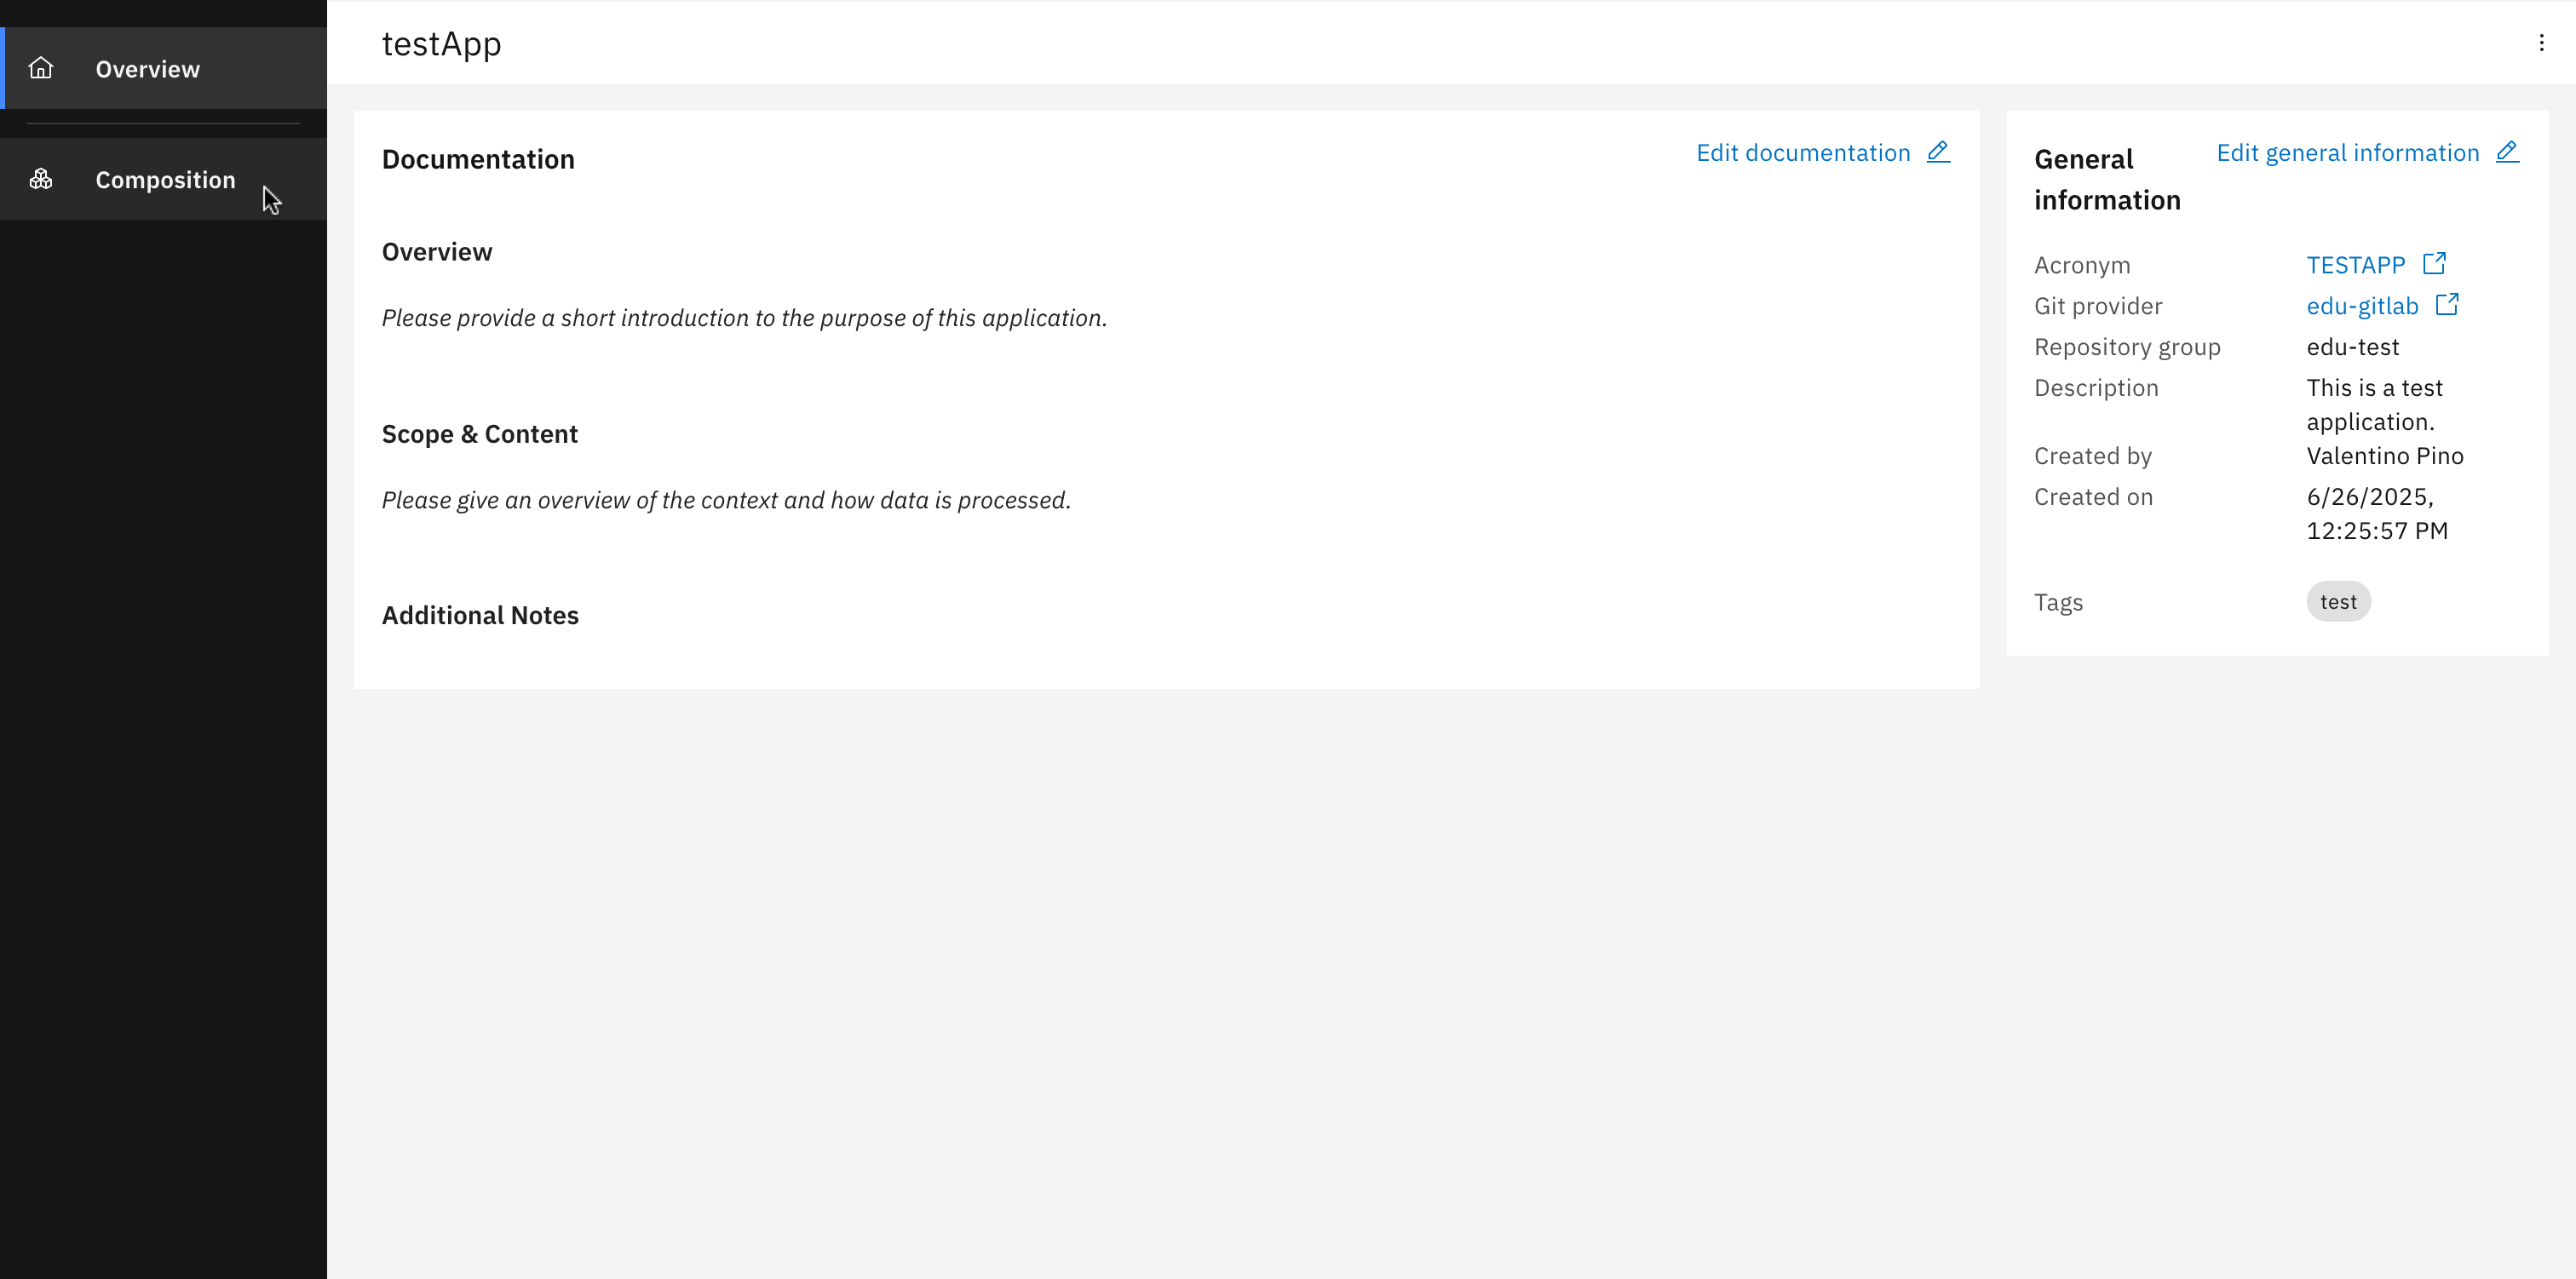
Click "Composition"
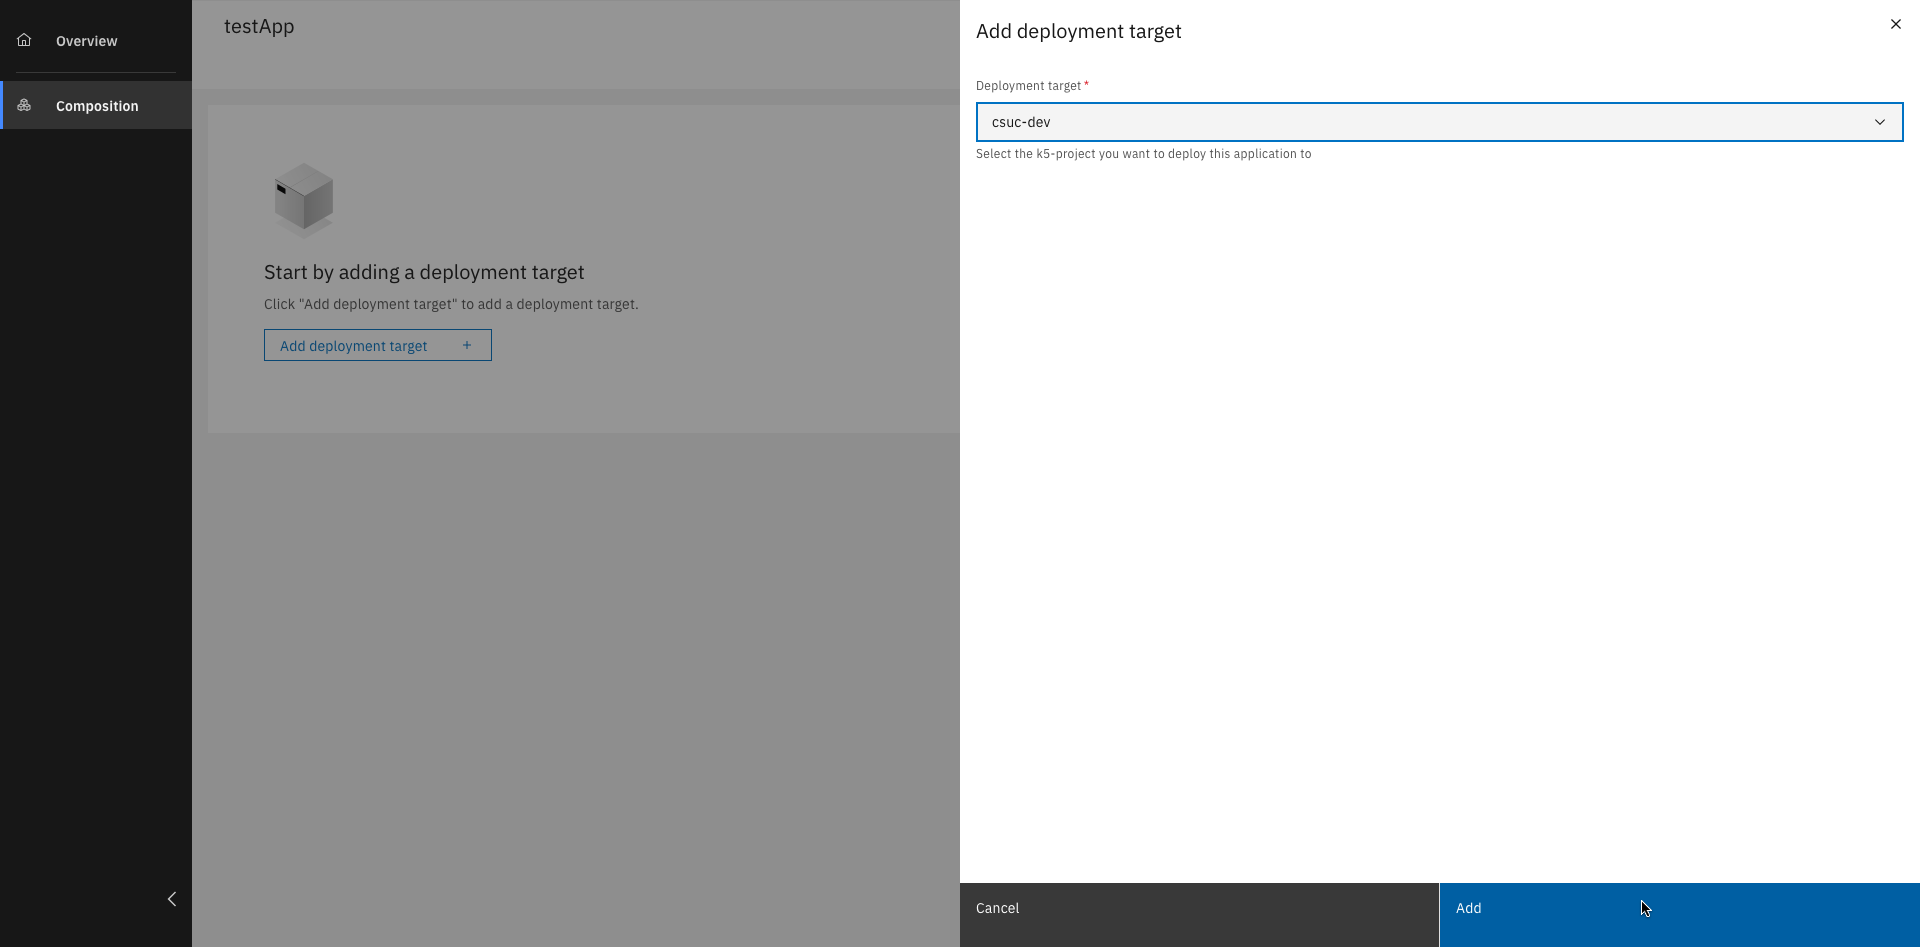
Add your deployment target and click "Add"
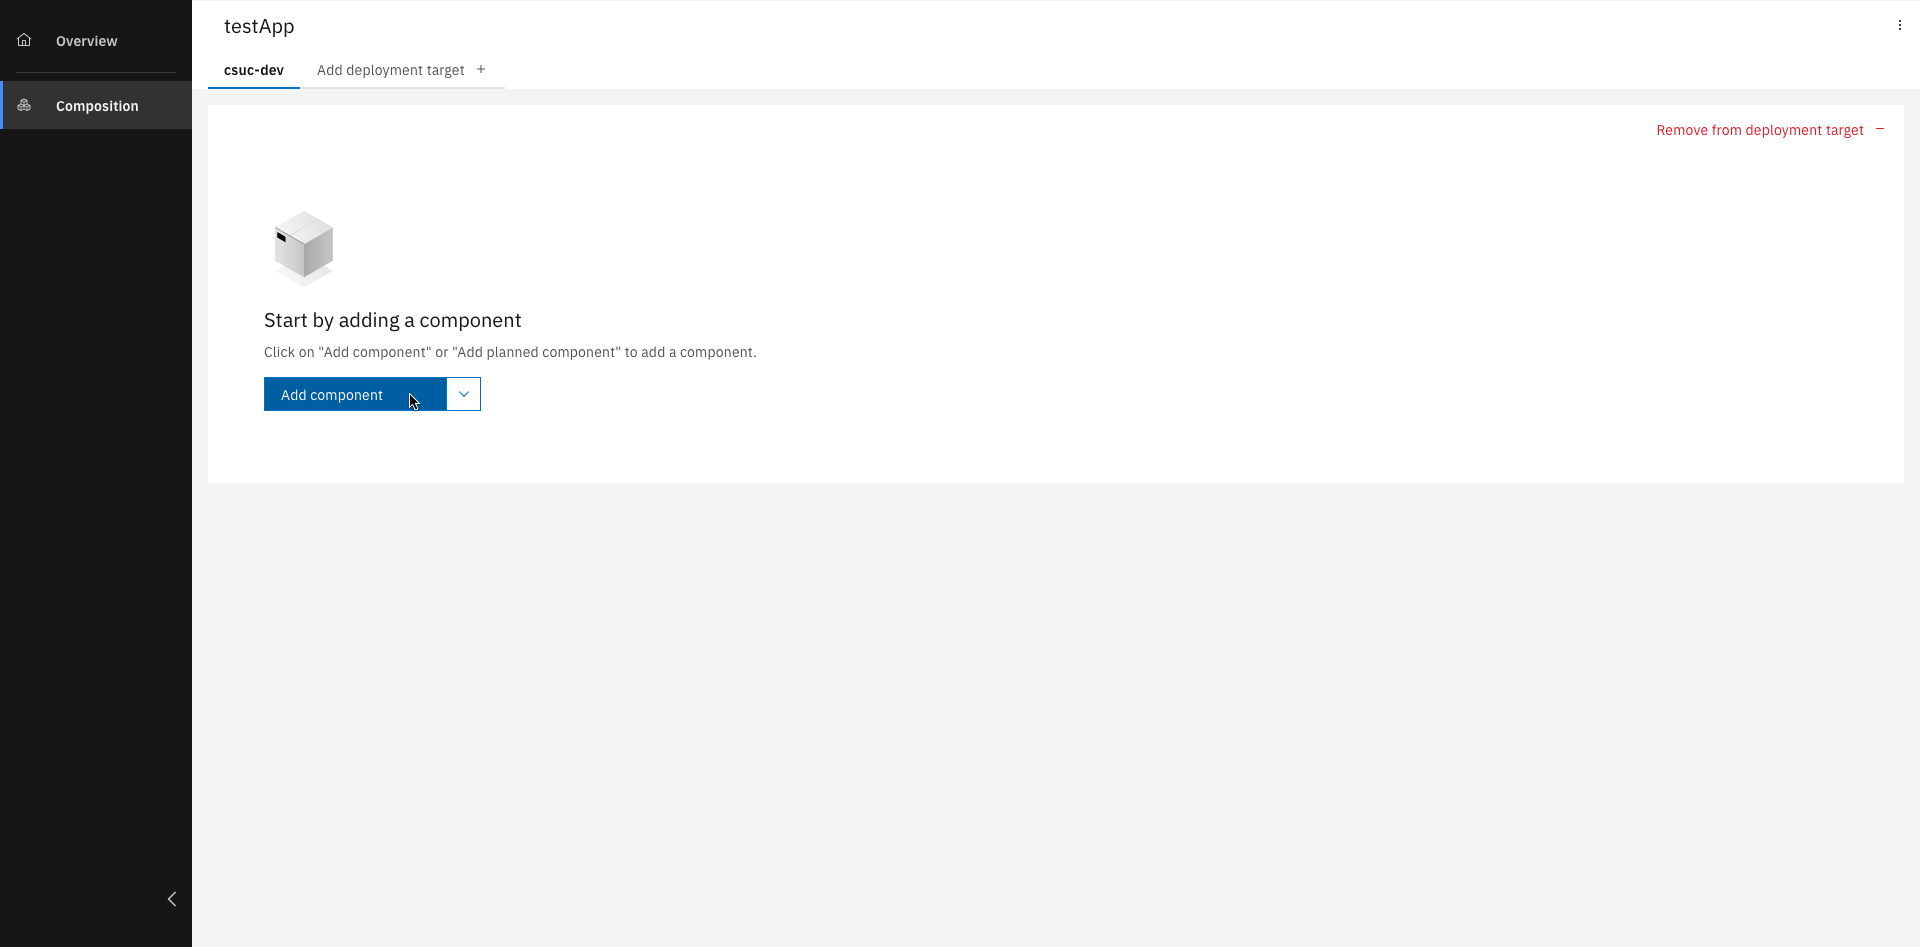
Click "Add component"
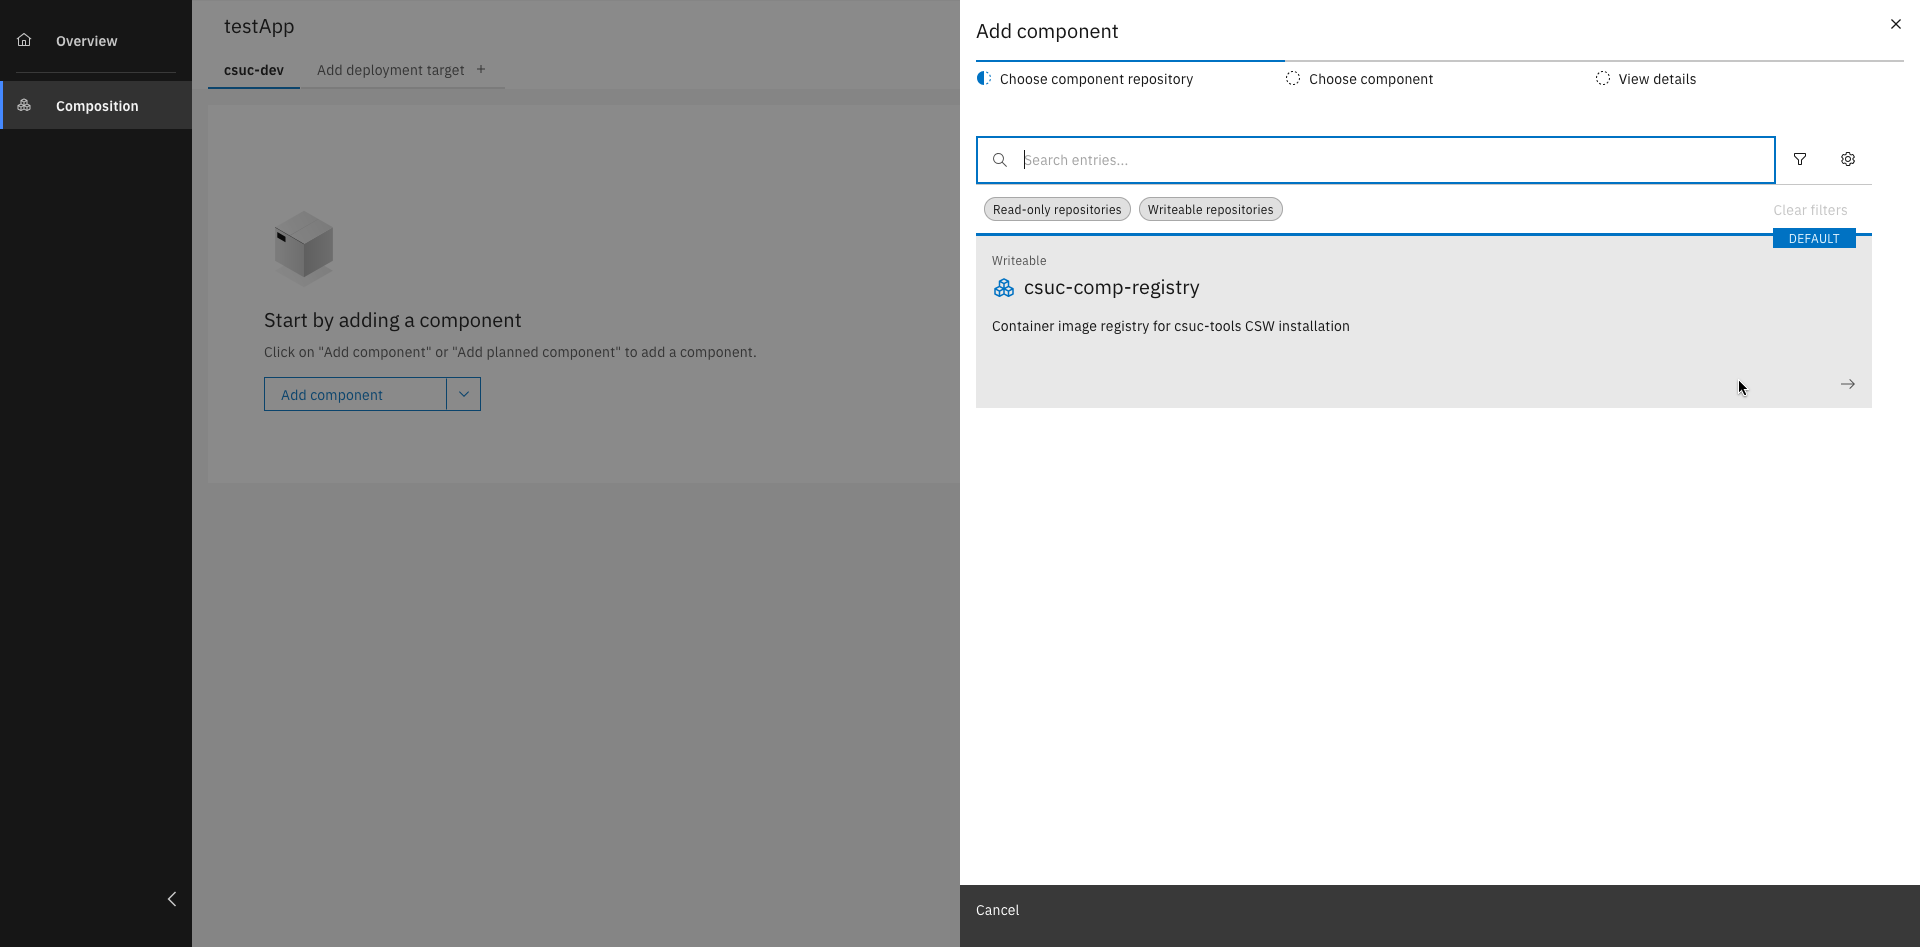
Choose the components needed for your application
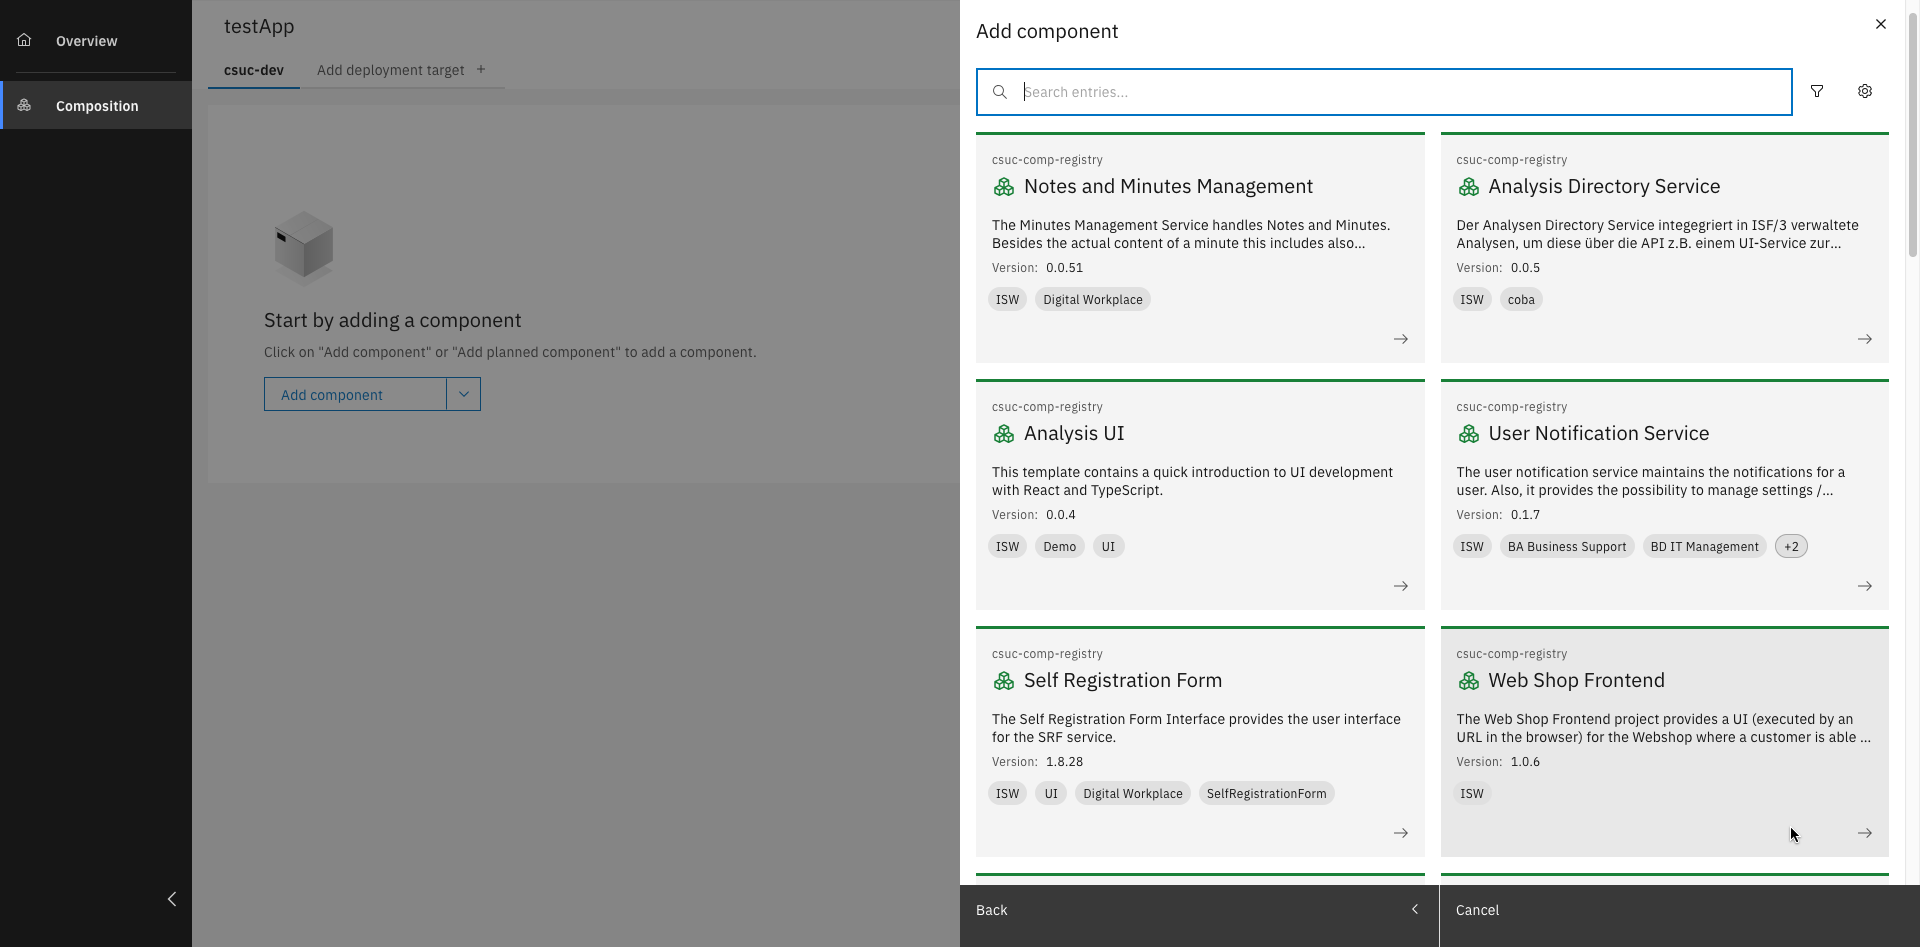
Select the needed components
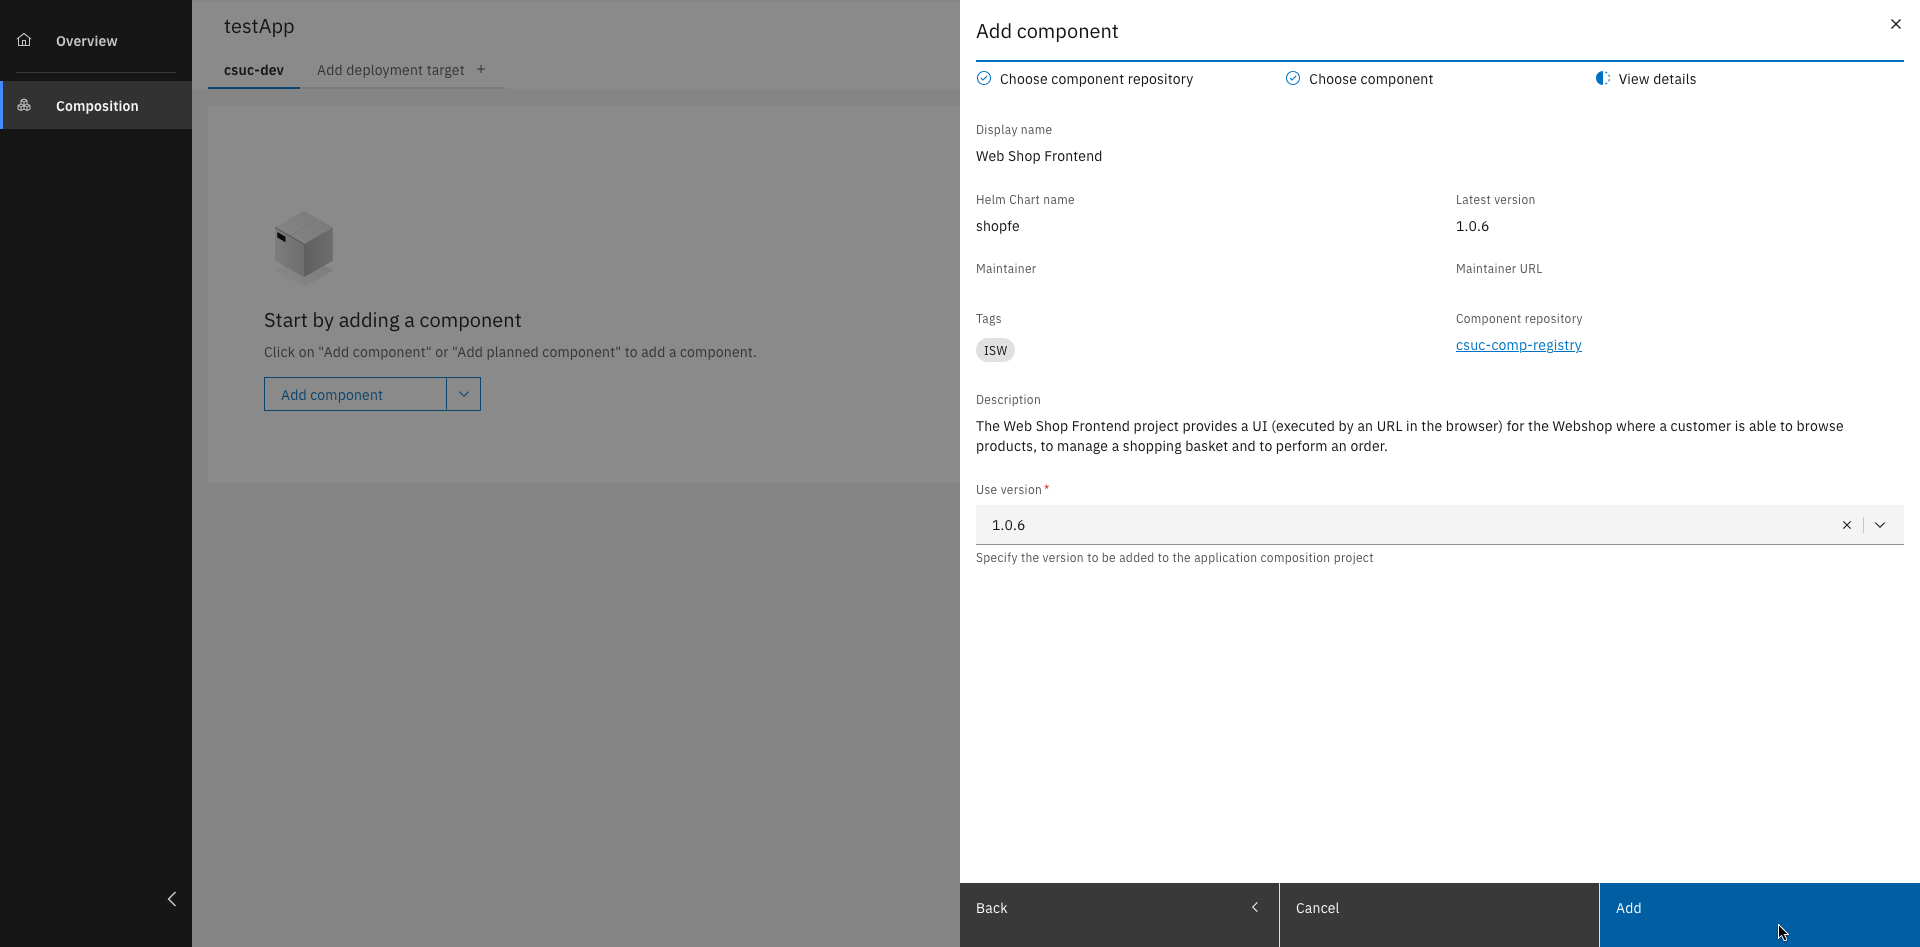
Select the required component version and click "Add"

All components have been successfully added to your composition
In addition to existing components, the application composition can also include planned components that are not yet implemented. This allows teams to outline the future structure of the application and prepare for upcoming functionality as part of the overall design.
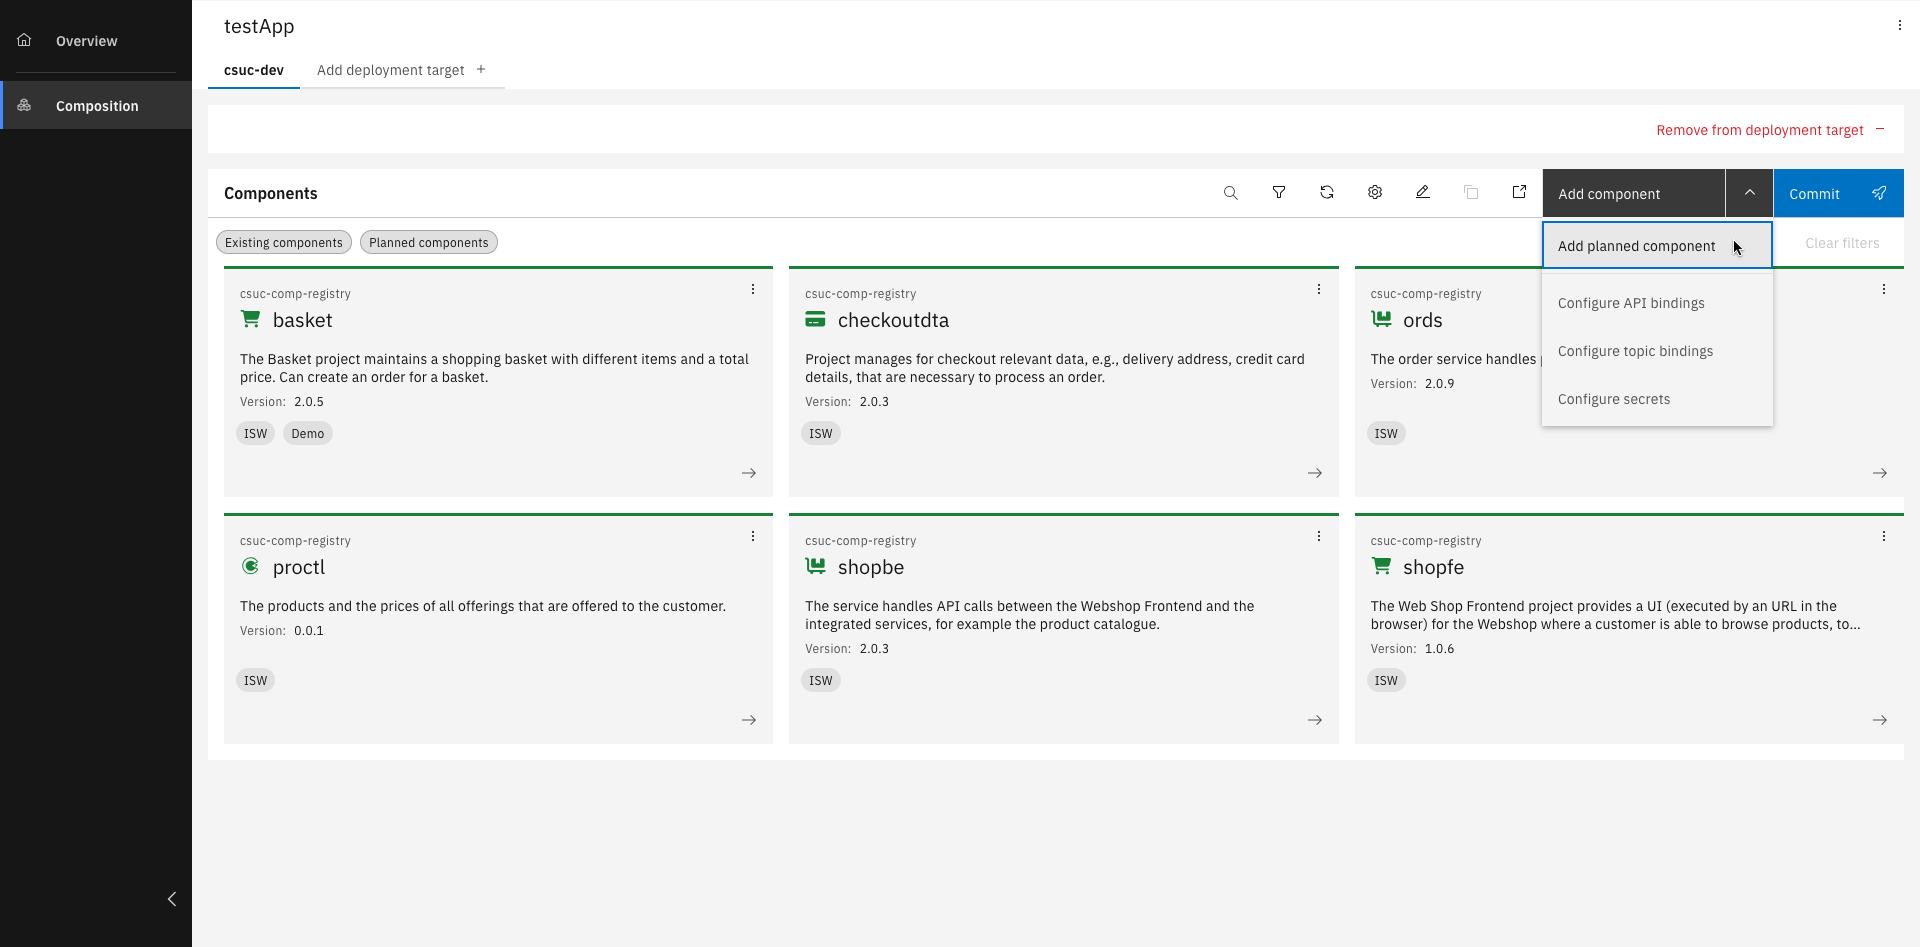
Click "Add component" and select "Add planned component"
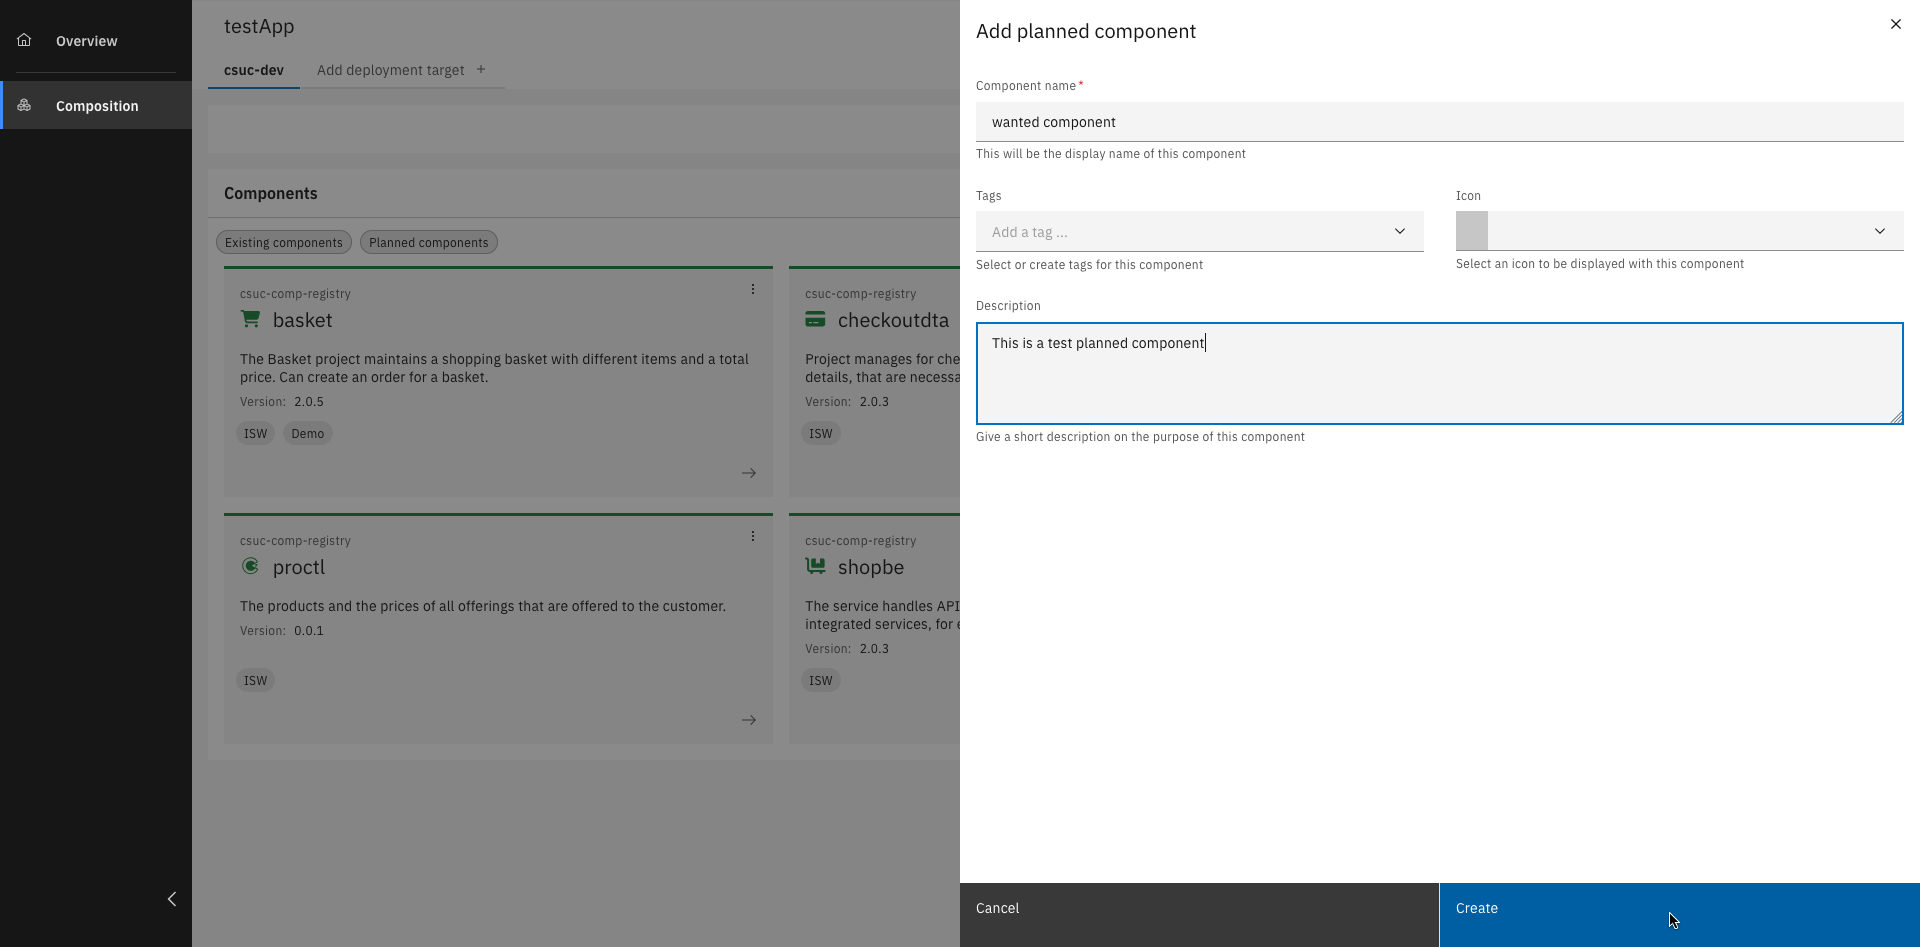
Fill out all details and click "Create"
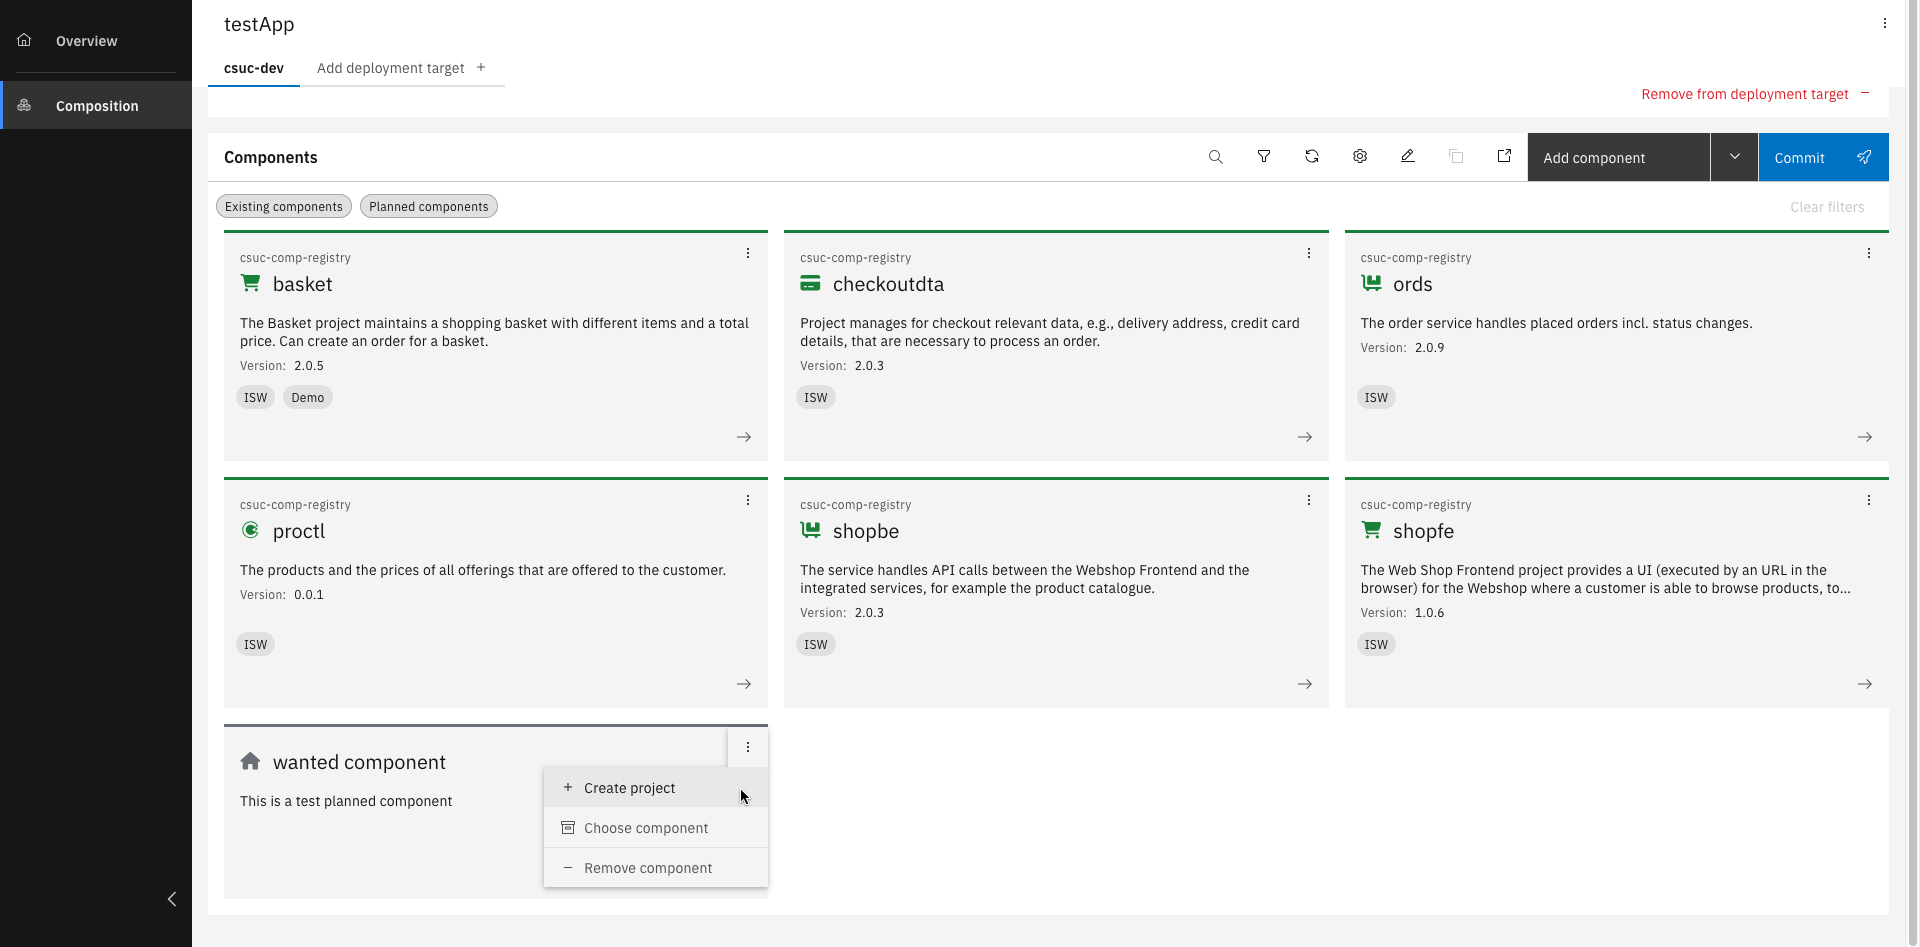
Your planned component has been added to the composition
Step 3: Configure Topic Bindings and Frontend Component
To ensure proper communication between services via events, topic bindings must be configured. In this case, the Orders component requires a binding to a specific messaging topic. This topic defines where event messages will be published or consumed. The topic name follows a naming convention that includes the application acronym and the deployment target. It should be set to:
<app-acronym>.<your-deployment-target>.orders.events
To make the frontend of the application accessible via the browser, route configuration must be defined for the deployed frontend component. This is done by extending the component's custom configuration to include routing information. Specifically, a root route needs to be declared so that the application knows how to resolve navigation paths. The following YAML snippet should be added to the custom configuration section of the component:
routes:
    root: true
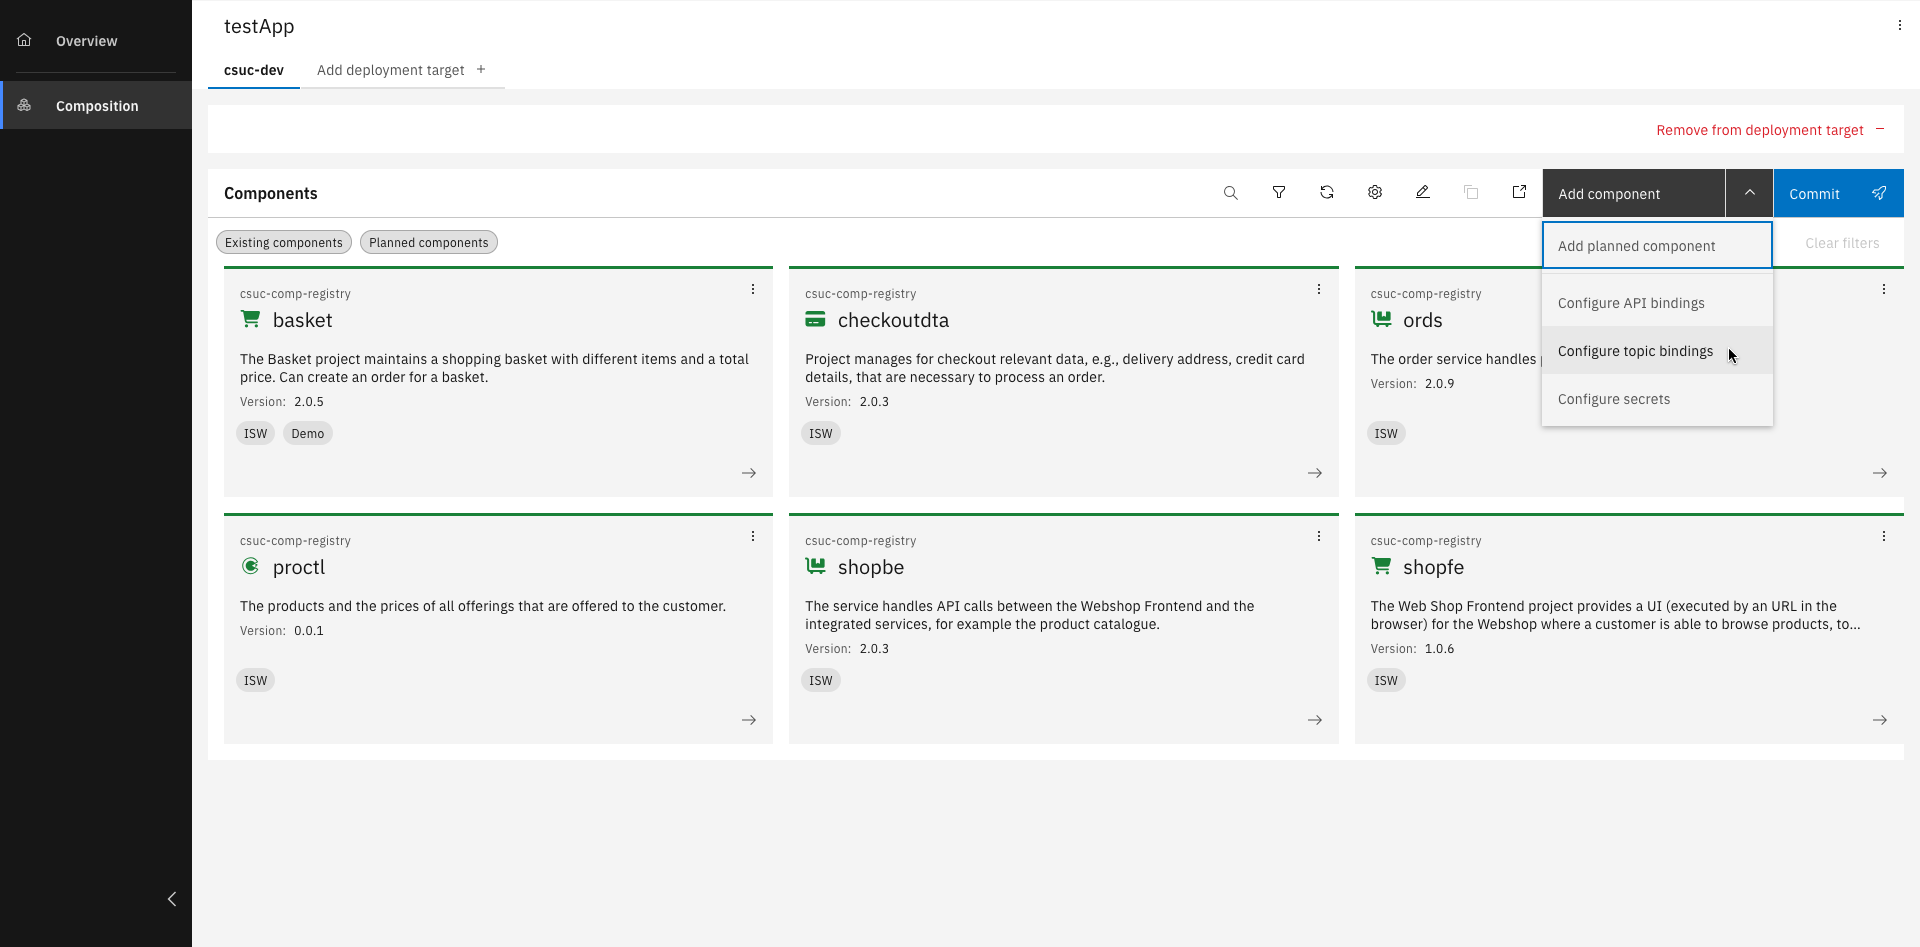
Click "Add component" and select "Configure topic bindings"
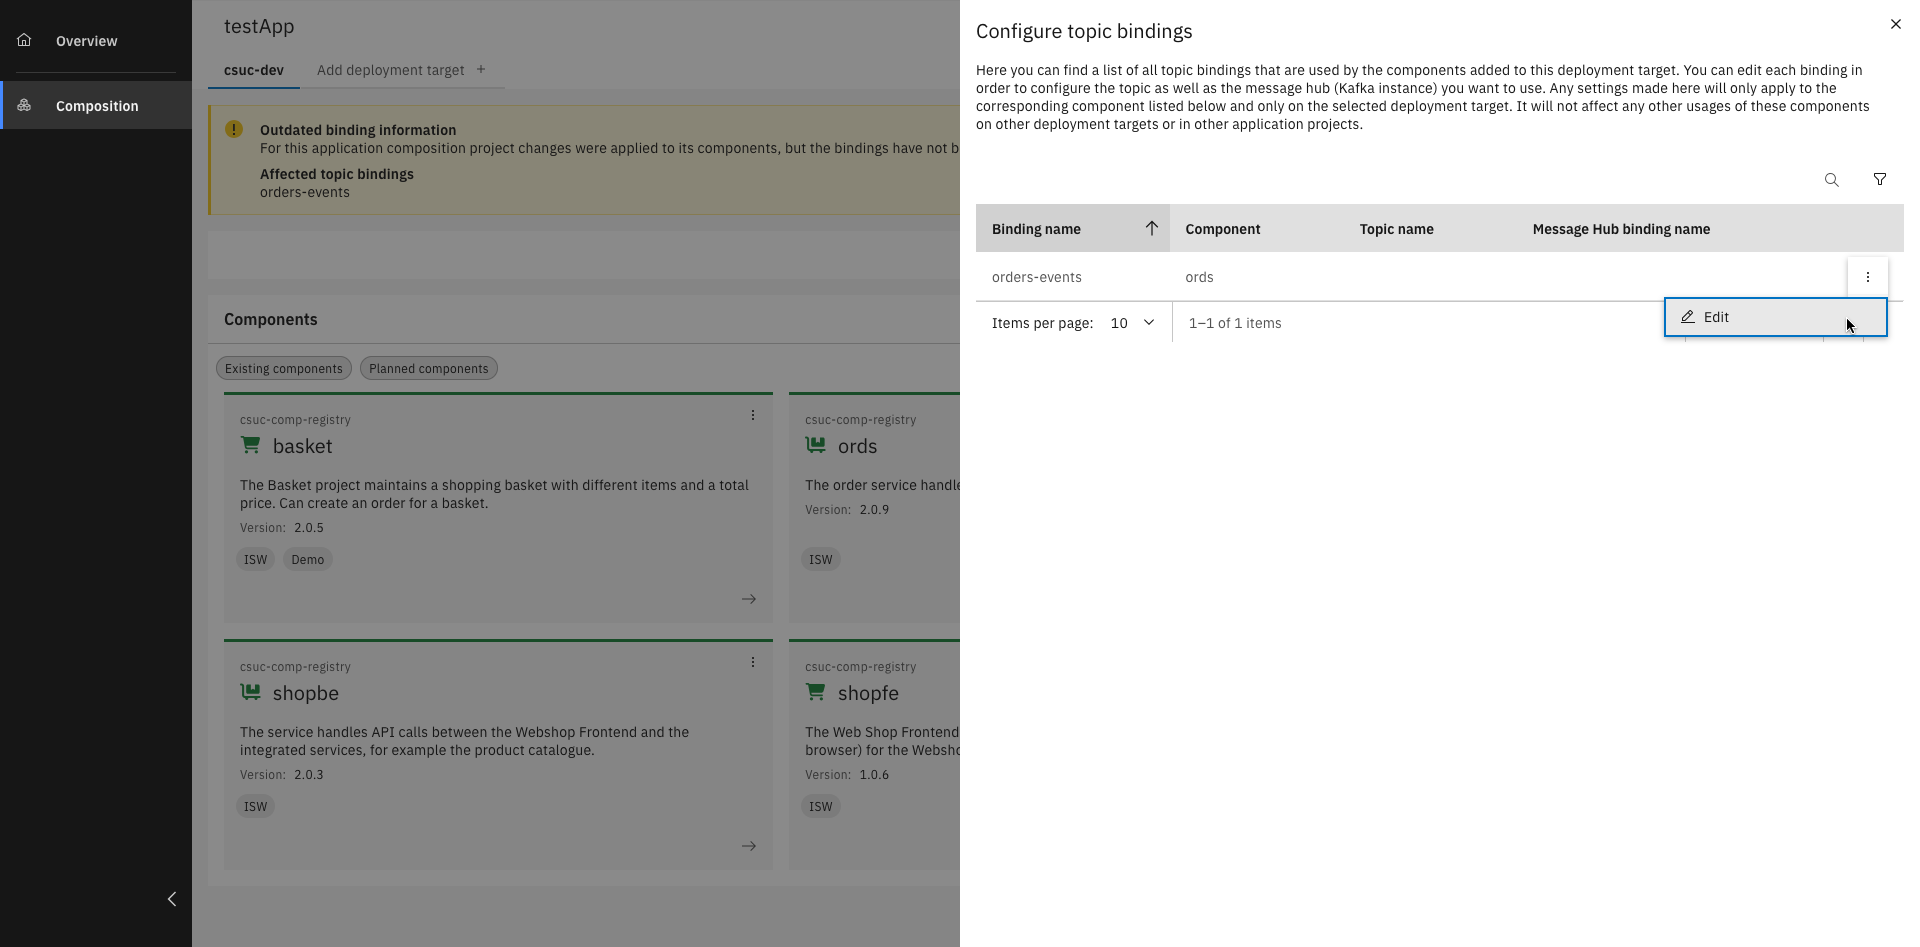
Click the three dots and edit the topic bindings
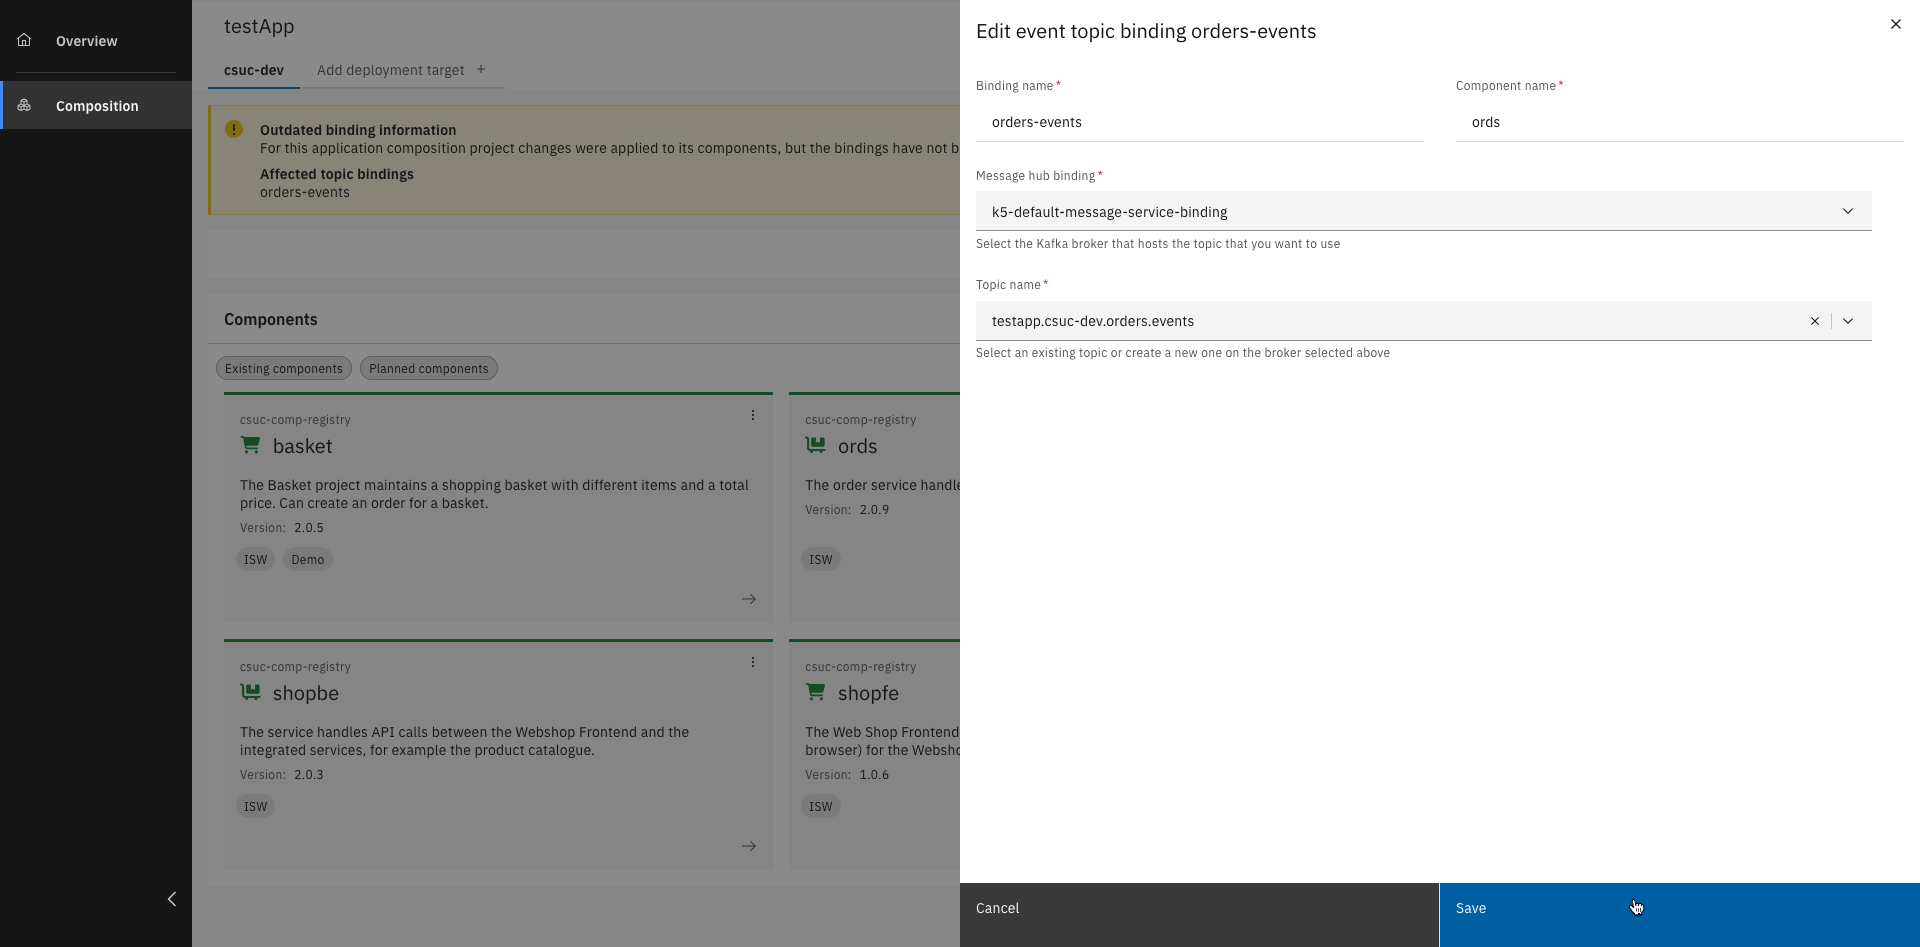
Fill out all the details and click "Save"
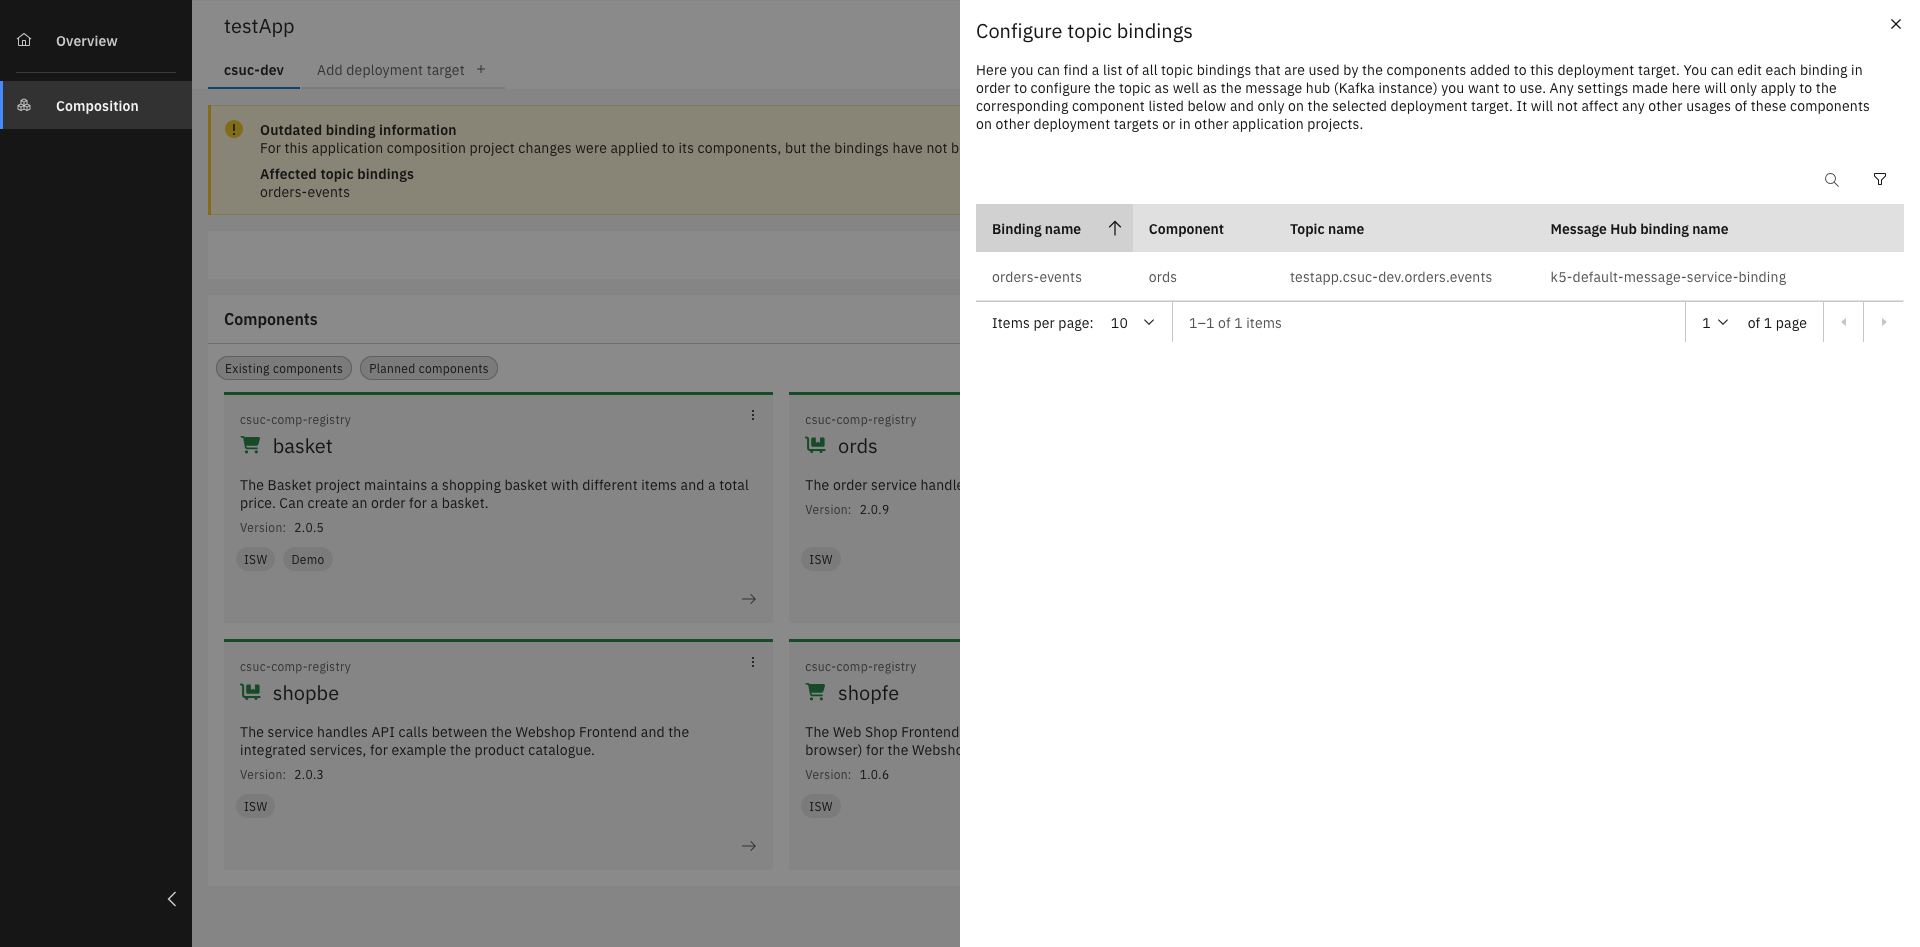
The new topic binding should be listed in the table
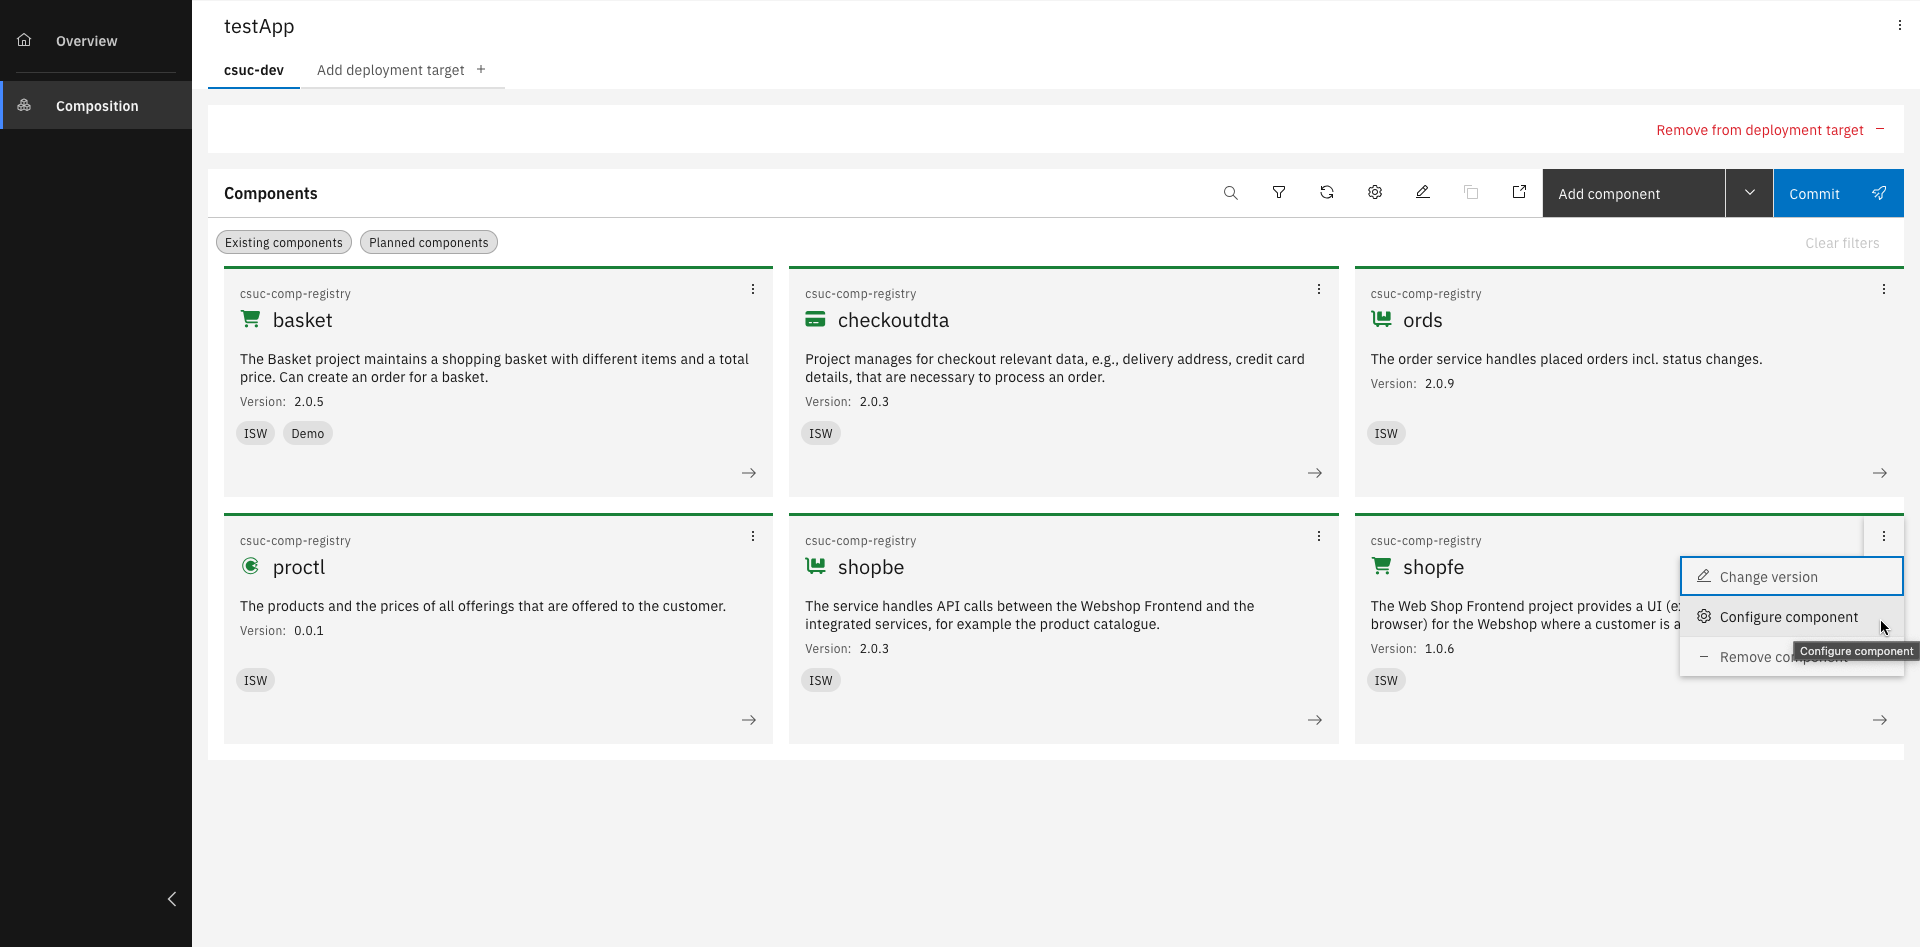
Select "Configure component" in your frontend components dropdown menu
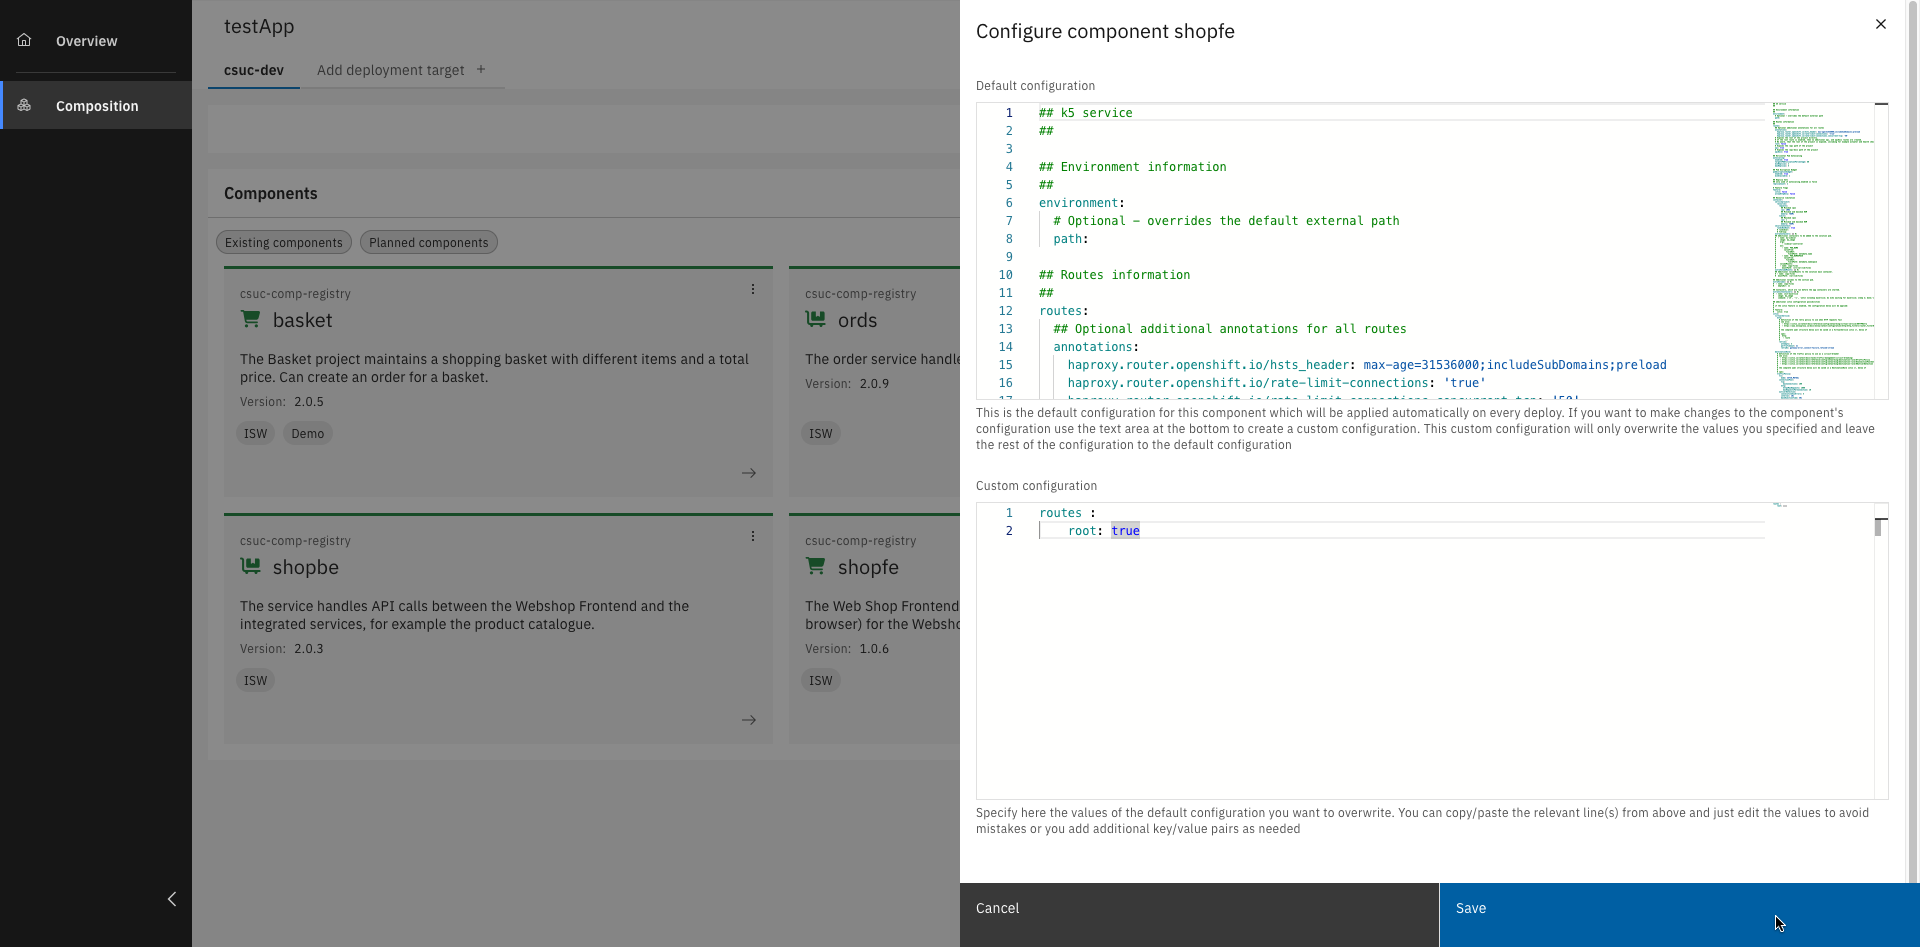
Add the mentioned configuration and click "Save"
Step 4: Deploy the application
To start the deployment of your application, a commit is needed. Committing saves the current setup of your application and tells the system to begin the deployment process. This step finalizes your changes and pushes them into the deployment pipeline.
You have successfully created and deployed your Application Composition.
You can discover your deployed application in the Environment page
Try out your Application
Now that your application is deployed, you can try out Roboflow built within the IBM DevOps Solution Workbench.
You can find the Webshop UI deployed under
https://<your-deployment-target>.apps.openshift-01.knowis.cloud/<app-acronym>/shopfe/.
Here you can now login, browse the catalogue, add items to your basket and order your wanted robot parts.
Related Links
Please find more information about application composition: