Project Types
In this course you will learn about the different project types that IBM DevOps Solution Workbench supports and you will also learn which type is the best fit for your purpose.
Outline
When starting a new project, selecting the right project type provides a solid foundation for efficient service development and architectural planning. Our platform offers two main categories: System Architecture Design and Service Projects.
The System Architecture Design project type includes a powerful modeling tool for creating, linking, and maintaining architectural diagrams and decisions. It helps structure your system from a high-level perspective while managing model elements effectively.
Service Projects cover a range of implementation stacks, including NodeJS TypeScript, Java Spring Boot, and React. Available services include Domain services, Integration services, Backend for Frontend, Basic services, and Frontends. Each service type is tailored for specific roles within your system and may come with preconfigured extensions, such as API modeling, domain modeling, and testing support to accelerate development. Some extensions are mandatory, depending on the stack, while others can be enabled or disabled as needed. Together, project types and extensions provide a flexible and structured way to build and scale services in a microservice-oriented environment.
You can learn more details about the project types from the Product Documentation: Project types
Exercise
- Estimated time: 5 minutes
- Exercise goal: In this exercise you will learn how to create a microservice project from scratch using the Solution Designer. Also you will commit and push your work.
Please note that the links to the workbench tools in this tutorial only apply to the IBM Education Environment we provide. If you are using a different environment, e.g. your own installation, you will need to navigate directly to the required tools.
Preparation: Login to the -solutionDesigner
To begin the product types deep dive, you first need to set everything up:
- Open the Solution Designer
- Login with your credentials
Step 1: Create a new Project
To create a new project for testing and training purposes, start by selecting a starting point: either a project type (for building from scratch) or an asset (to base your project on). Use the Type and Stack filters to narrow your options. Next, choose a stack for your microservice. After selecting the project type and stack, you'll be prompted to enter metadata:
- Acronym: A unique technical identifier; include your username to ensure uniqueness.
- Name: A human-readable name for your project.
- Category: Choose an appropriate category for your service.
- Git Provider: Select the remote Git provider where the repository will be created.
- Repository Group: Specify the repository group for project creation.
- Tags: Add tags to help filter and organize projects later.
- Icon: Choose an icon to visually distinguish your project.
- Description: Optionally, describe the purpose or context of your project.
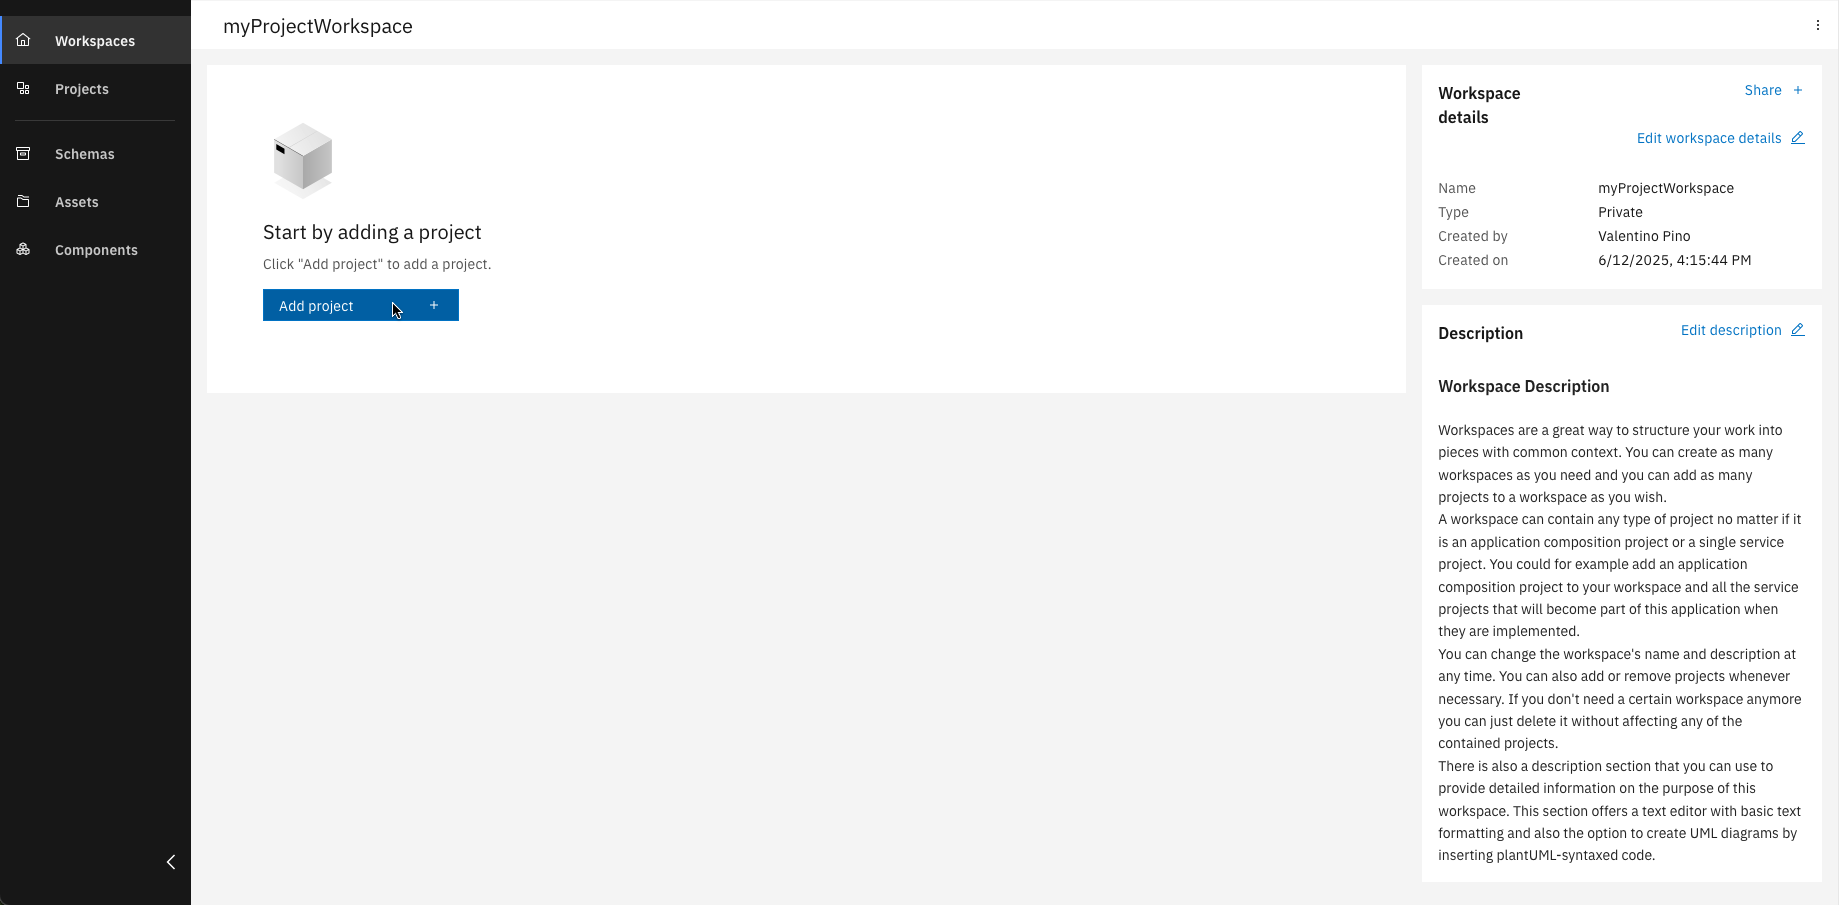
Click "Add project"
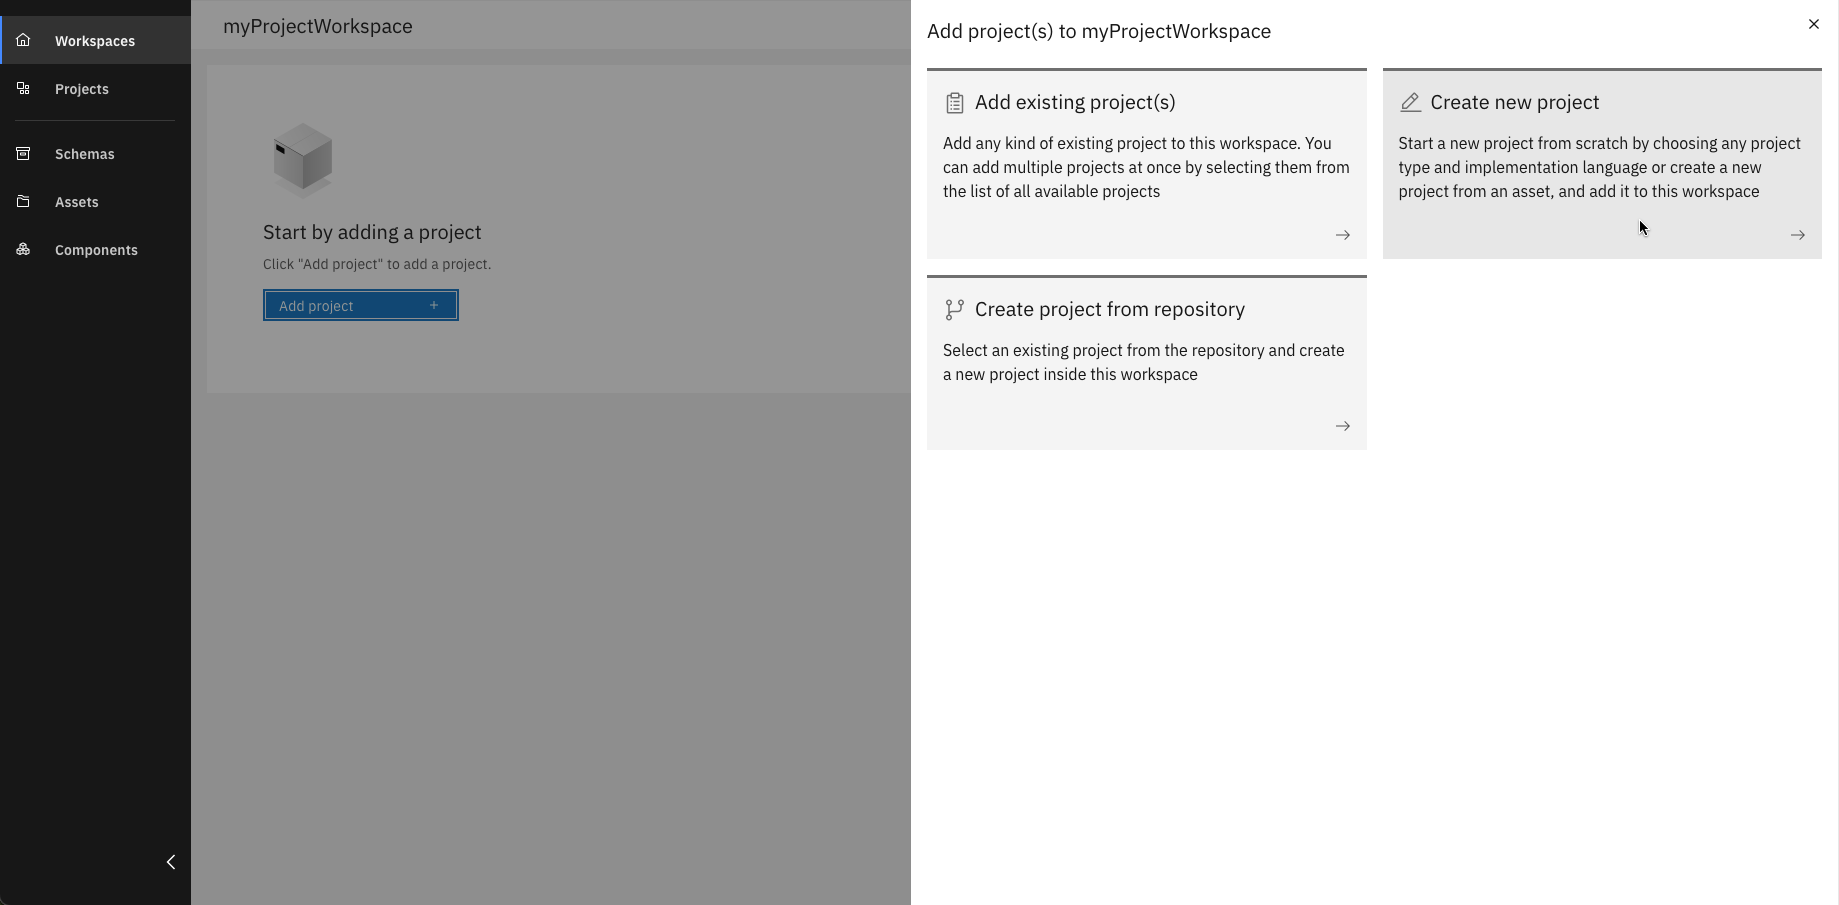
Choose "Create new project" from the options
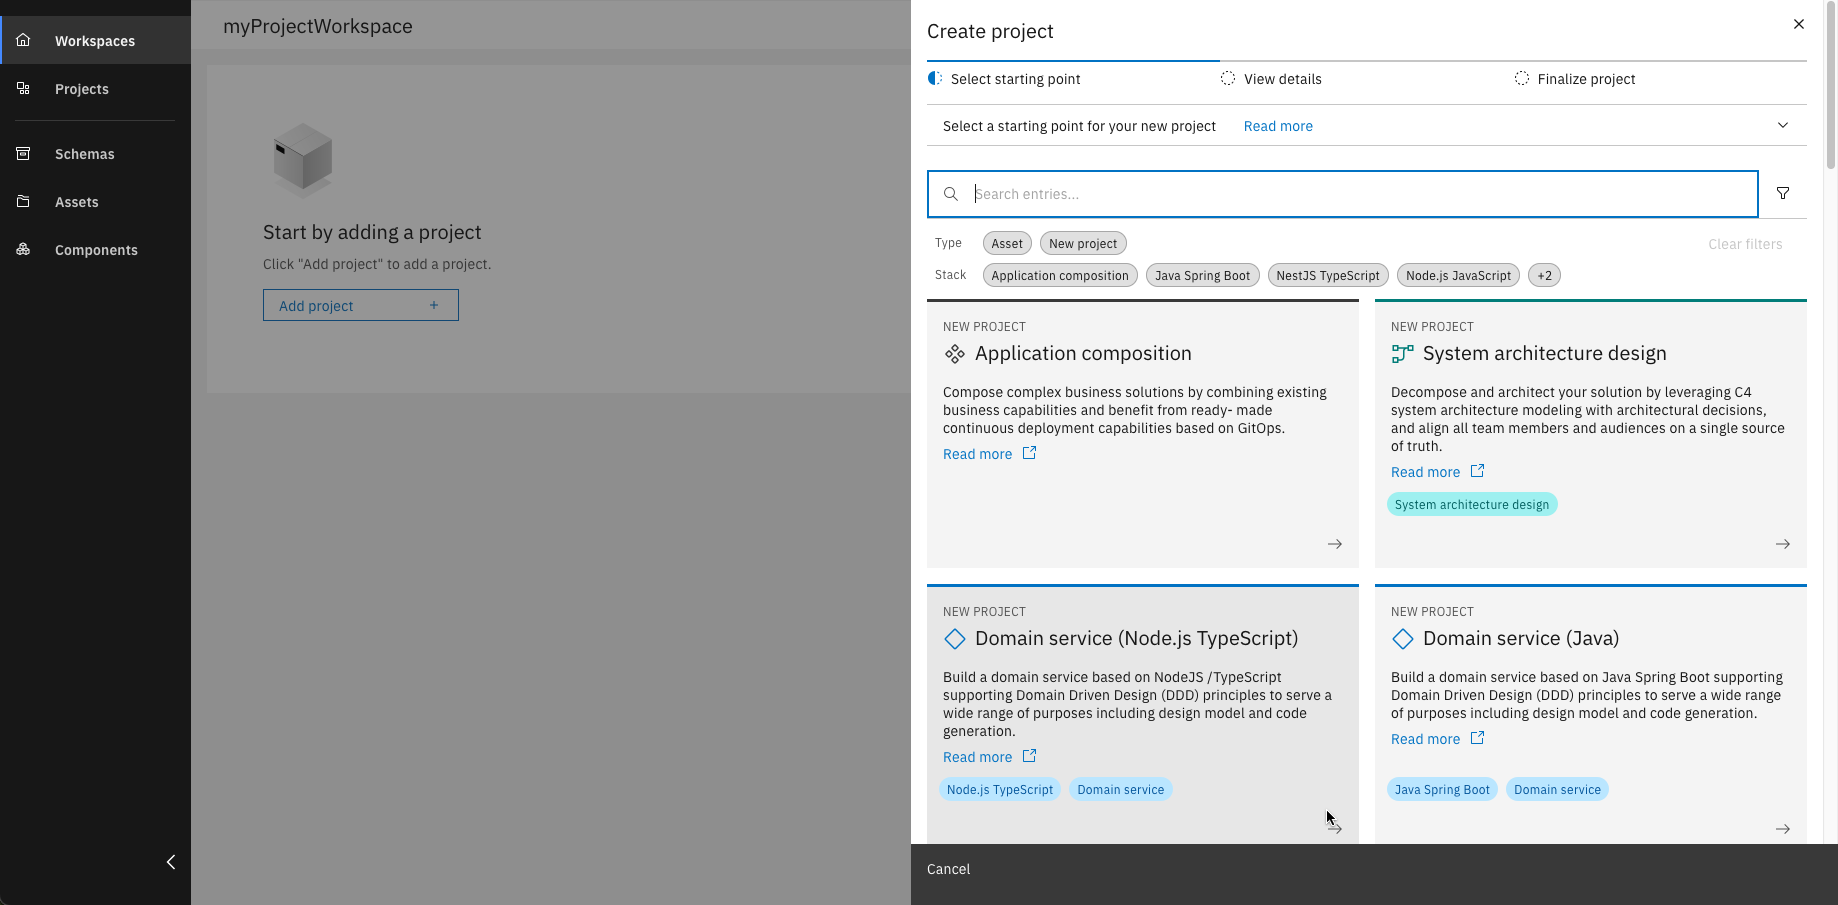
Select your preferred starting point for the project
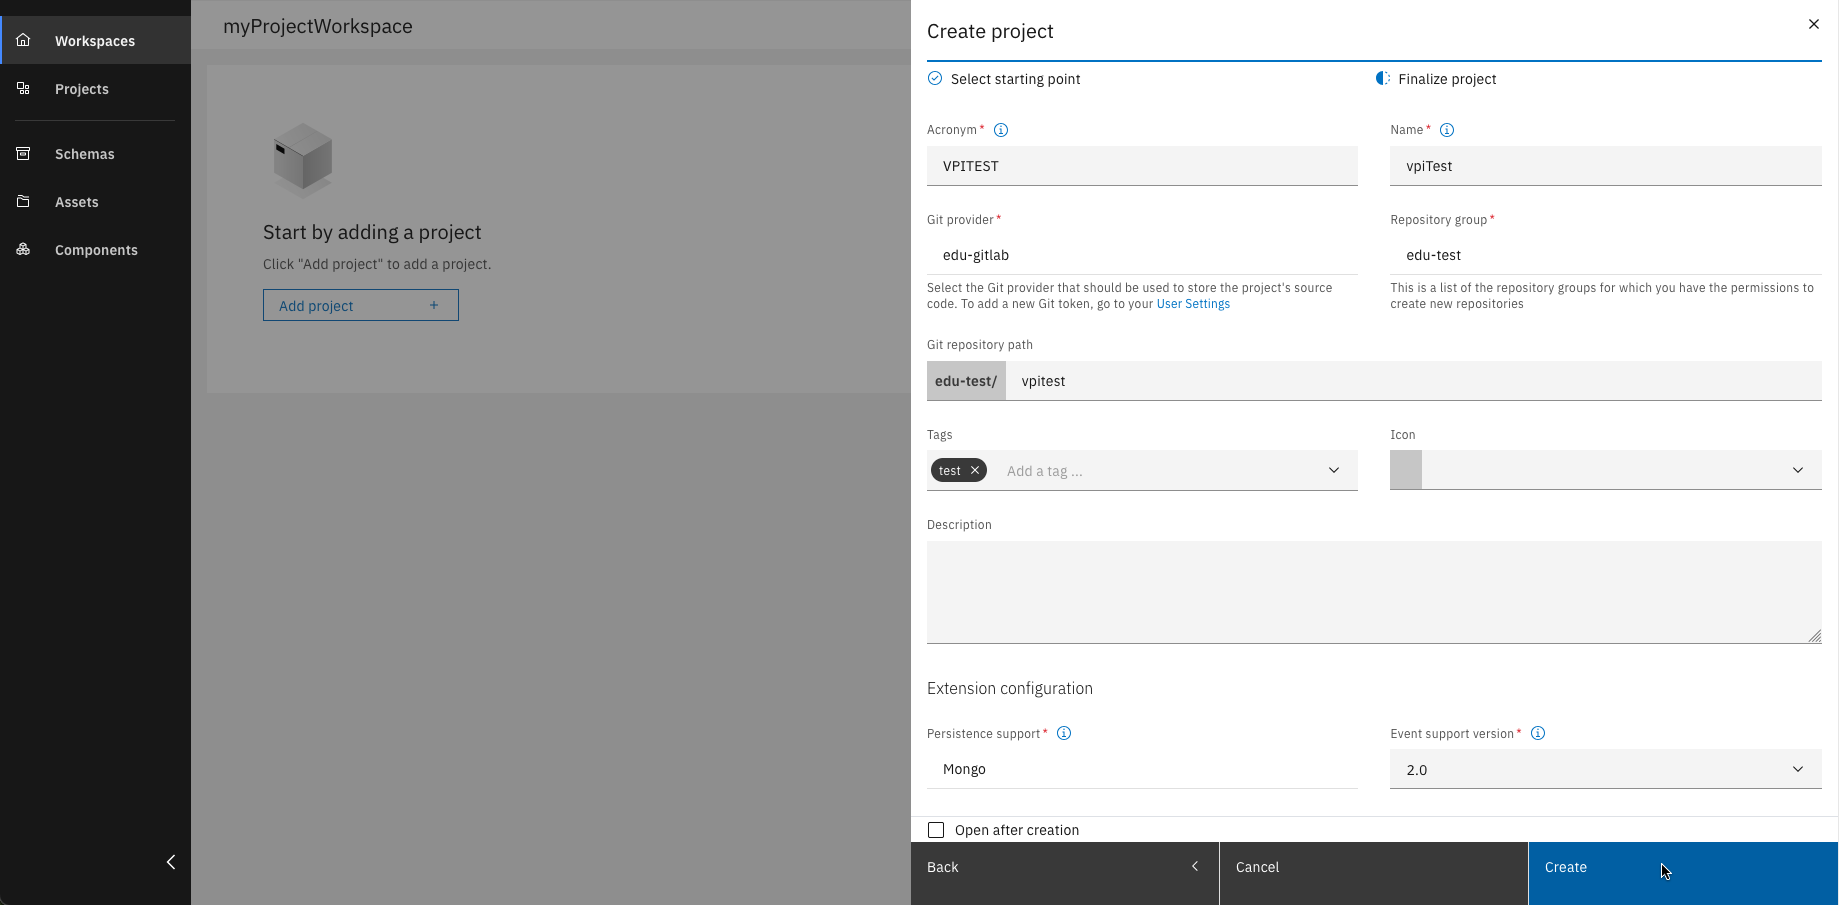
Enter all required project details
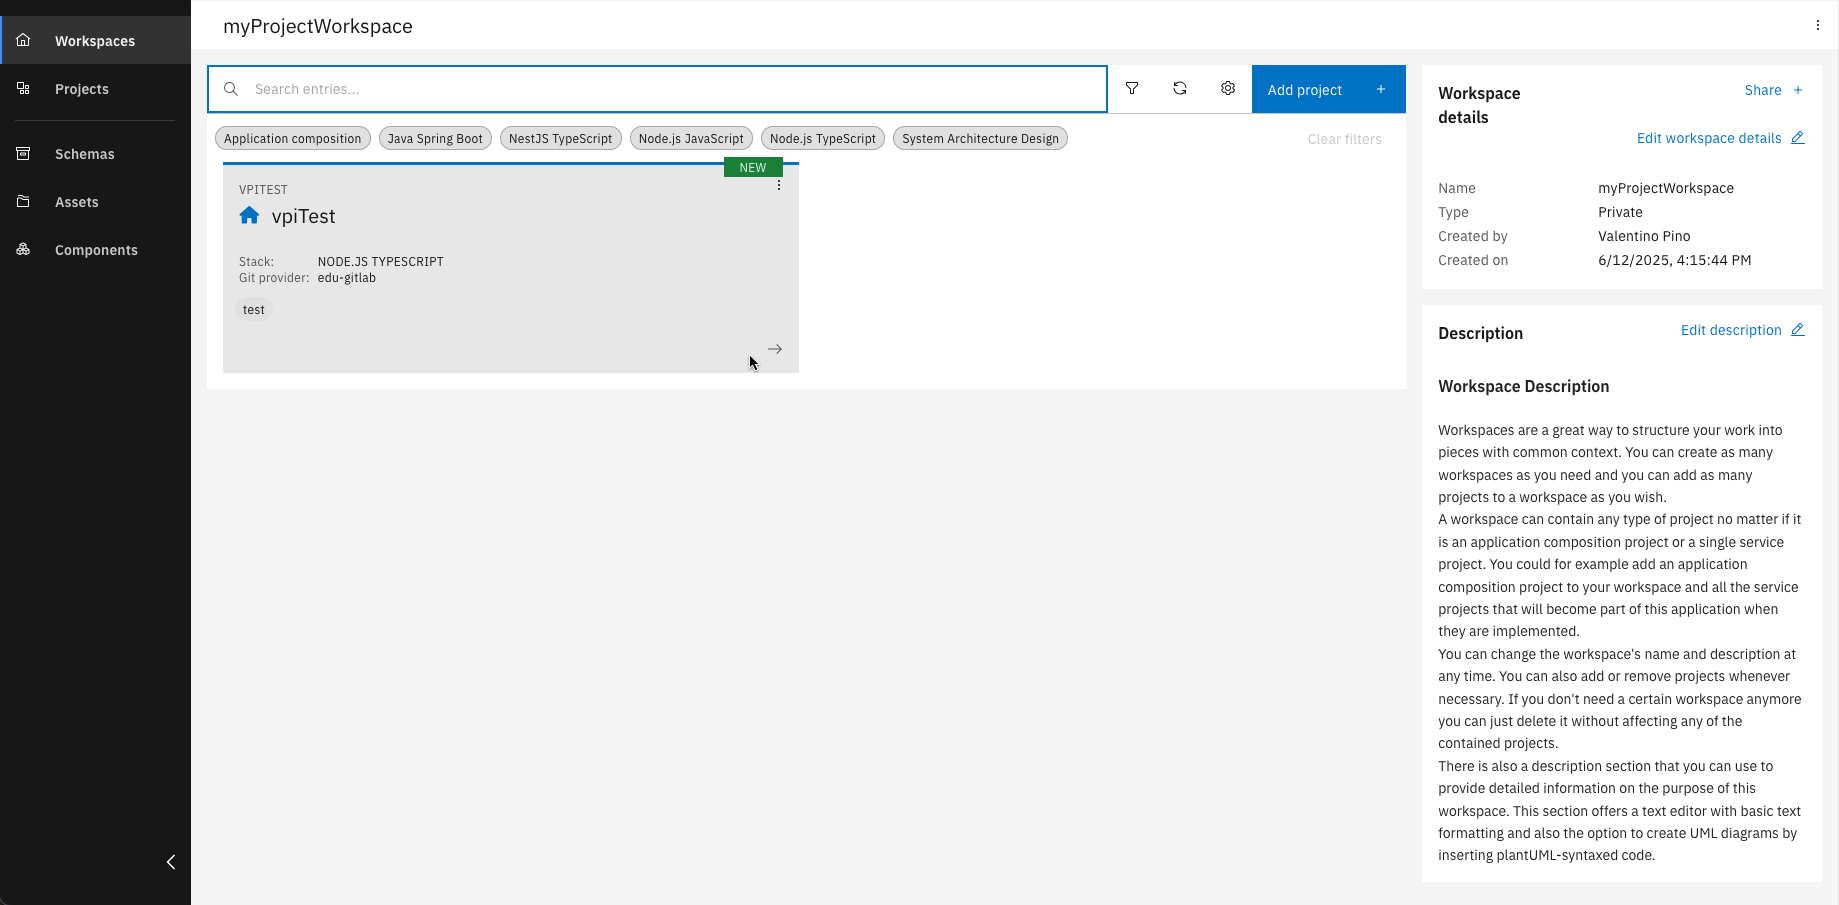
Open your newly created project
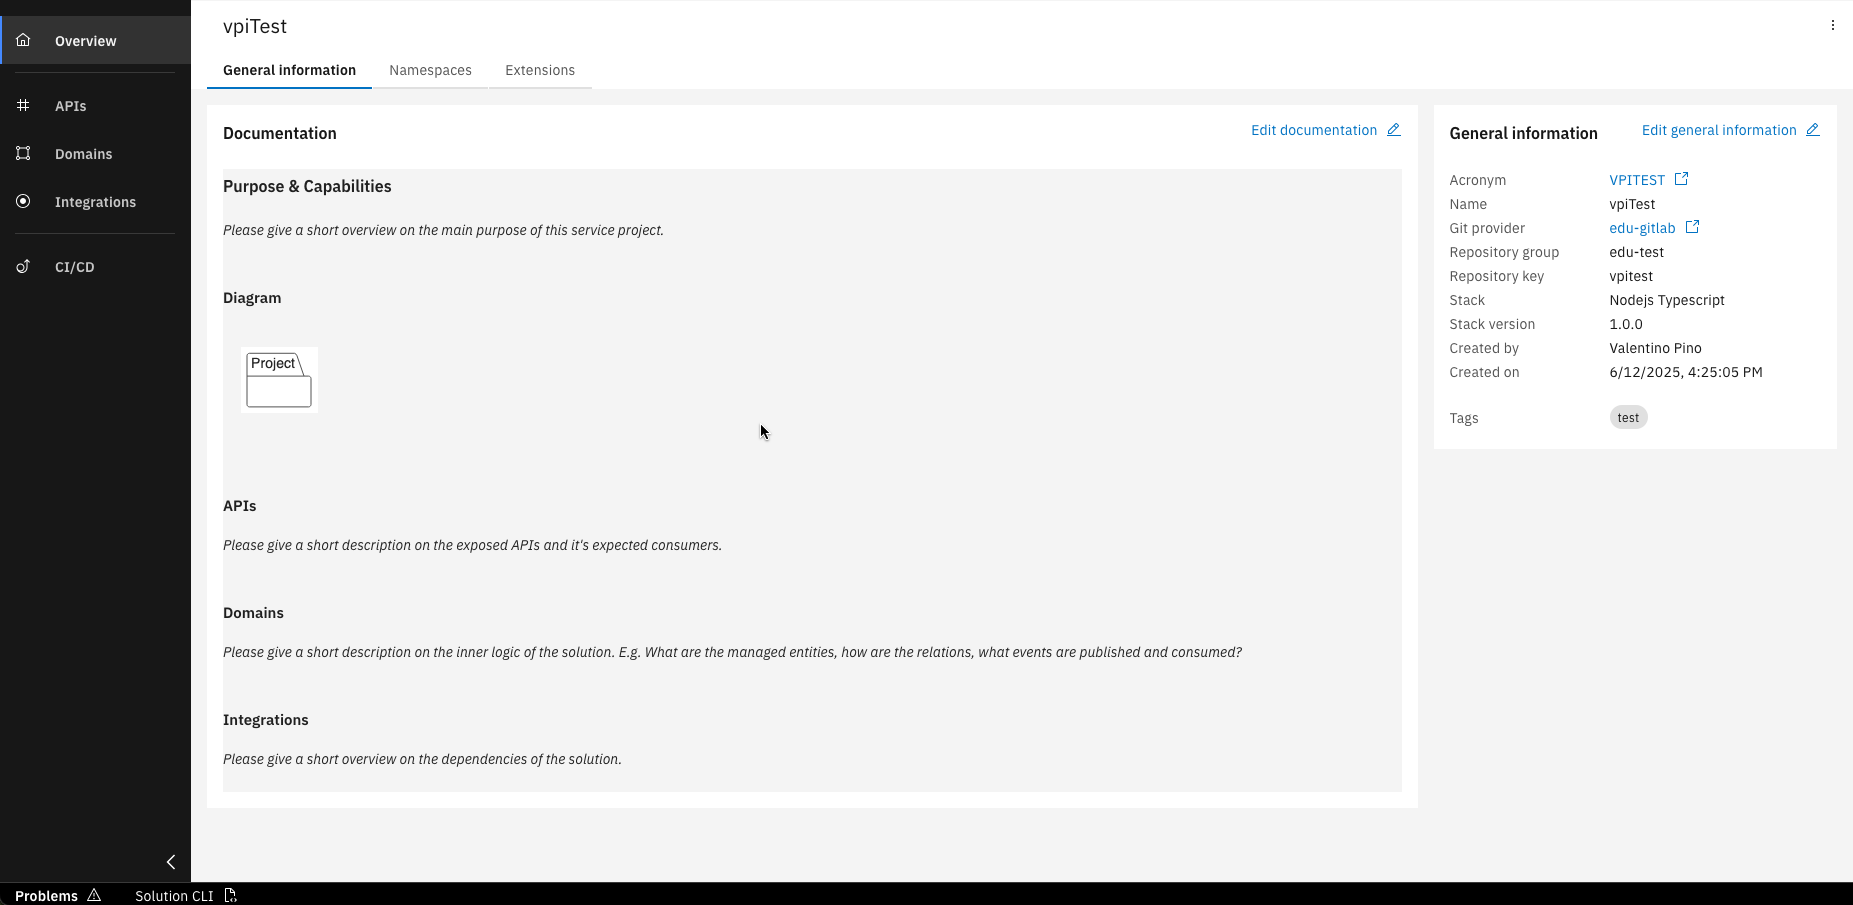
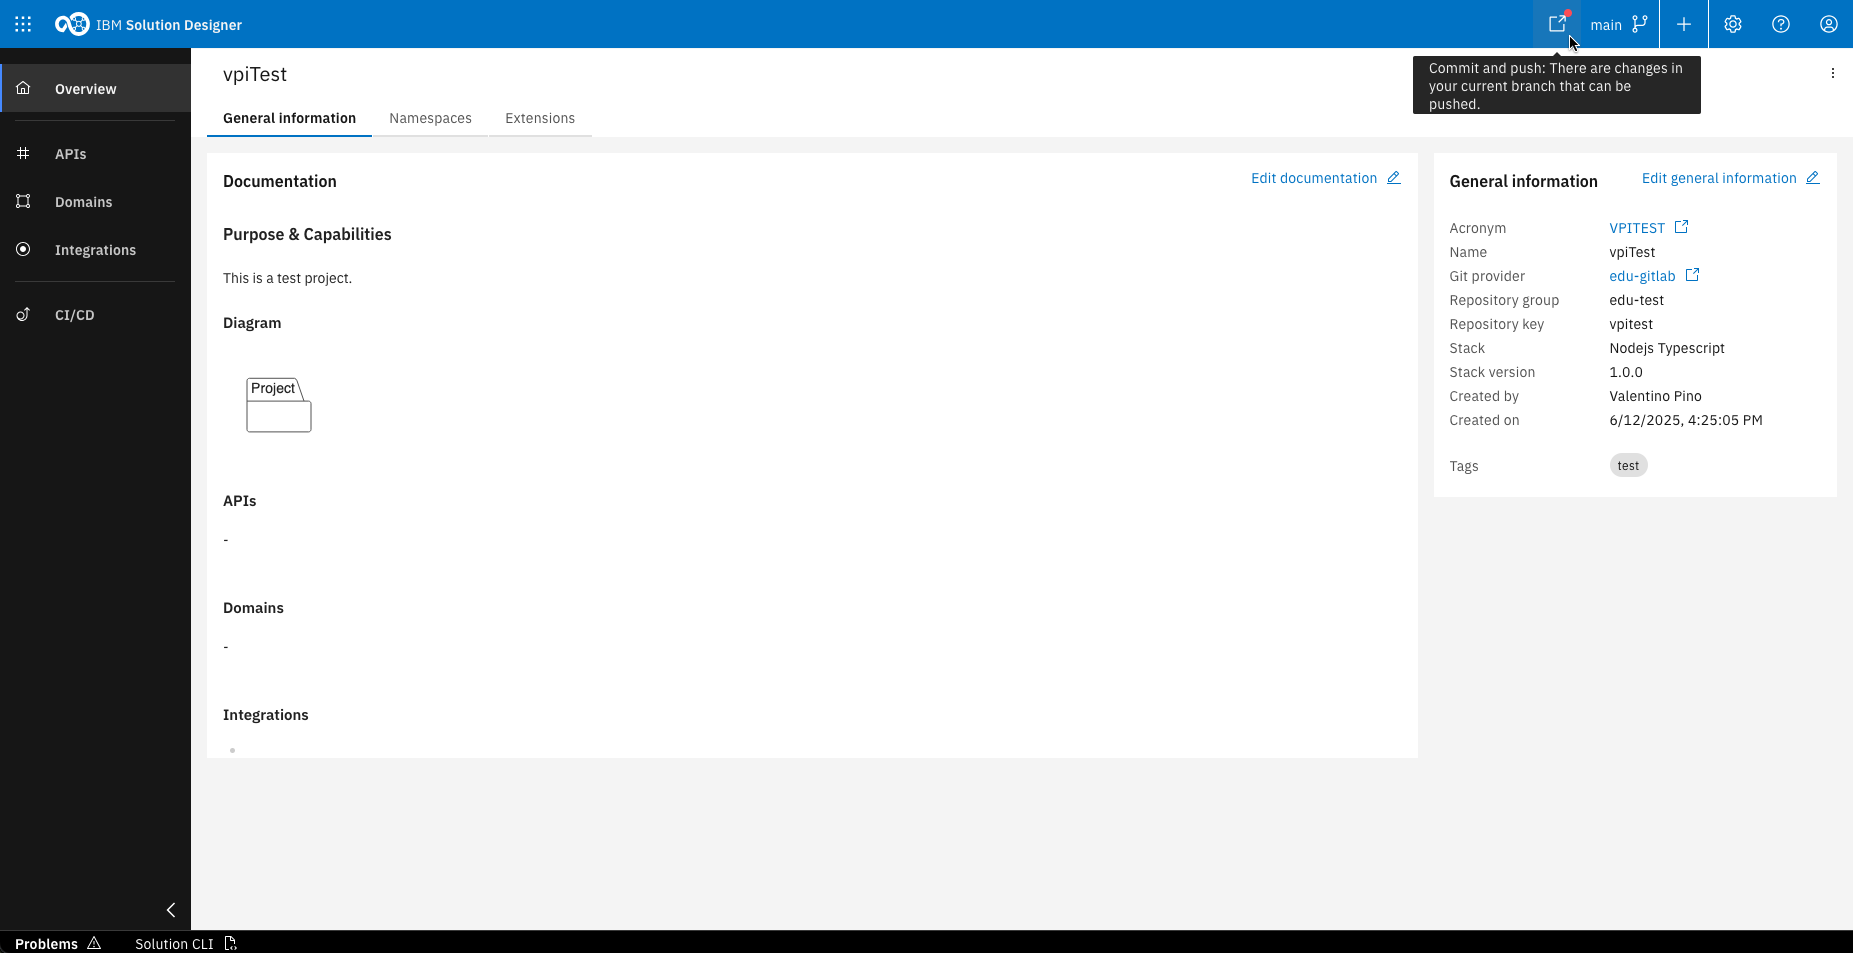
You'll land on the overview page with auto-generated documentation
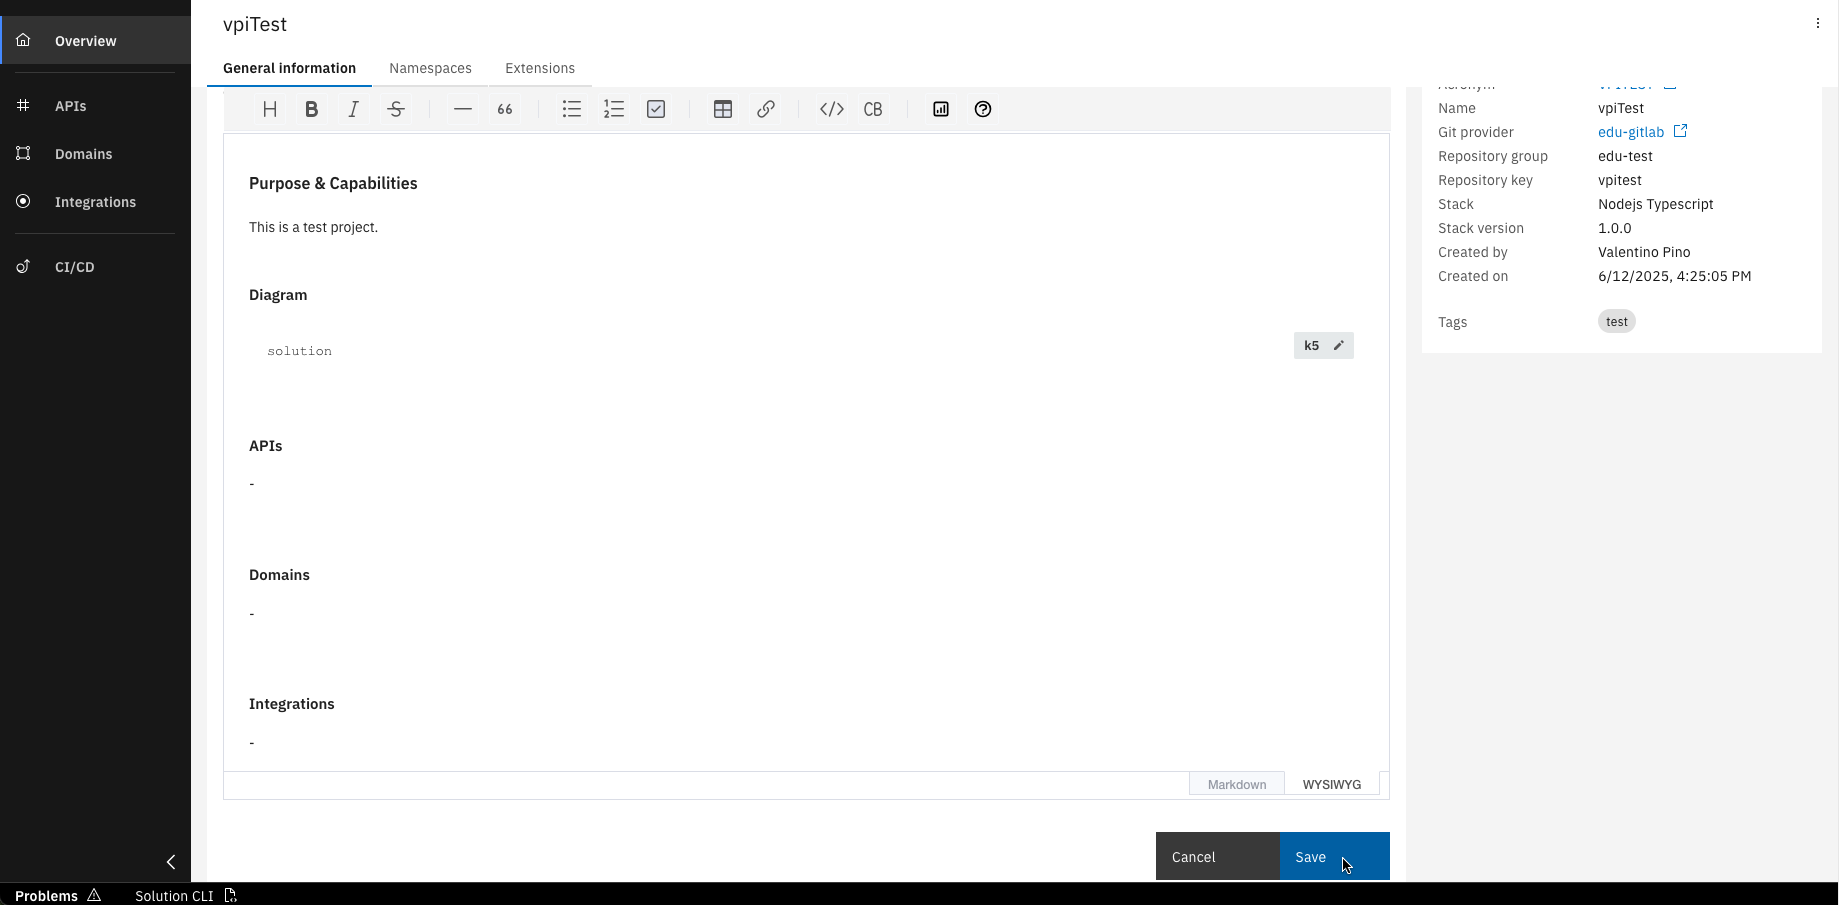
Edit the documentation using markdown or the WYSIWYG editor
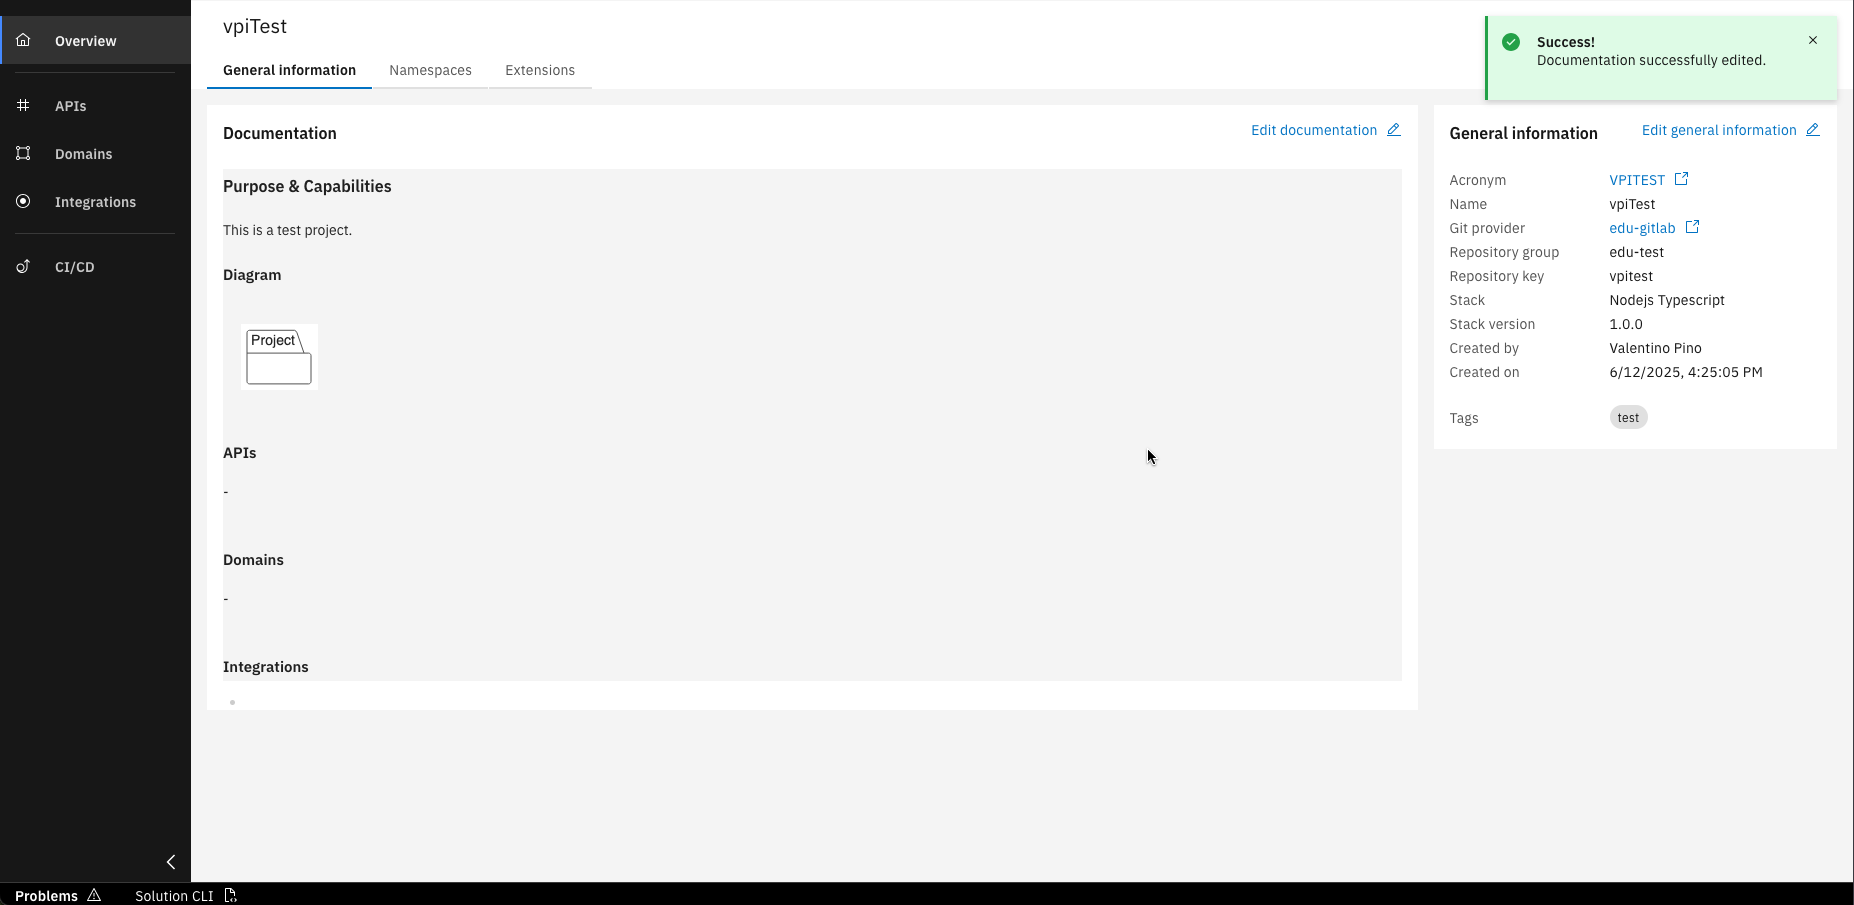
Congrats! Your project is created and its documentation updated
If you have chosen the Java Spring Boot as implementation language, you must also specify a Package name of your choice.
You have successfully created your first Mircoservice project with IBM DevOps Solution Workbench and edited its documentation.
Step 2: Commit and Push changes
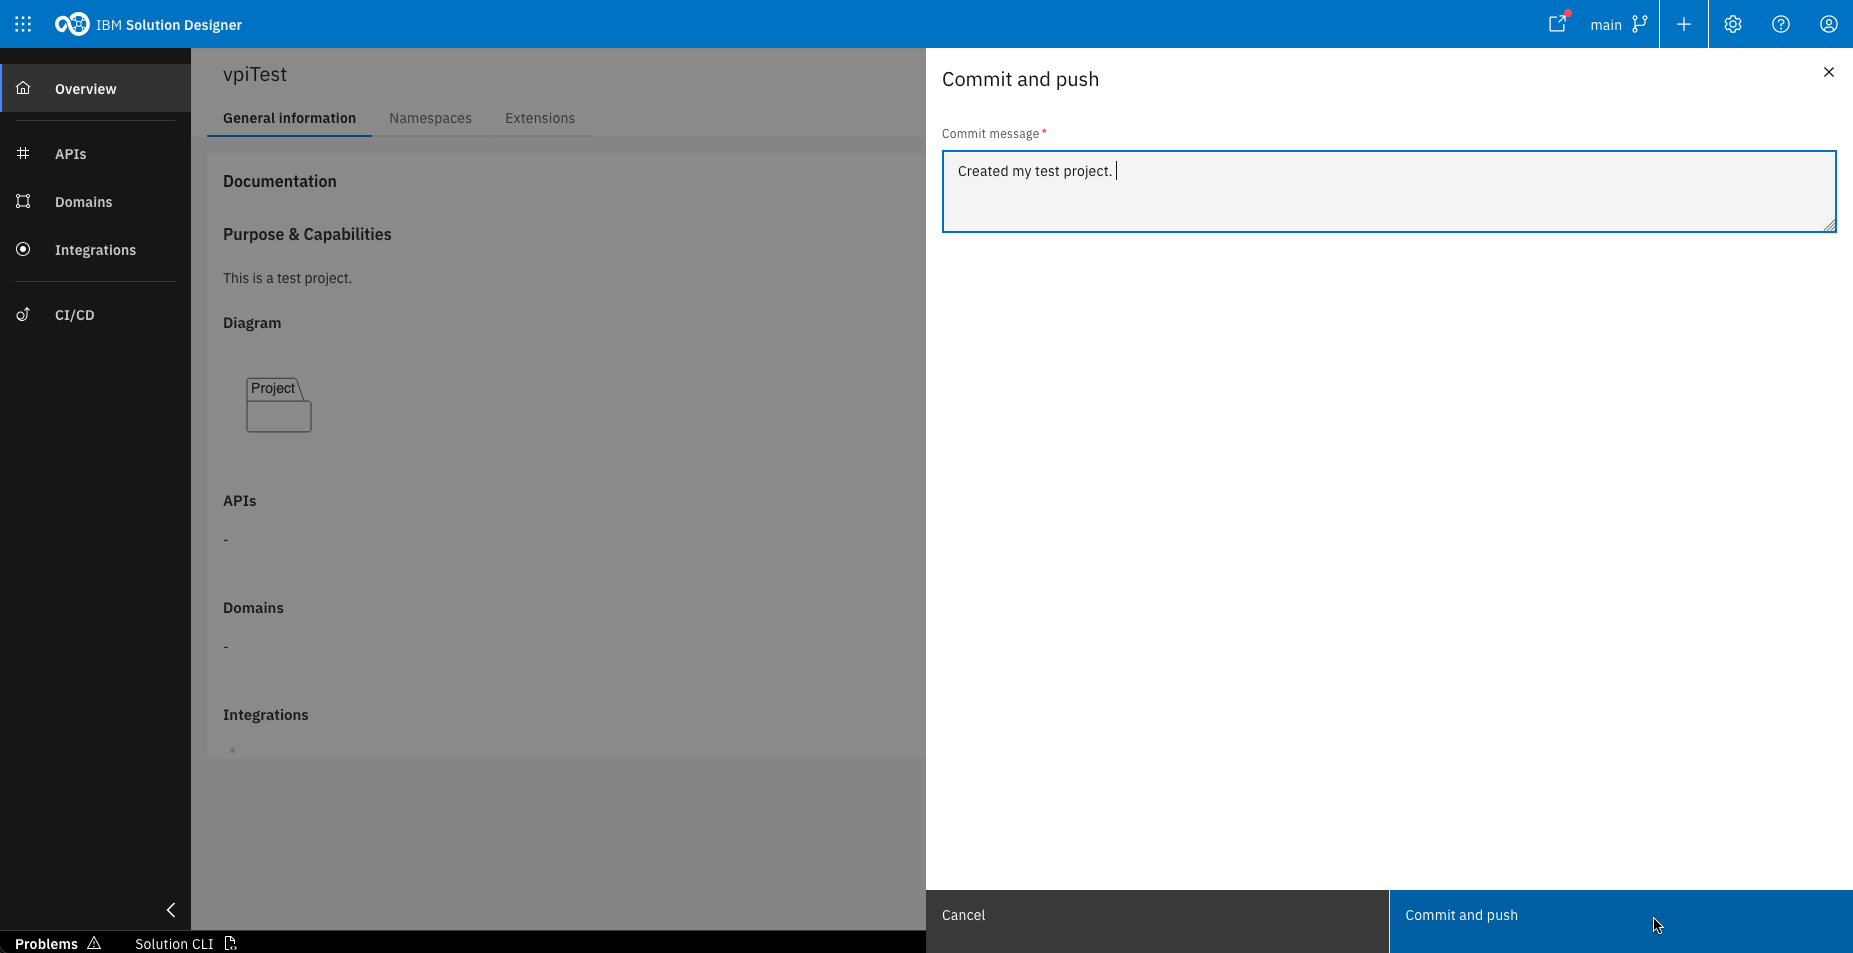
As a next step, commit your changes to the remote Git repository.
If there are uncommitted changes, a red dot will appear on the "Commit and Push" button in the top right corner of the Solution Designer. Click this button, enter a commit message in the sidebar that opens, and confirm by clicking “Commit and Push” again.
Your first project is now commited and pushed to your remote Git repository in Gitlab.