Unit 16: Deploy Project
In this course you will learn how to use the built-in pipeline functionality of the IBM DevOps Solution Workbench to build and deploy your Domain Service project using the Solution Designer.
Introduction
Now that we have finished the implementation of our Domain Service, we can release our project.
IBM DevOps Solution Workbench supports multiple deployment approaches out-of-the-box:
- built-in single-service deployment via Tekton pipelines
- application deployment via declarative GitOps with ArgoCD
- support for your custom pipeline to integrate our build and deploy steps in your tooling
In this exercise, we will make use of the built-in pipeline functionality to quickly build our service and deploy it to OpenShift. We will also try out the service by using the SwaggerUI to send a request to the API endpoint we have created.
Prerequisites
- You have successfully completed Unit 14: Implement API Operation.
You can also use a different asset with complete design and implementation of the Order service.
In this case - depending on the chosen implementation language - use either asset "Order_Java_Final" or "Order_TypeScript_Final" to create a new project and to continue your training.
You can look up how to create a new project from the Order assets in the Preparation section in the Course Introduction.
Exercise
Estimated time: 10 minutes
Exercise goal: After completing this course you will know how to use the built-in pipeline functionality to build and deploy your project.
Supported languages: Java and TypeScript
Step 1: Create and run a release pipeline
The first step is to create a release pipeline that builds the project and publishes it to the component repository.
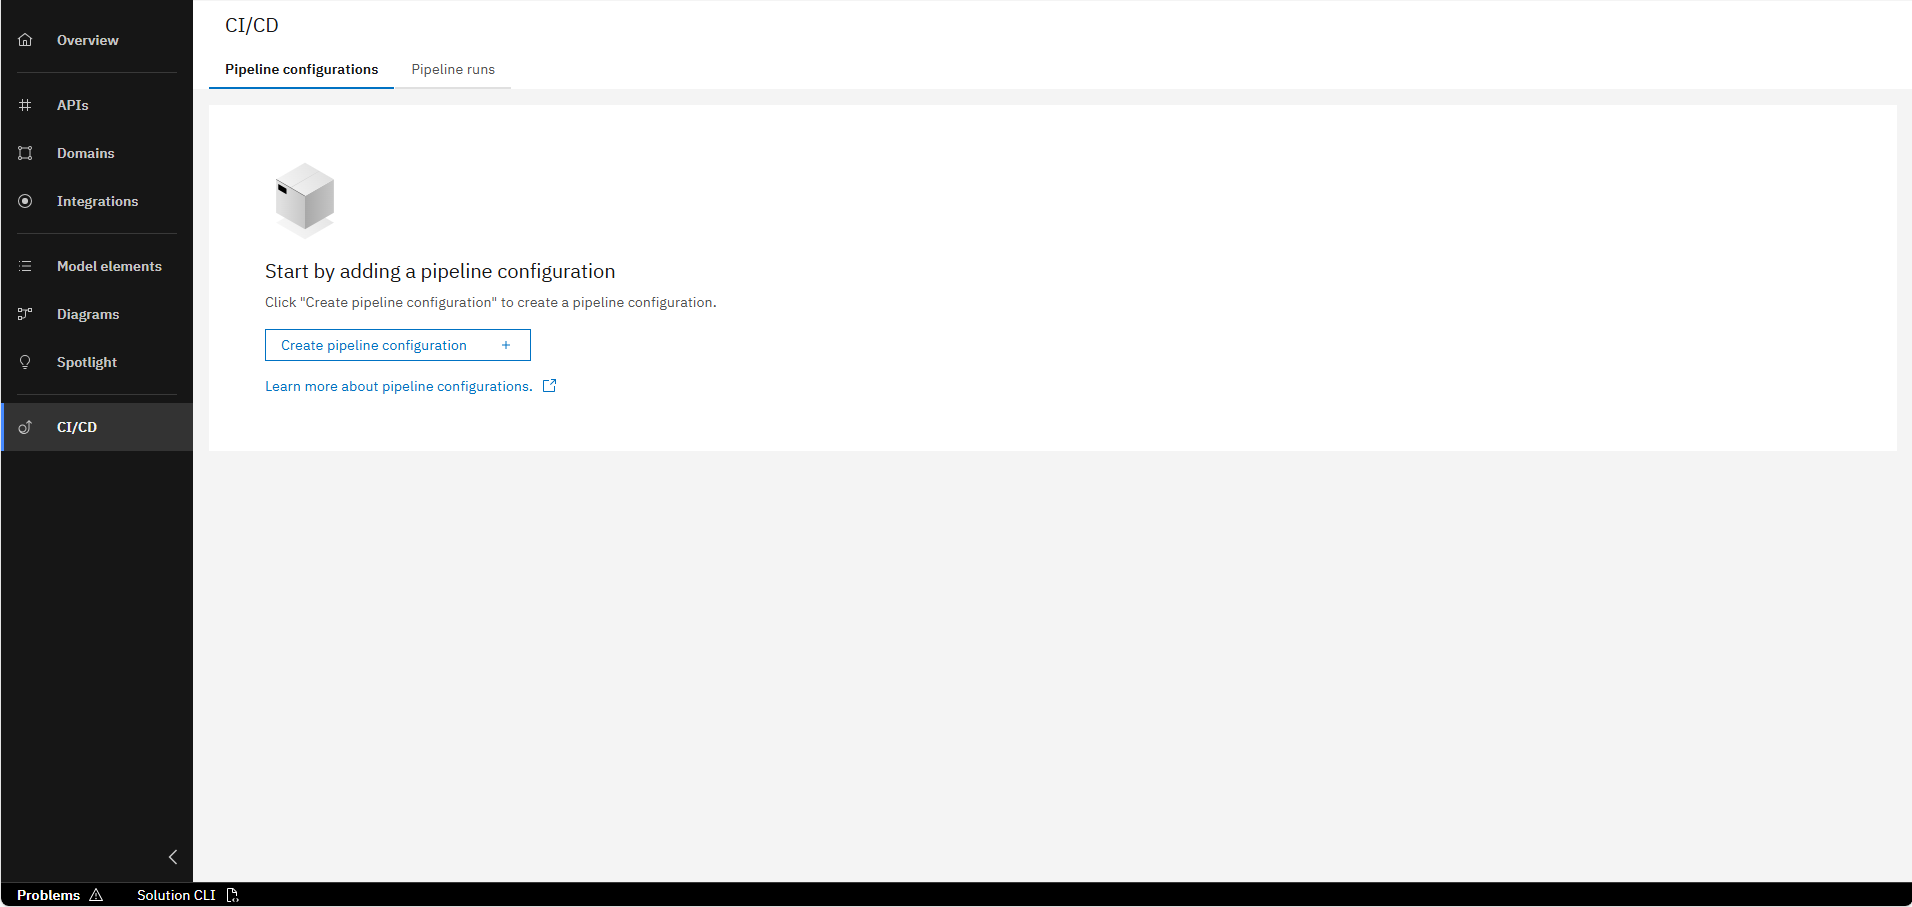
In the CI/CD tab, click on "Create pipeline configuration"
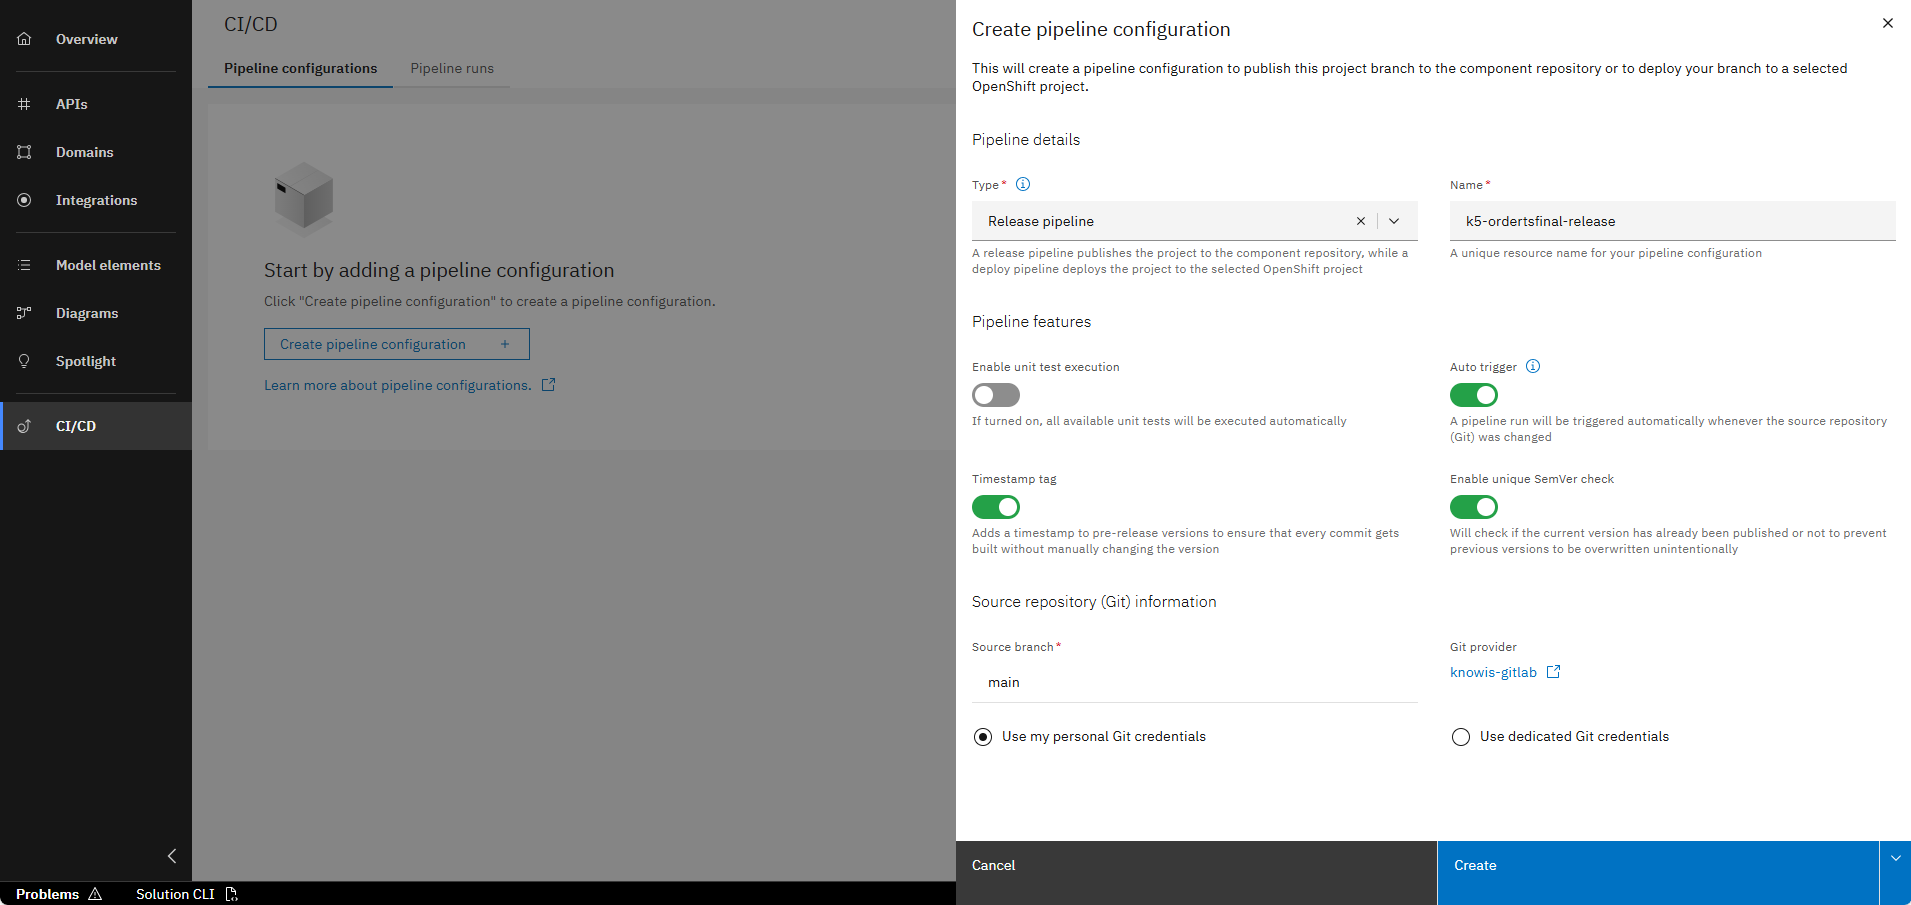
Select "Release pipeline" as the type and click on "Create".
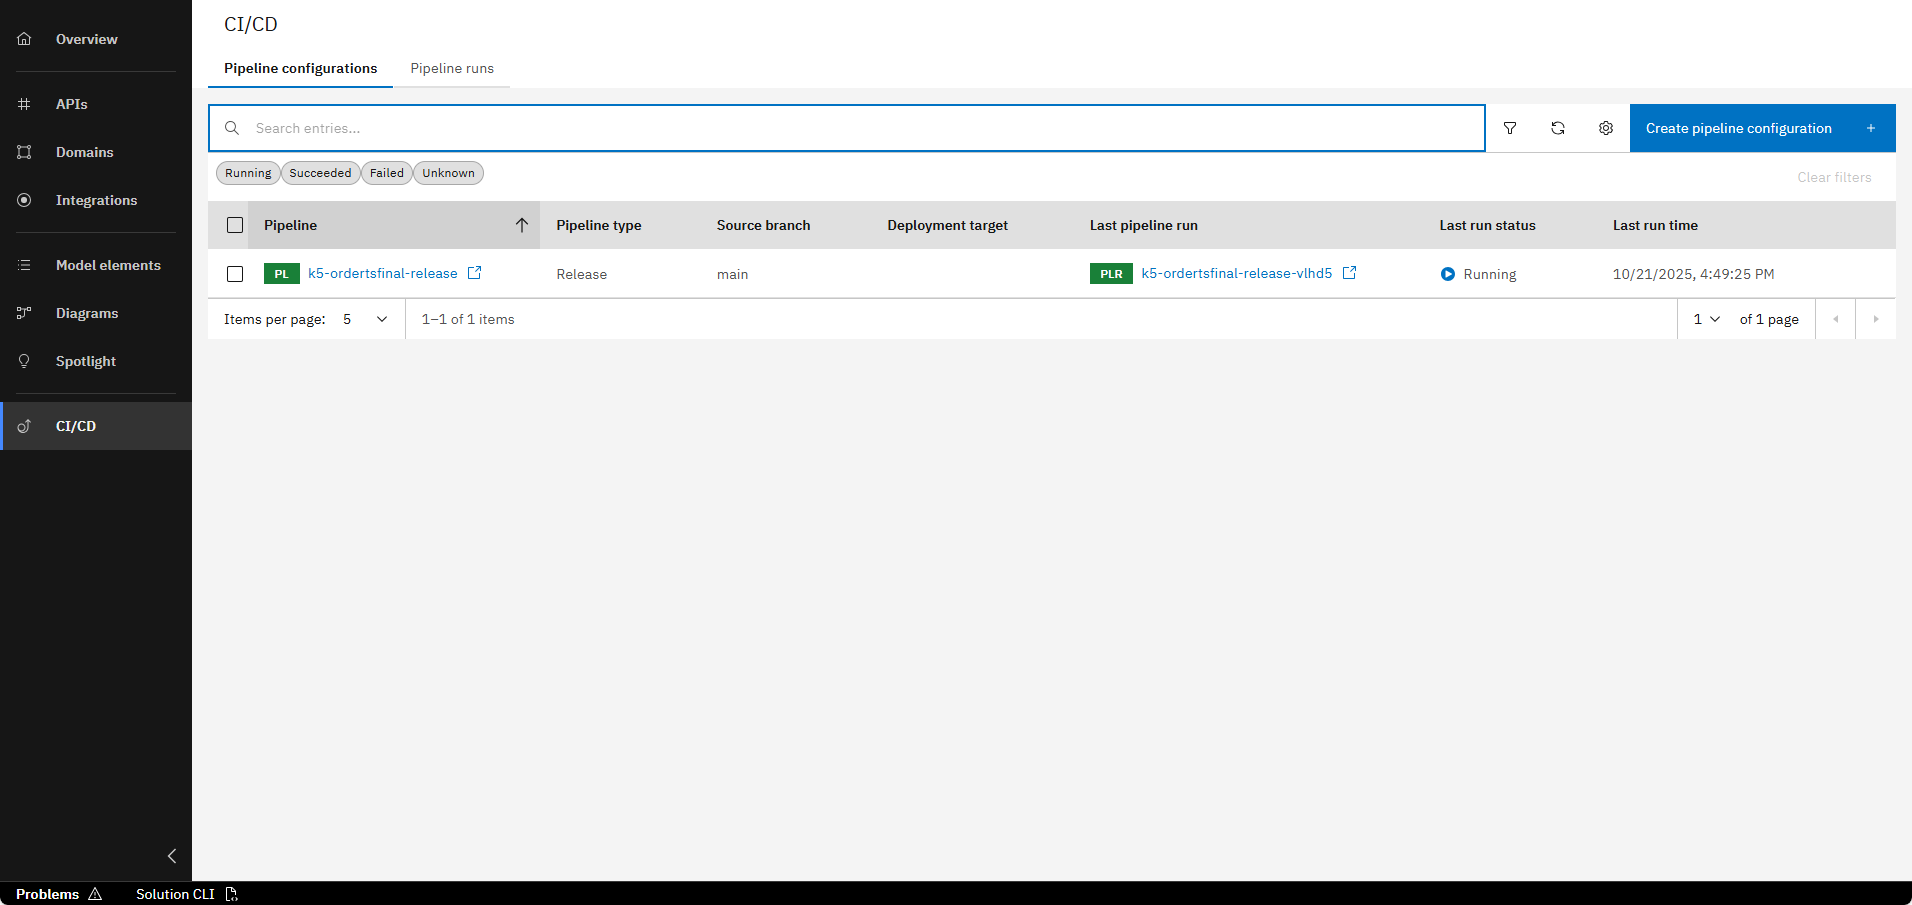
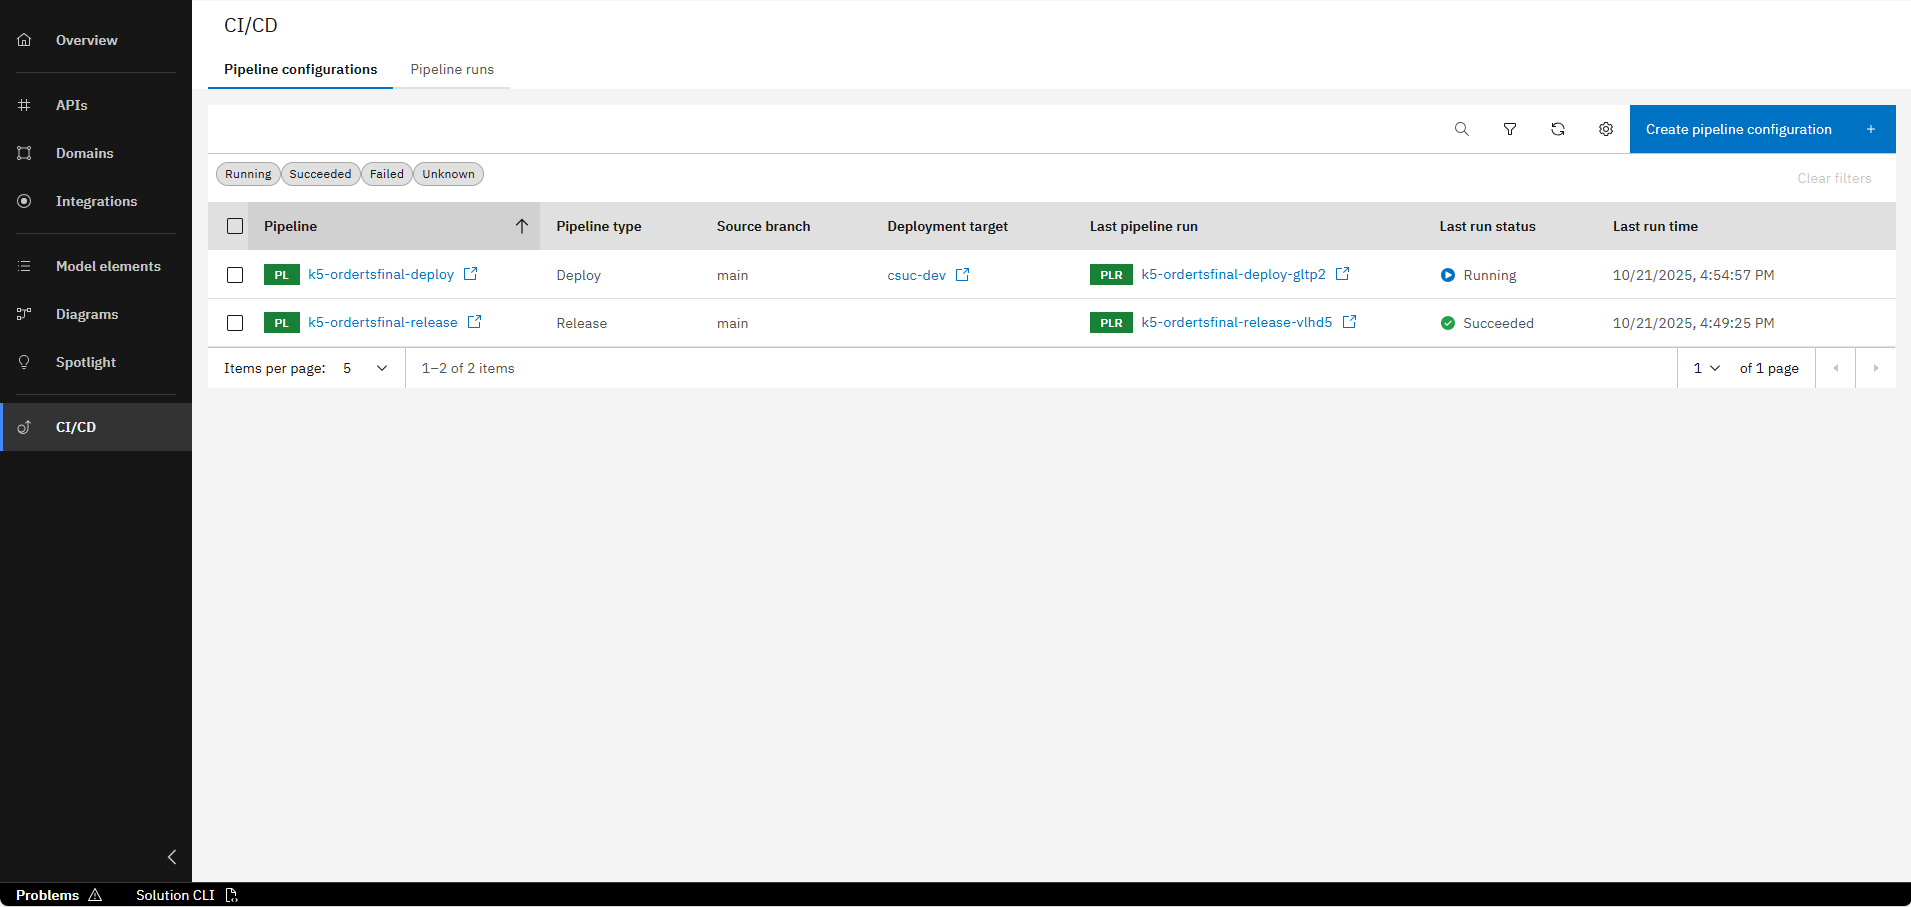
Wait for the pipeline to finish. You can see the progress in the column "Last run status".
Step 2: Create and run a deploy pipeline
The next step is to create a deploy pipeline that deploys the project to OpenShift.

In the CI/CD tab, click on "Create pipeline configuration"
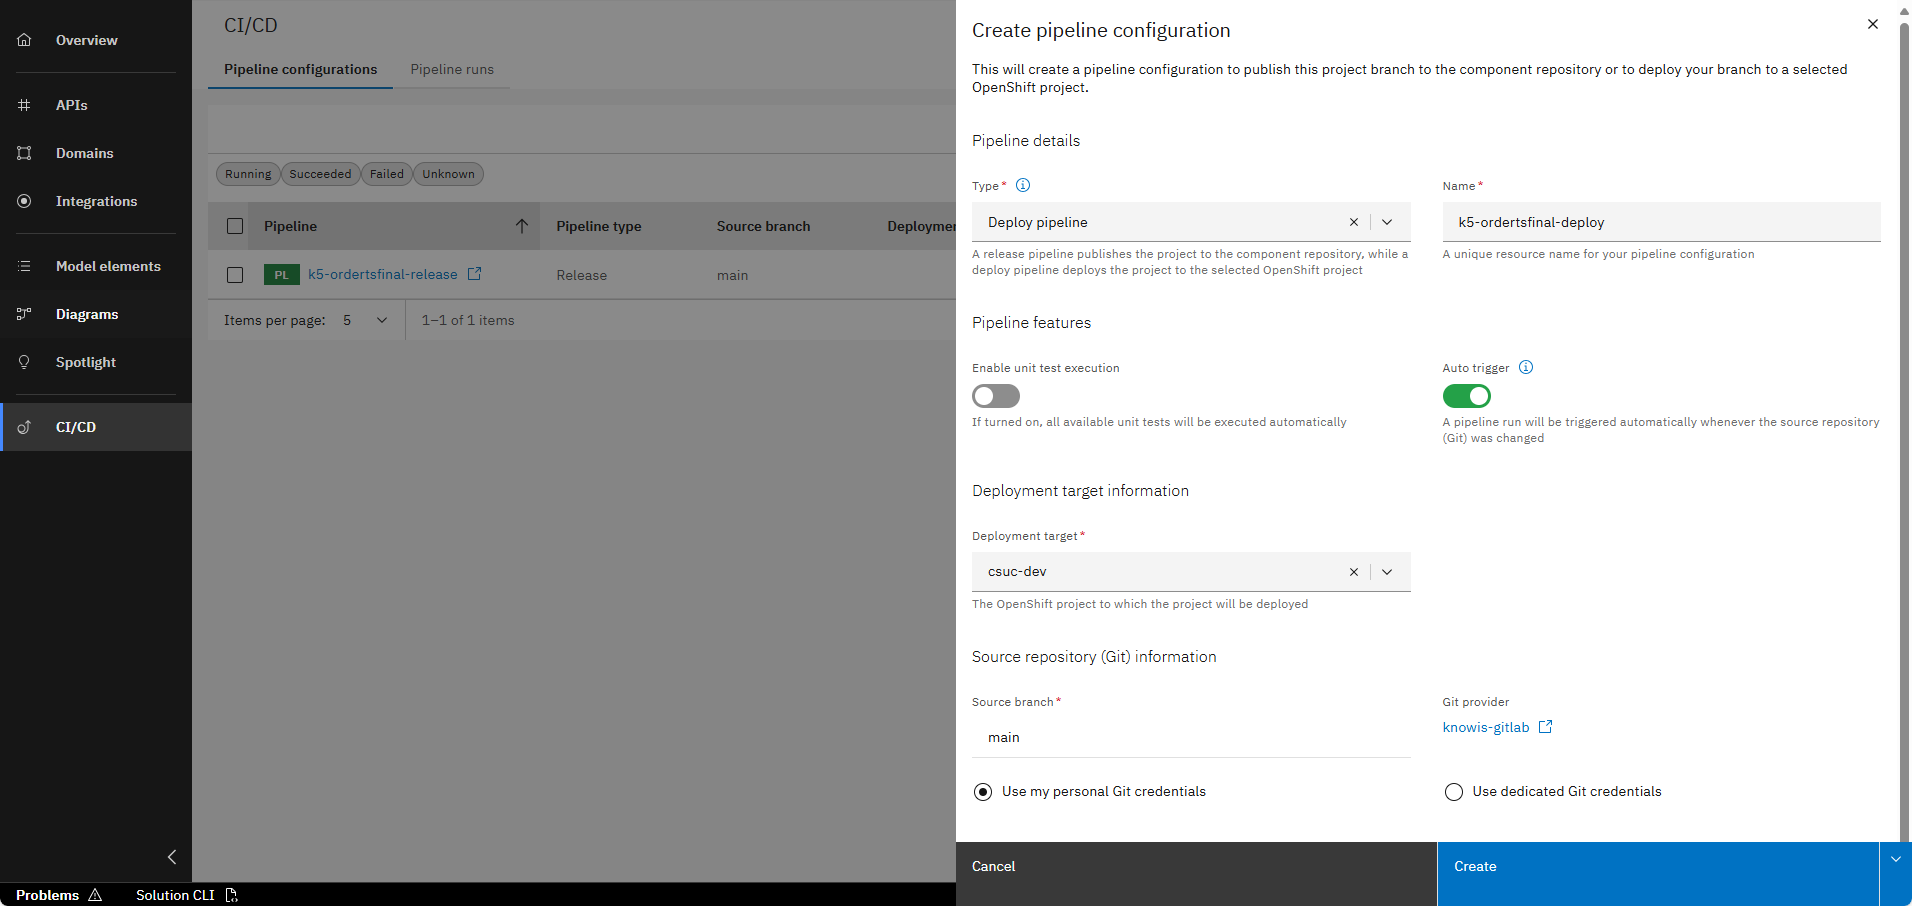
Select "Deploy pipeline" as the type and choose a deployment target. Click on "Create".
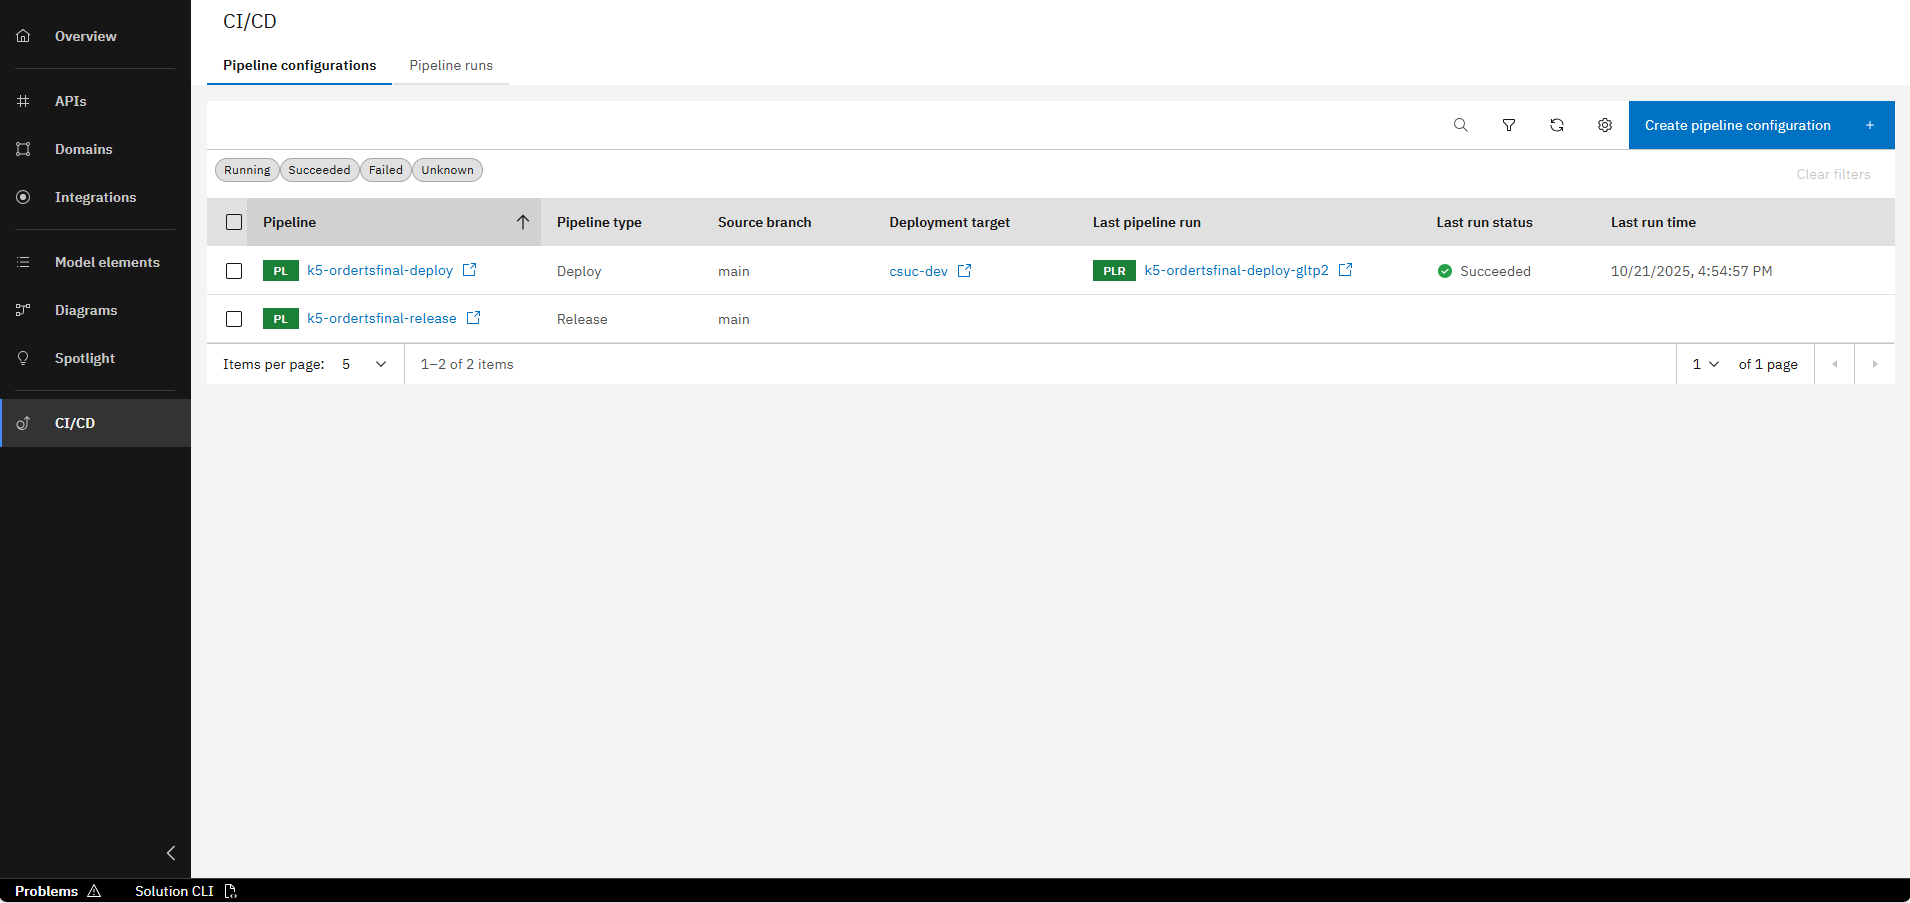
Wait for the pipeline to finish. You can see the progress in the column "Last run status".
Step 3: Discover the deployed service and try out the API
Now that the service is deployed, we can discover it in the Environment page. Here you have an overview of all the deployed services and a link to their SwaggerUI. We are now going to try out the API we have created with the SwaggerUI.
In the CI/CD tab, click on the deployment target of the deploy pipeline to open the "Environment" page
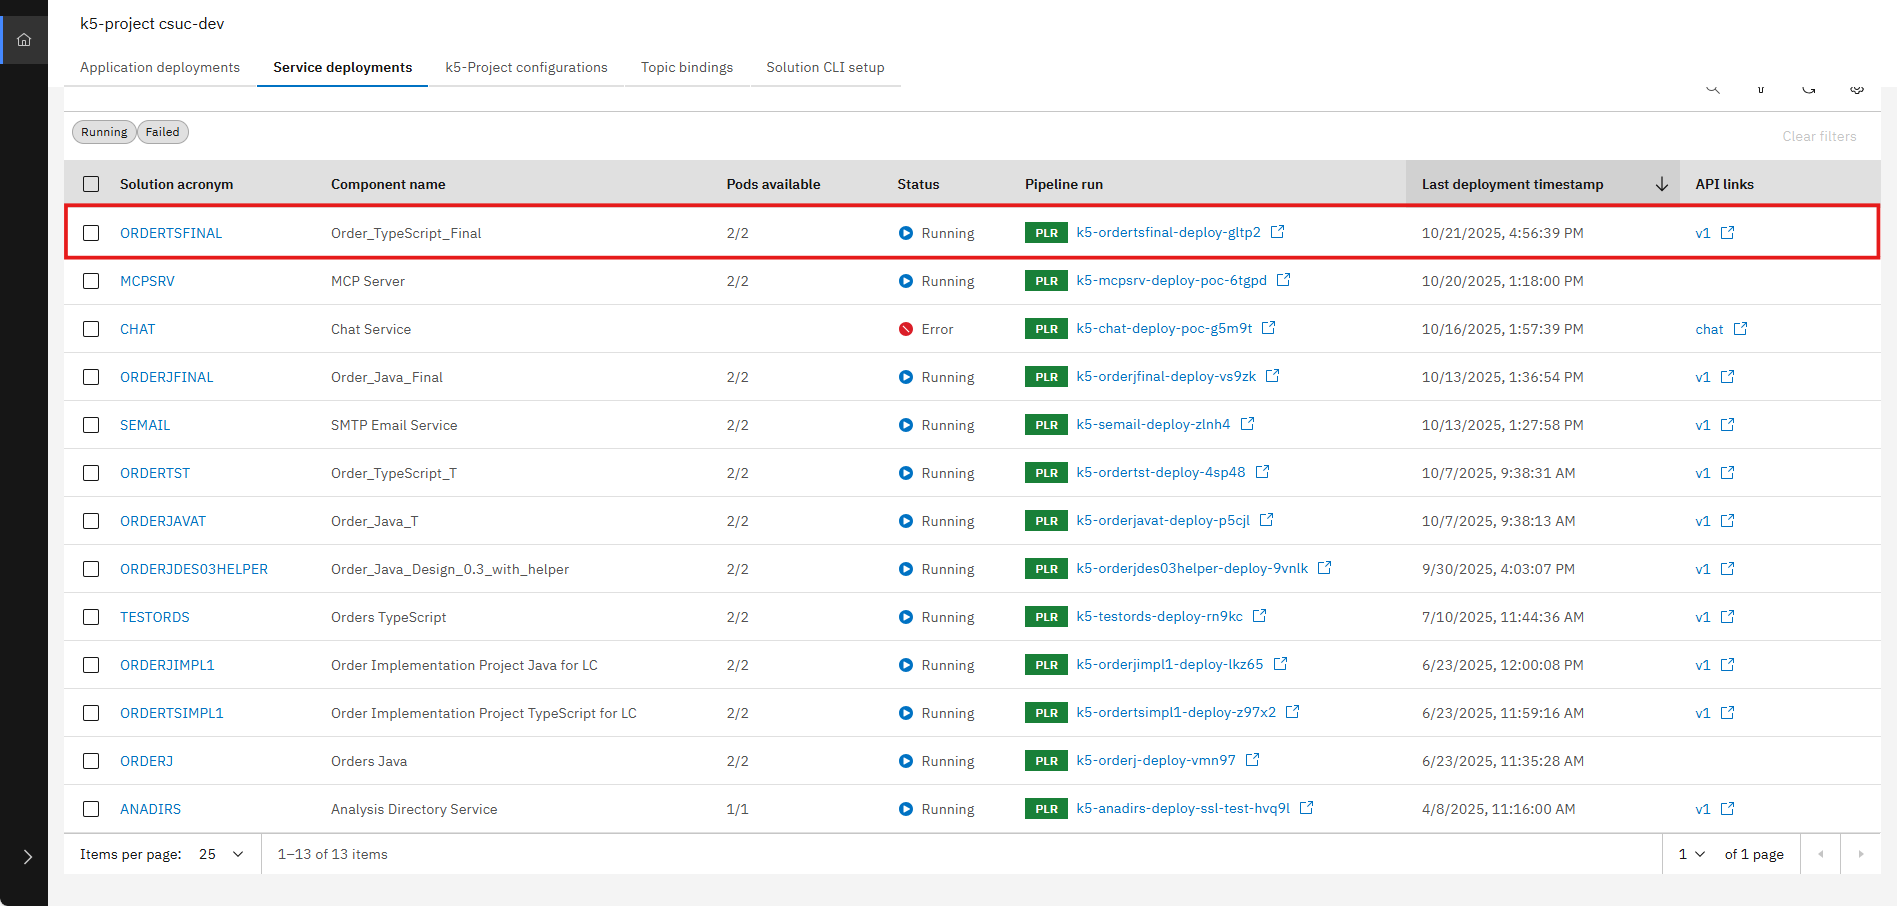
Search for the service you have deployed and click on your API in the "API links" column to open the SwaggerUI
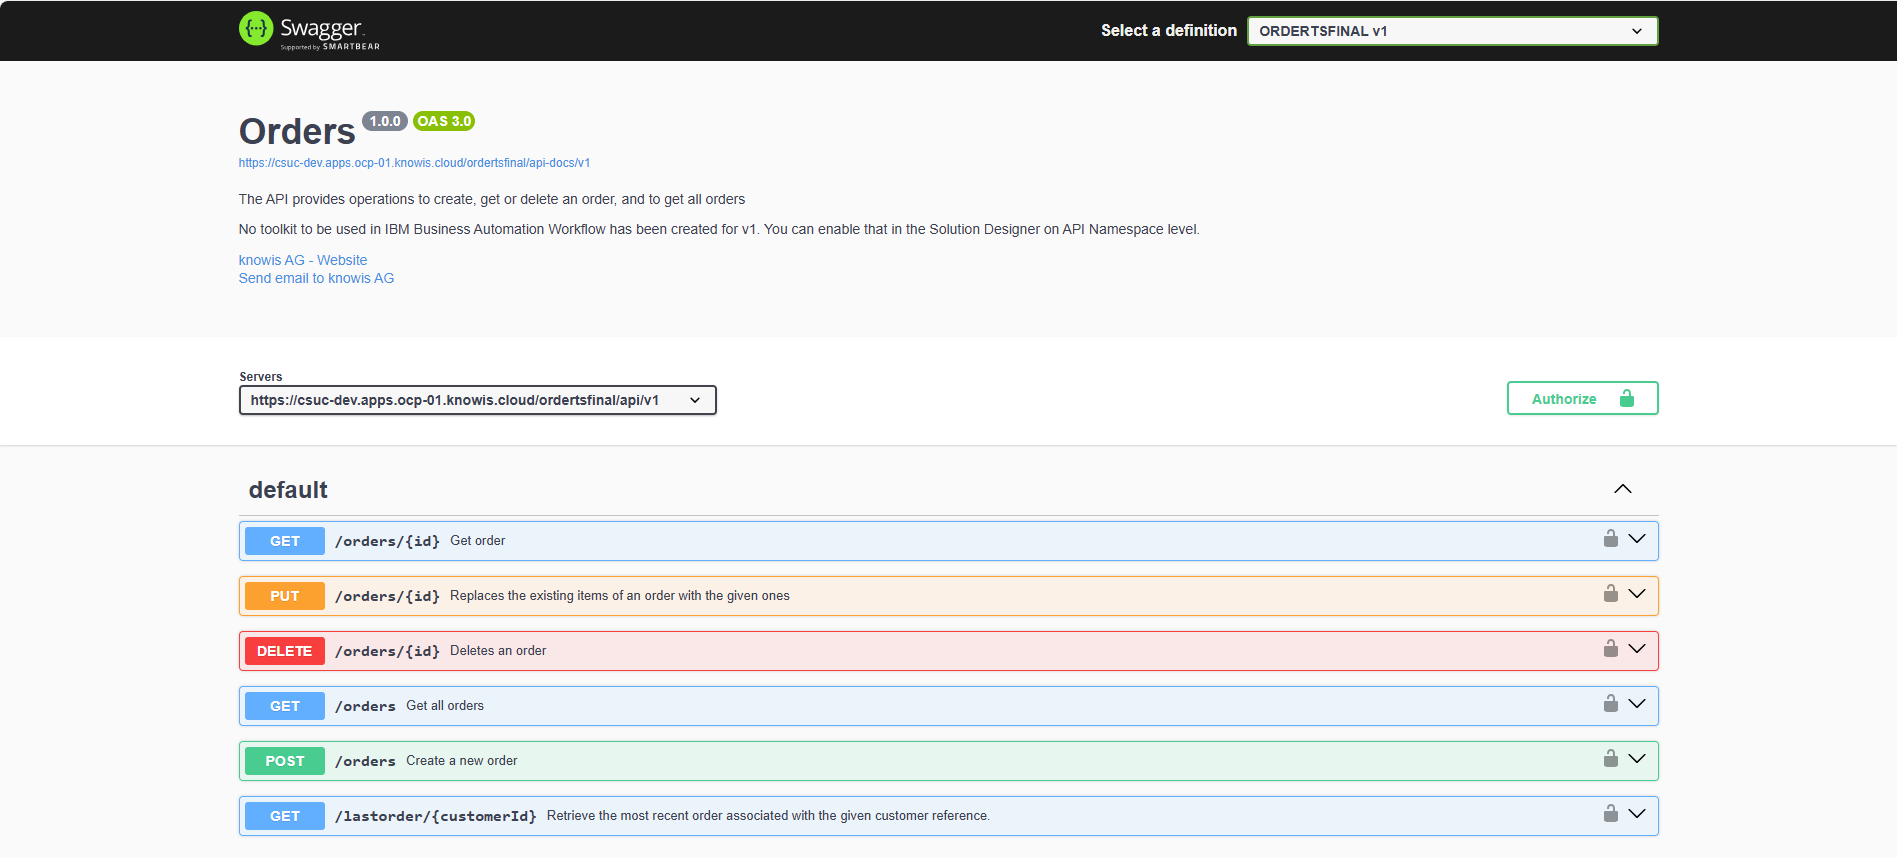
Click on the "Authorize" button to authorize in the SwaggerUI
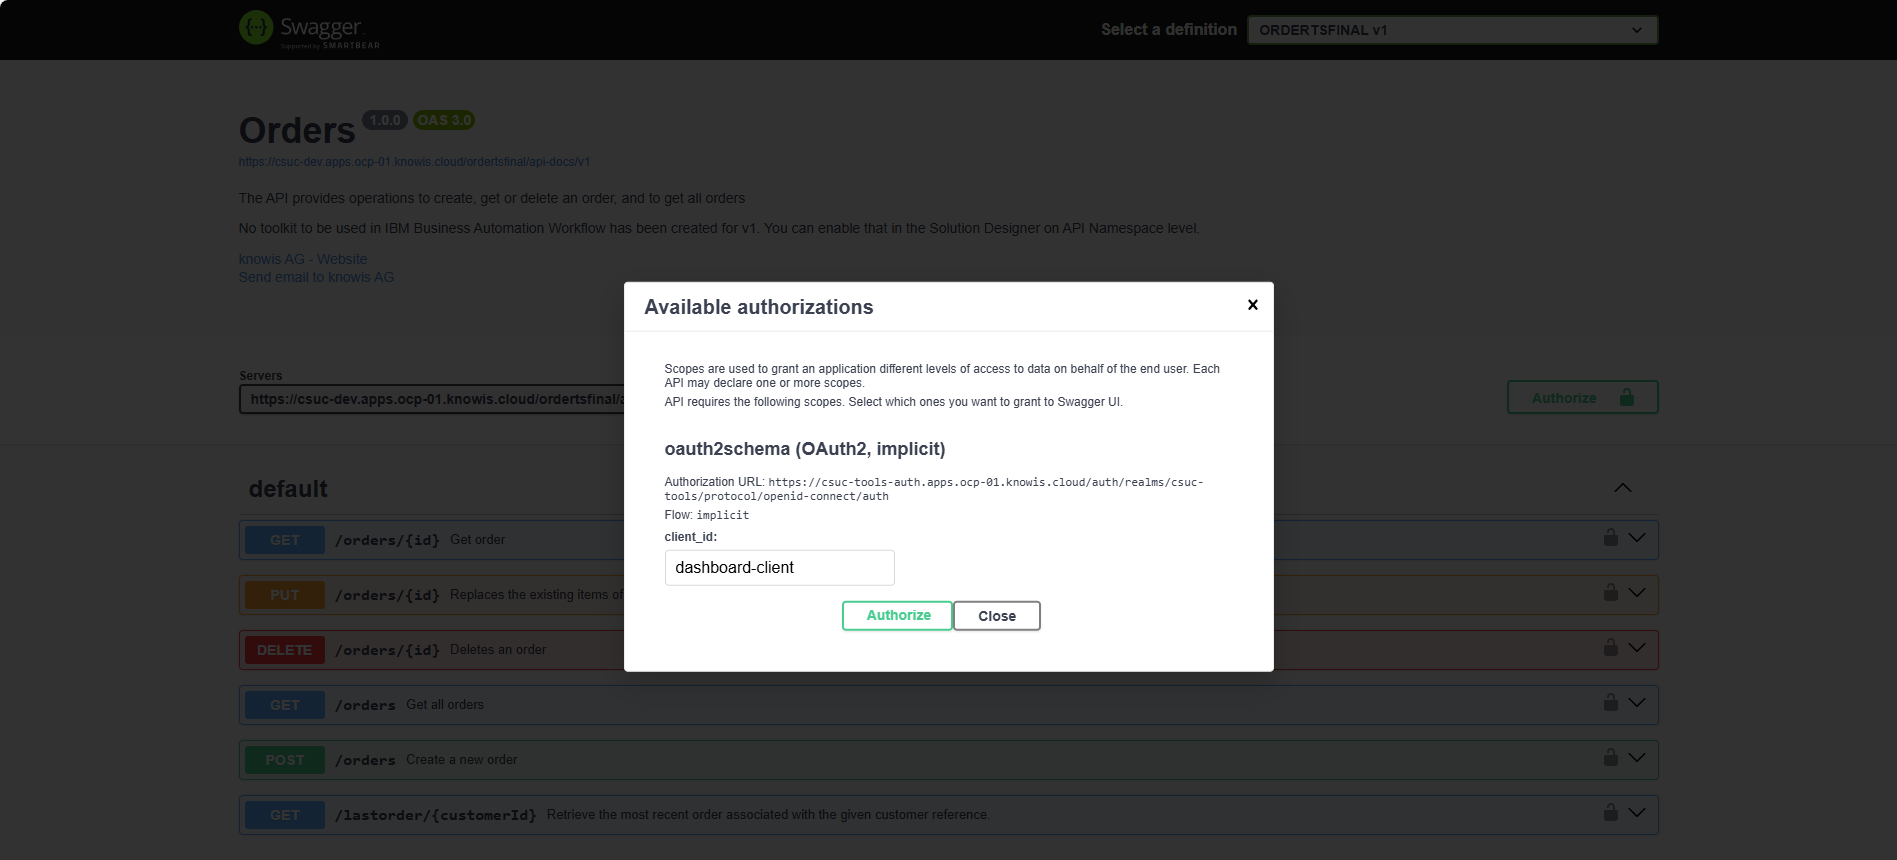
Click on "Authorize" again, then close the modal
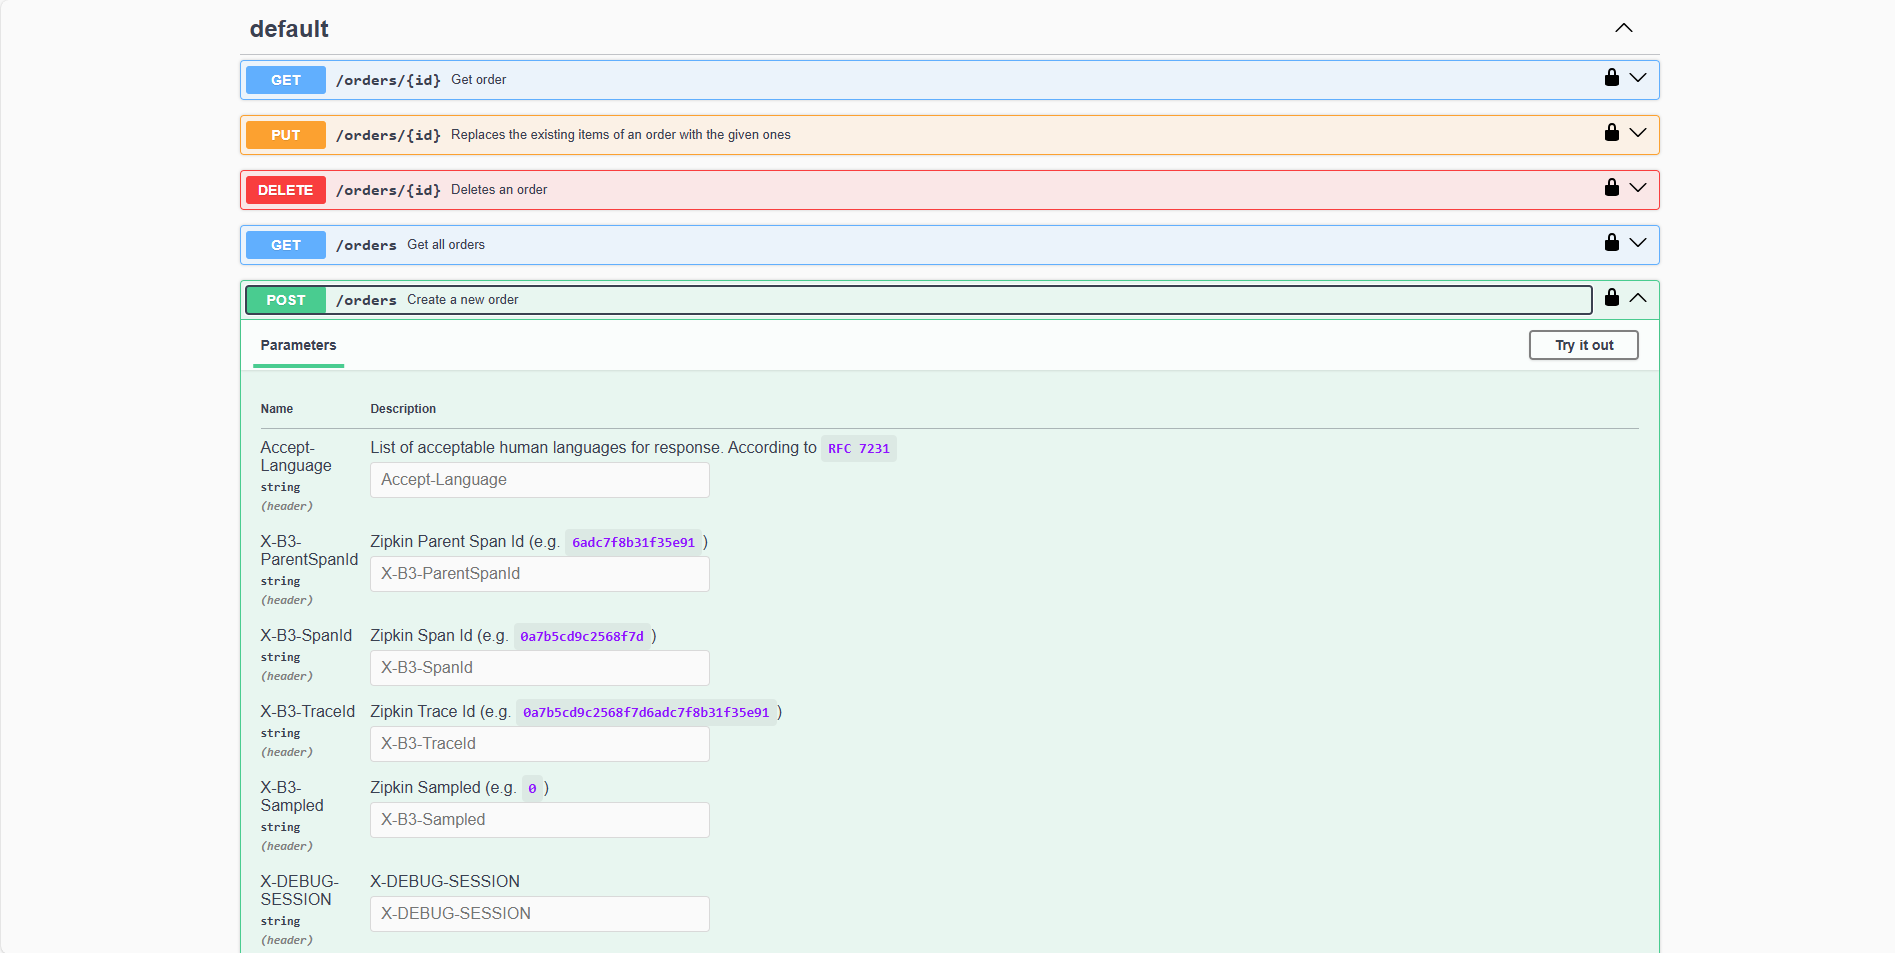
Find the POST operation for the "/orders" path, open it and click on "Try it out" to test the API operation

Fill out the "Request body" section with sample JSON data for the order you want to create and click on "Execute" to send the request to the API
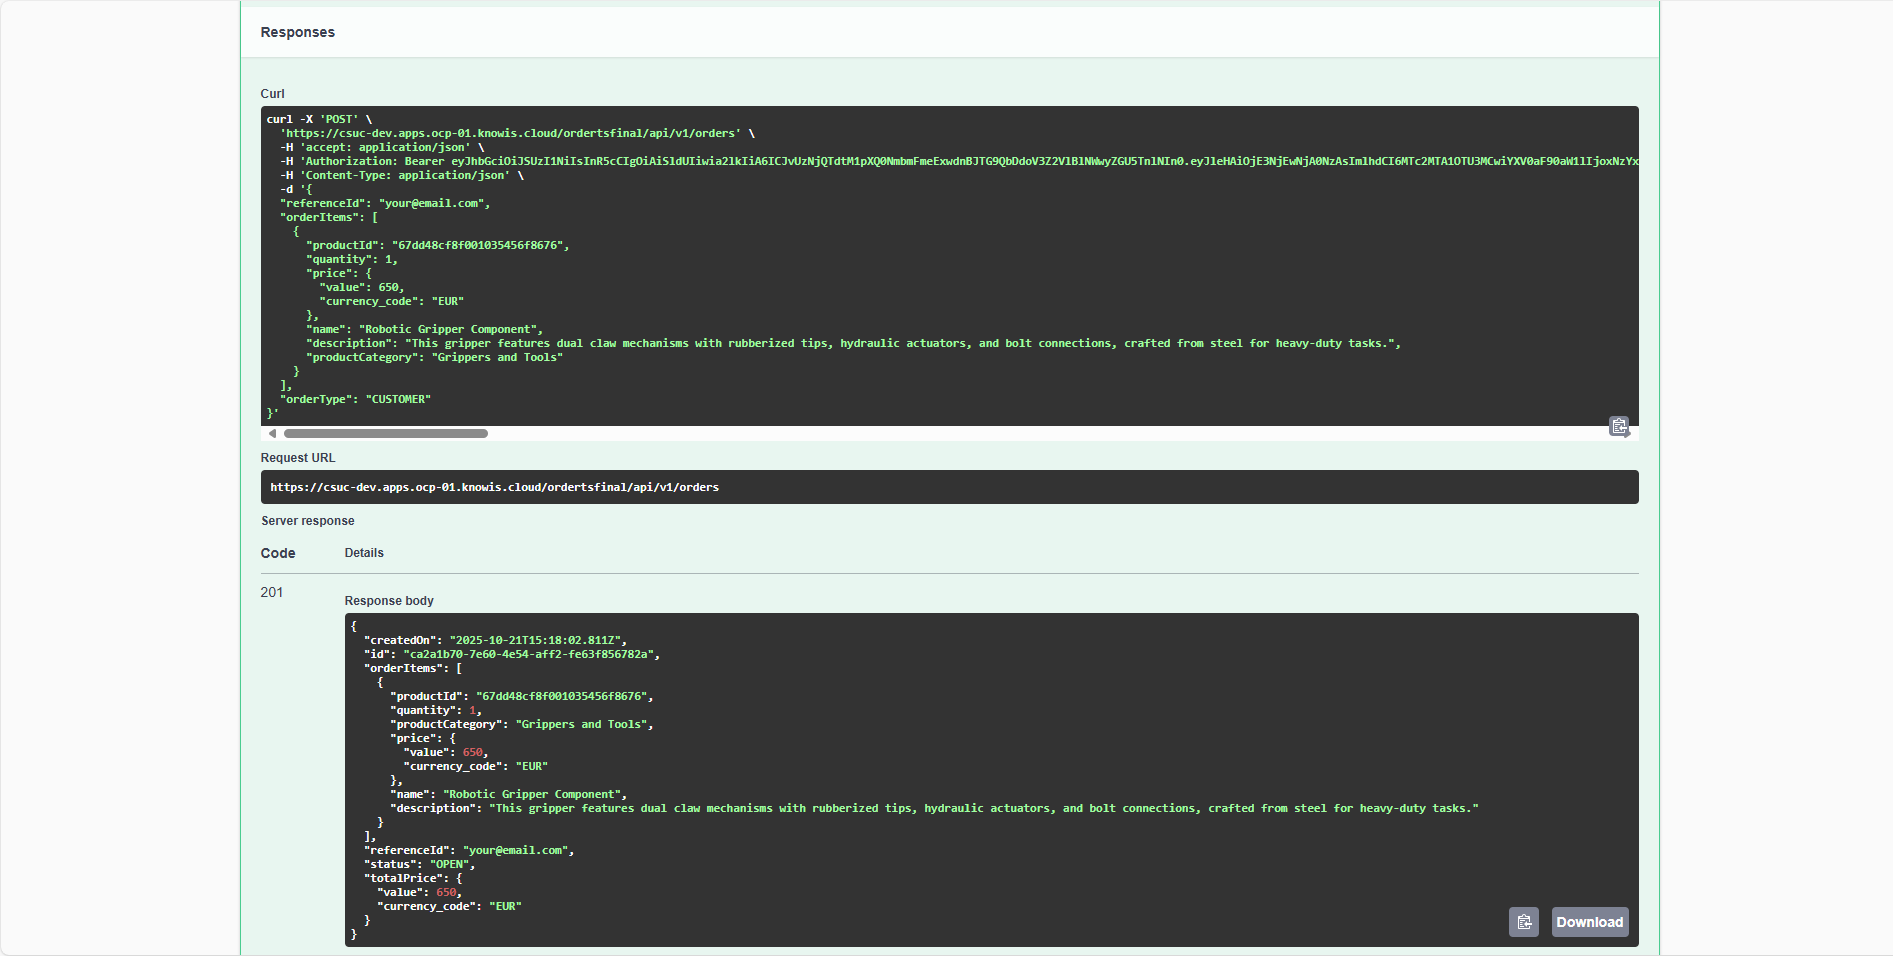
You can see the response from the API in the "Response body" section. If everything went well, you should see a 201 Created status code and the created order in the response body
For testing the API, you can copy the following JSON payload to your clipboard:
{
  "referenceId": "your@email.com",
  "orderItems": [
    {
      "productId": "67dd48cf8f001035456f8676",
      "quantity": 1,
      "price": {
        "value": 650,
        "currency_code": "EUR"
      },
      "name": "Robotic Gripper Component",
      "description": "This gripper features dual claw mechanisms with rubberized tips, hydraulic actuators, and bolt connections, crafted from steel for heavy-duty tasks.",
      "productCategory": "Grippers and Tools"
    }
  ],
  "orderType": "CUSTOMER"
}
In order to receive an email of the confirmed order in your mailbox, please replace your@email.com for property "referenceId" with your actual email address!
If everything is set up correctly, you will receive an email similar to the following data:
- Sender: roboflow@knowis.email
- Subject: RoboFlow Order Confirmation Email
- Message: The Order with id 235989ef738744fcb63ea0f91b831cdb and reference your@email.com was confirmed and is ready to be processed!
You have successfully deployed your Domain Service project and tried out the API operation you implemented! You can now continue to develop and enhance your service as needed.
What's Next?
In the next course, you will learn about testing for your Domain Service project with the IBM DevOps Solution Workbench.