Set up your local development environment
Description
For the implementation of any Domain Service project, it is mandatory to install the Solution CLI and clone the project with it. The CLI contains useful commands to manage the implementation of your services and is necessary to generate the service's code on the basis of your Domain service design from the Solution Designer. You can find a more detailed explanation along with the available commands in our product documentation.
The steps below are only required if you plan to complete the implementation exercises in the Domain Service training.
❗️Before continuing
- Ensure that you have setup the necessary prerequisites for local development
- For installing the CLI, NodeJS has to be available on your machine (https://nodejs.org)
- For TypeScript please install at least TypeScript see here
- For Java please install Java SDK and Maven see here
Install Solution CLI
- Open any previously created project.
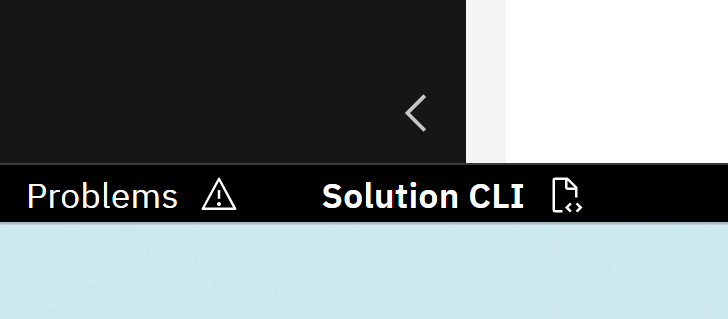
- Click on "Solution CLI" in the bottom left corner.
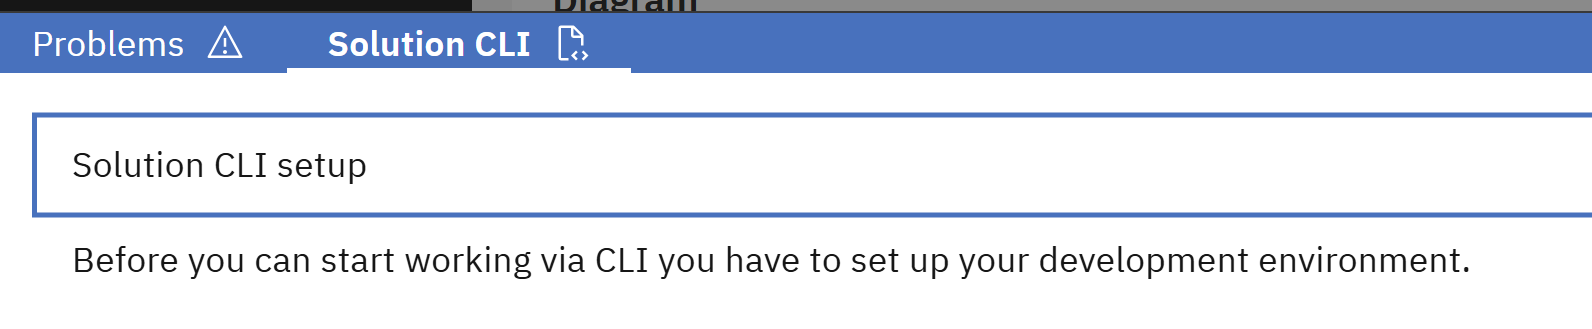
- Open the section "Solution CLI Setup"
- Follow the instructions of the section to download and install the CLI. It is recommended to use the Git Bash for the commands.
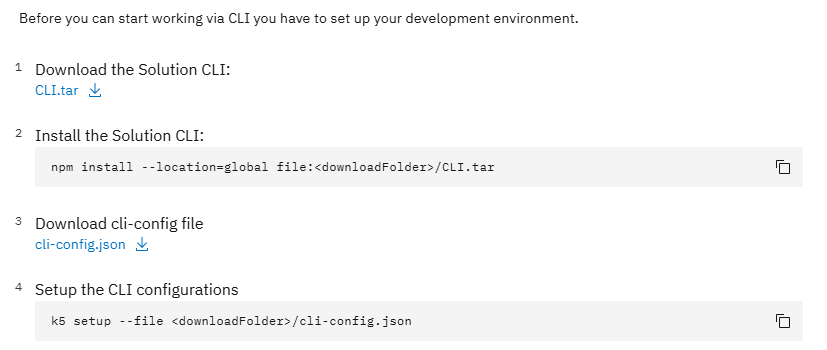
- After installing, please continue with the instructions to setup the CLI. Use your credentials from the Solution Designer to log in.
🌟Congratulations!
You have successfully setup your local development environment. You can now use the Solution CLI when implementing your services.