Create your first HelloWorld API
In this ‘Getting Started’ session, you will experience first-hand how convenient it is to build microservices with IBM DevOps Solution Workbench. For this purpose, you will implement and deploy a service with a Hello World API.
Outline
Service projects provide a flexible and structured way to build services in a microservice-oriented environment and can be categorized into multiple stacks and service types. Each service type is tailored for specific roles within your system and may come with its own set of preconfigured extensions, such as API modeling, domain modeling or persistence support. The Domain Service project with its respective Java Spring Boot and NodeJS TypeScript stacks has the most extensions enabled by default and thus, it is very suitable to start building microservices with the IBM DevOps Solution Workbench.
Exercise
Estimated time: 15 minutes
Exercise goal: You will be able to create, implement and deploy a microservice from a pre-built Domain Service project asset.
Supported languages: Java and TypeScript
Please note that the links to the Workbench tools in this tutorial only apply to the IBM Education Environment we provide. If you are using a different environment, e.g. your own installation, you will need to navigate directly to the required tools.
Create your own Workspace
When working with IBM DevOps Solution Workbench, it is recommended to use workspaces to organize your work. They are a great way to structure your work into pieces with common context.
Please directly continue with Import Asset and create Hello World Project. If not, please process the following steps:
Log into the Solution Designer and follow the steps below to create your own workspace.
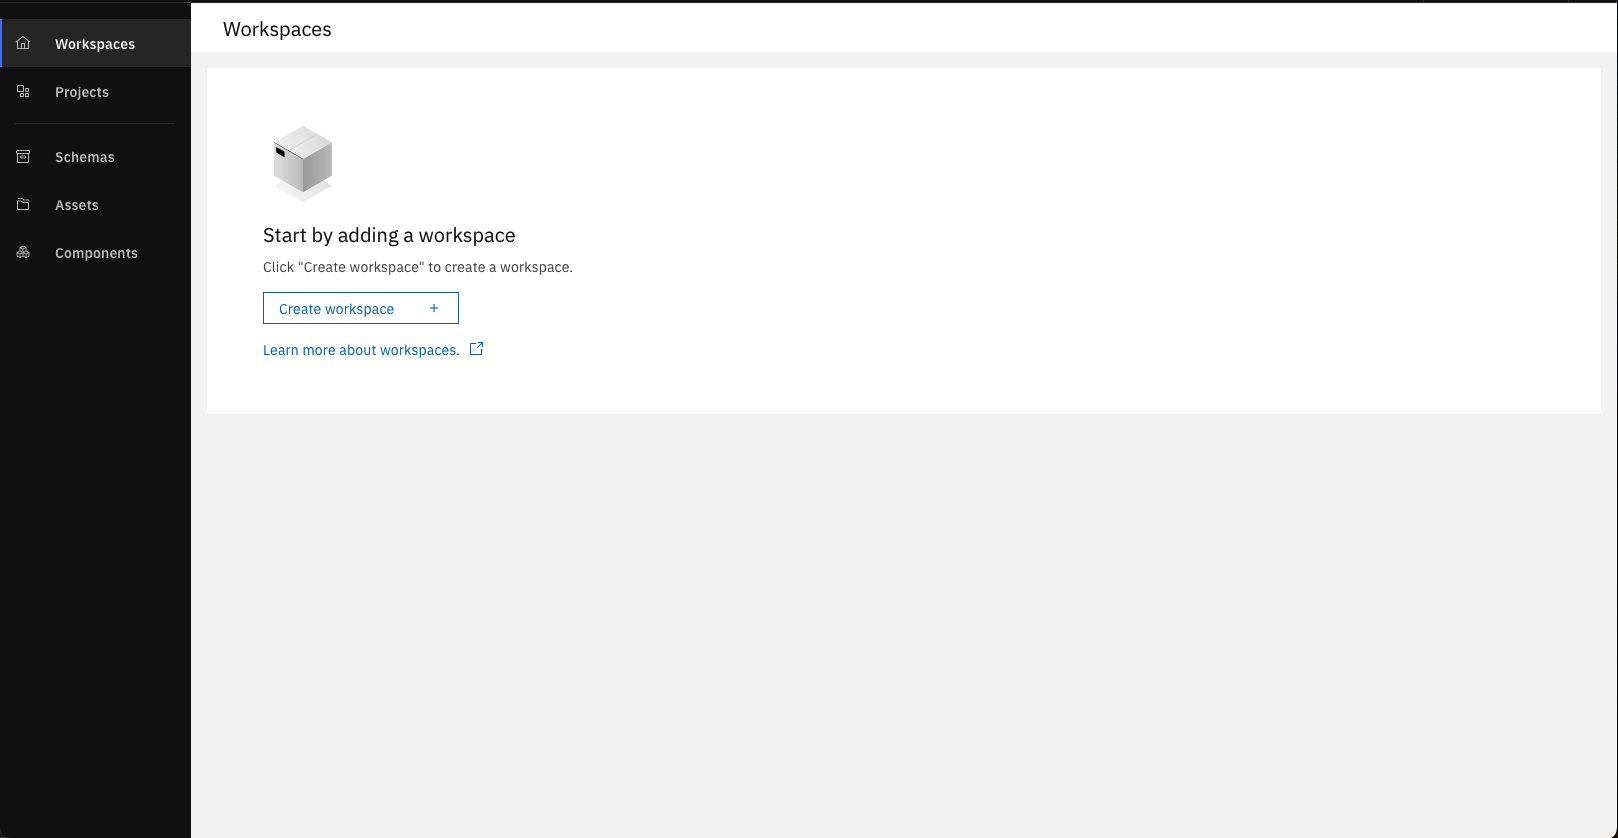
Click on "Create Workspace"
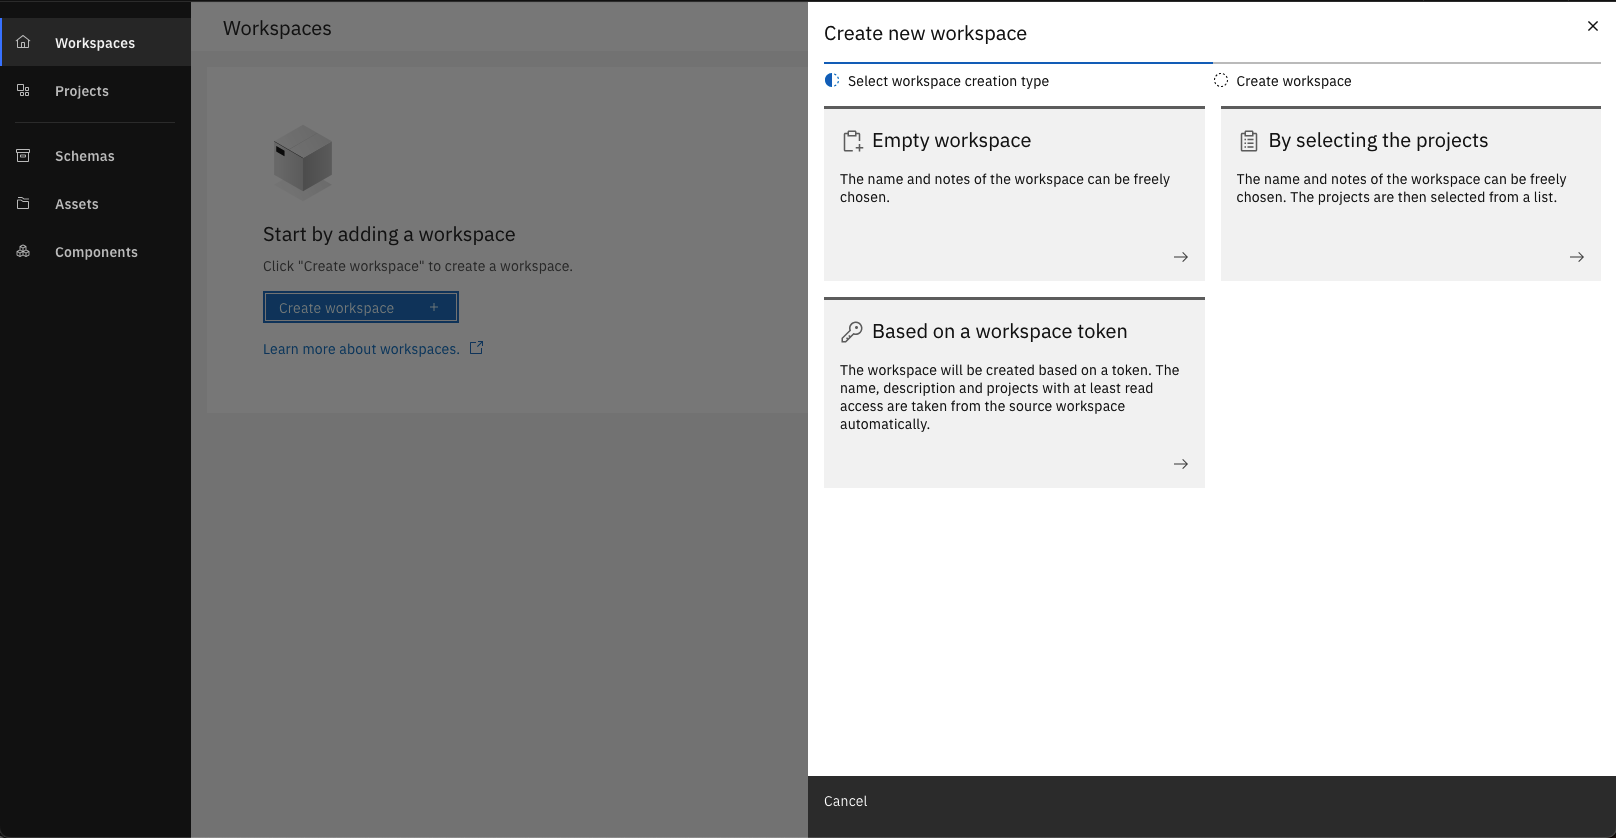
Create a new empty Workspace
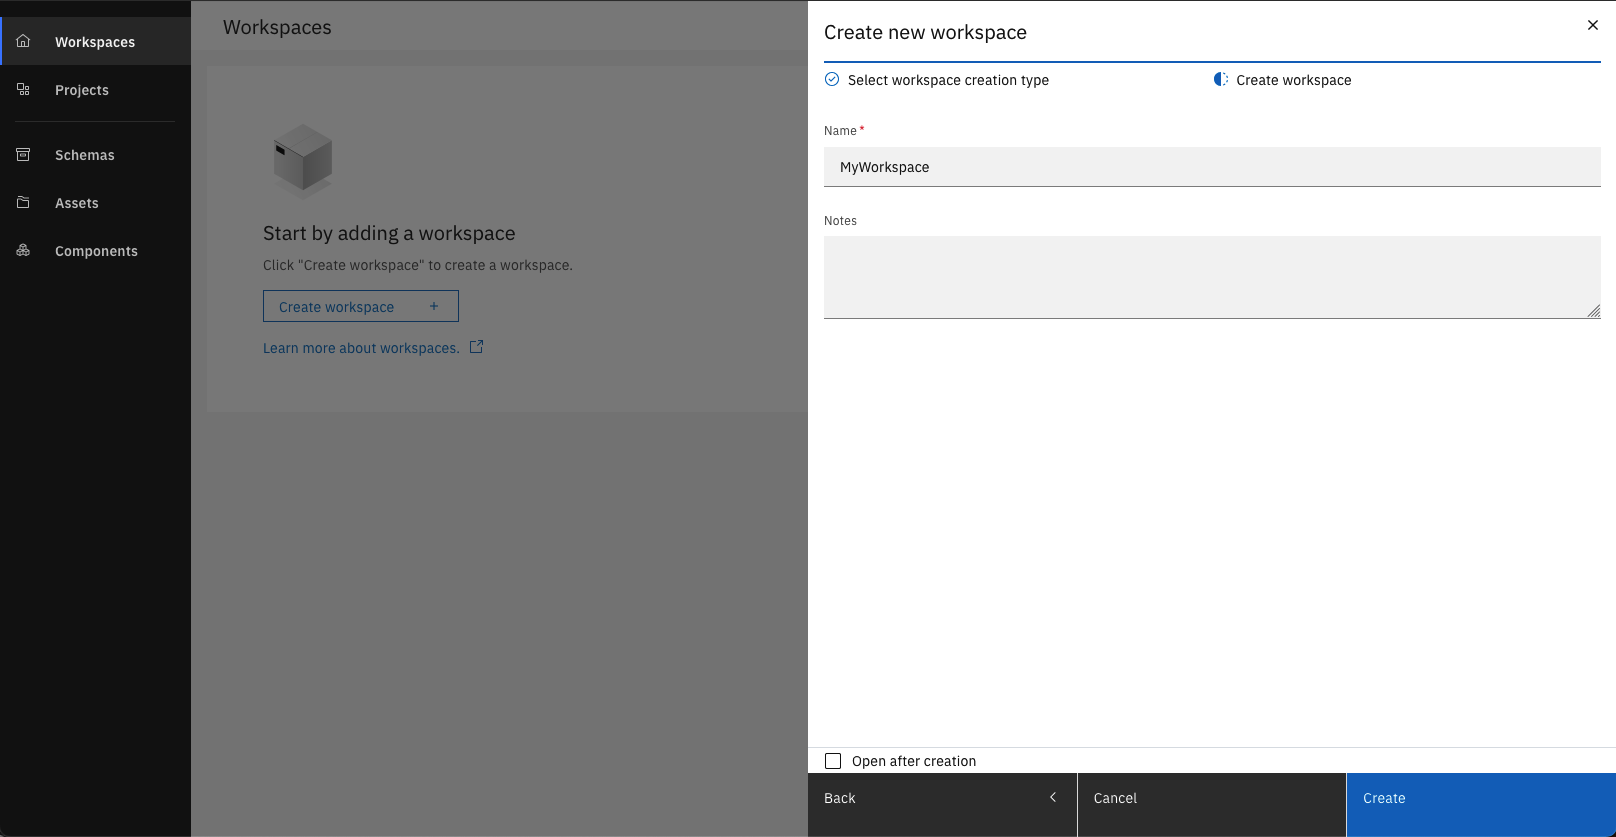
Fill out the Form
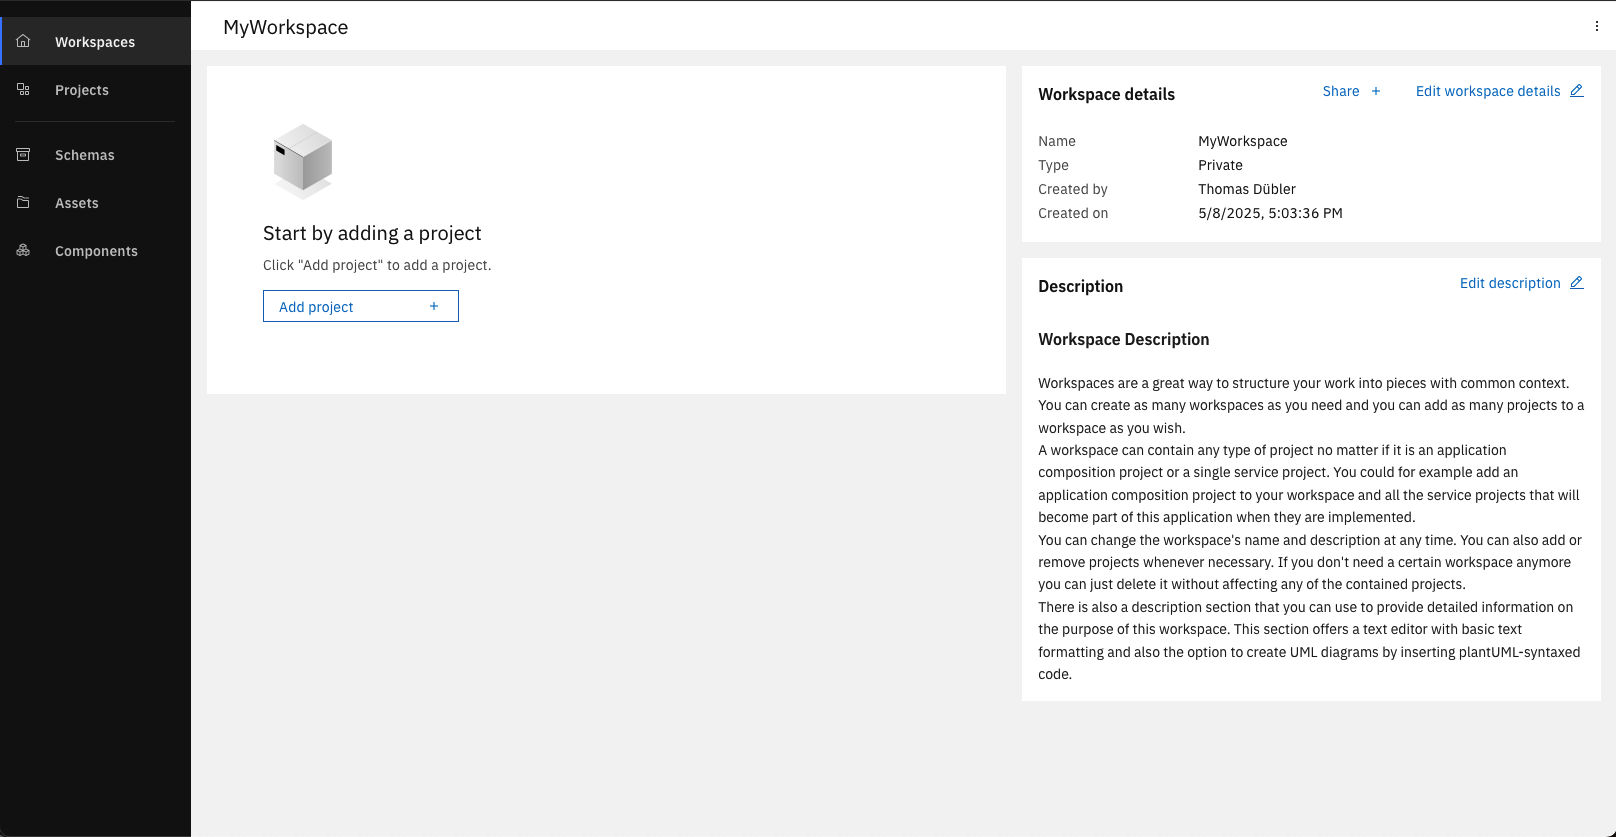
You now have an empty Workspace
Import Asset and create Hello World Project
To quickly create your Hello World Project in the Workbench, you will use an already prepared asset. Assets are a nice and easy approach to enable others in starting Service development with already prepared assets.
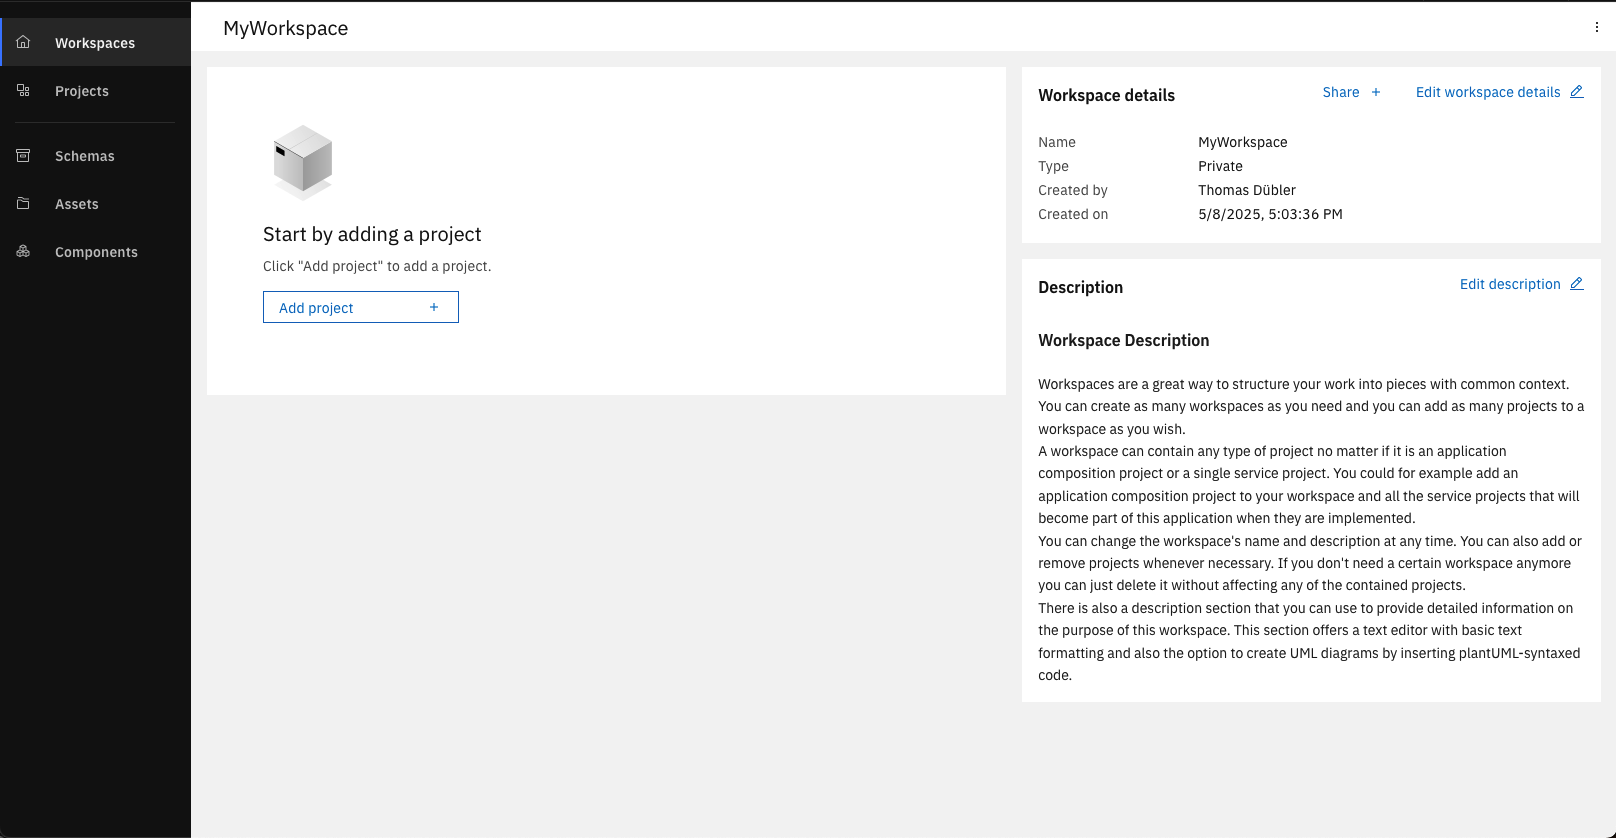
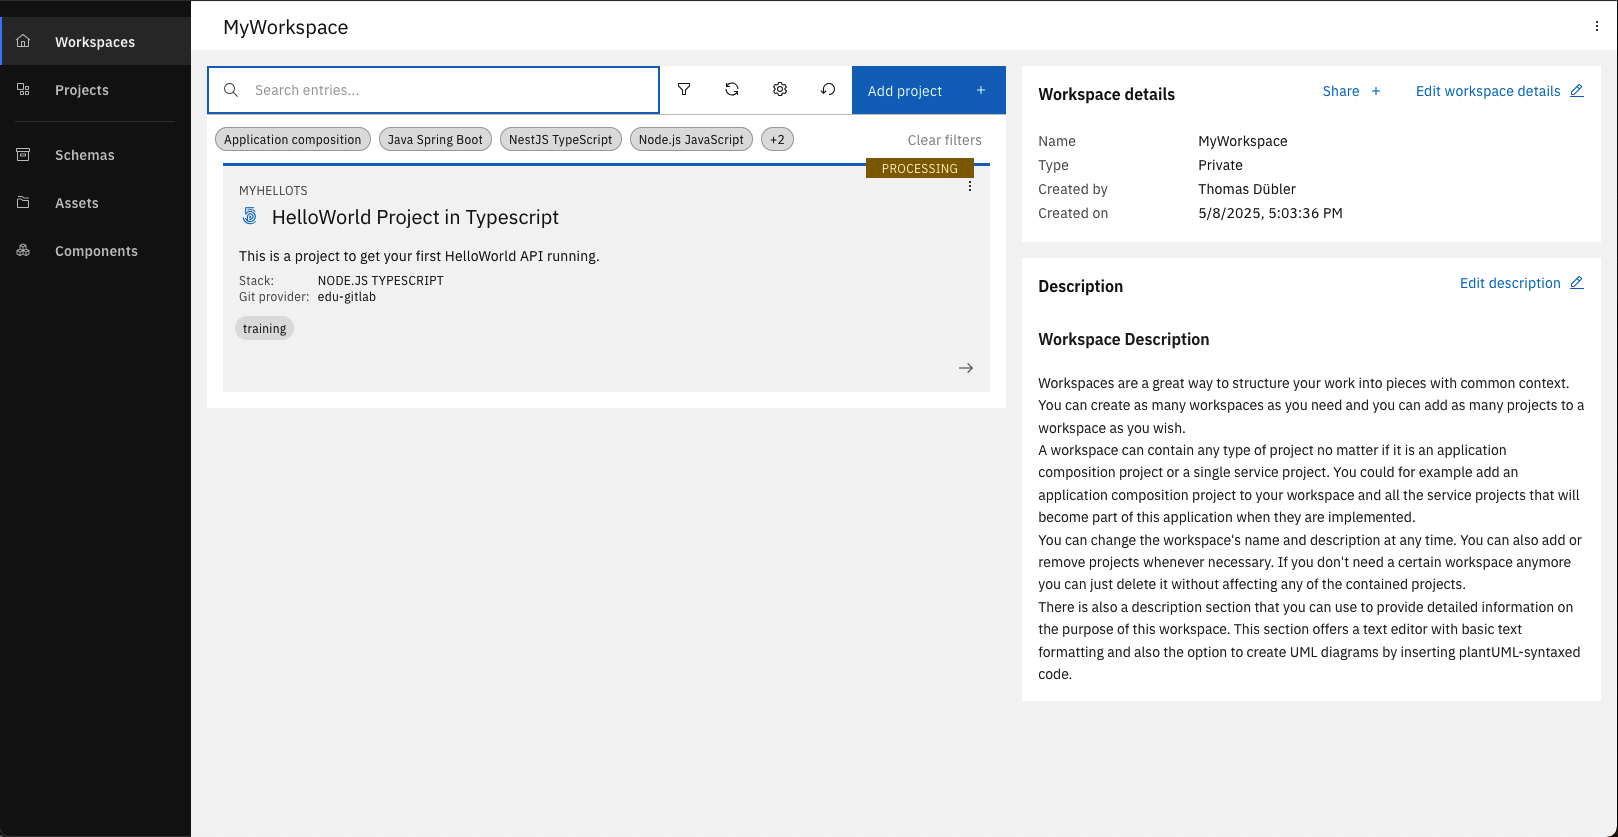
Open your Workspace and click on "Add project"
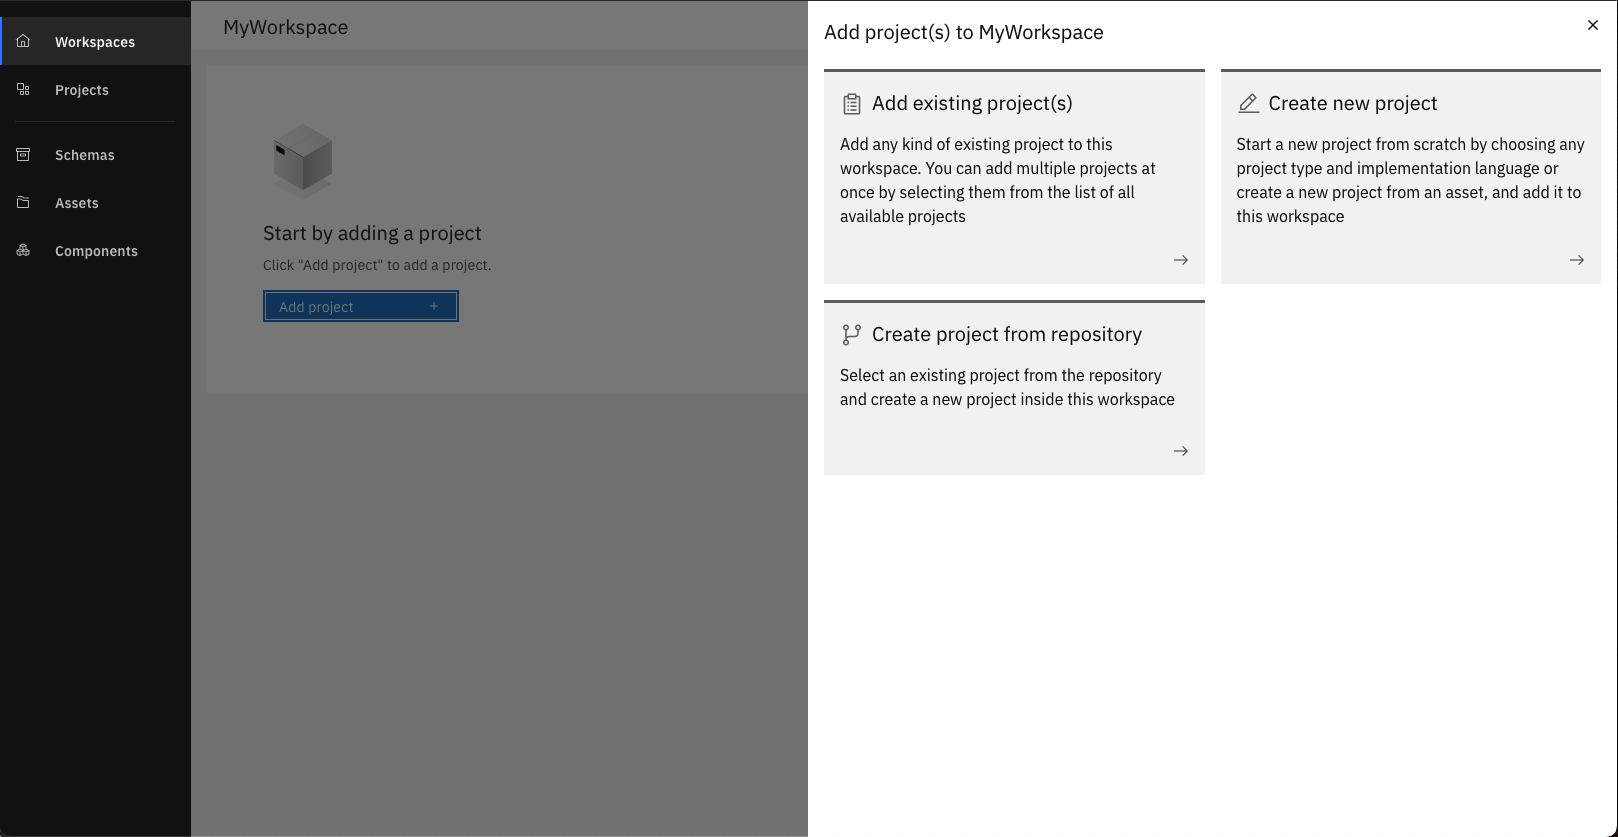
Select "Create new project"
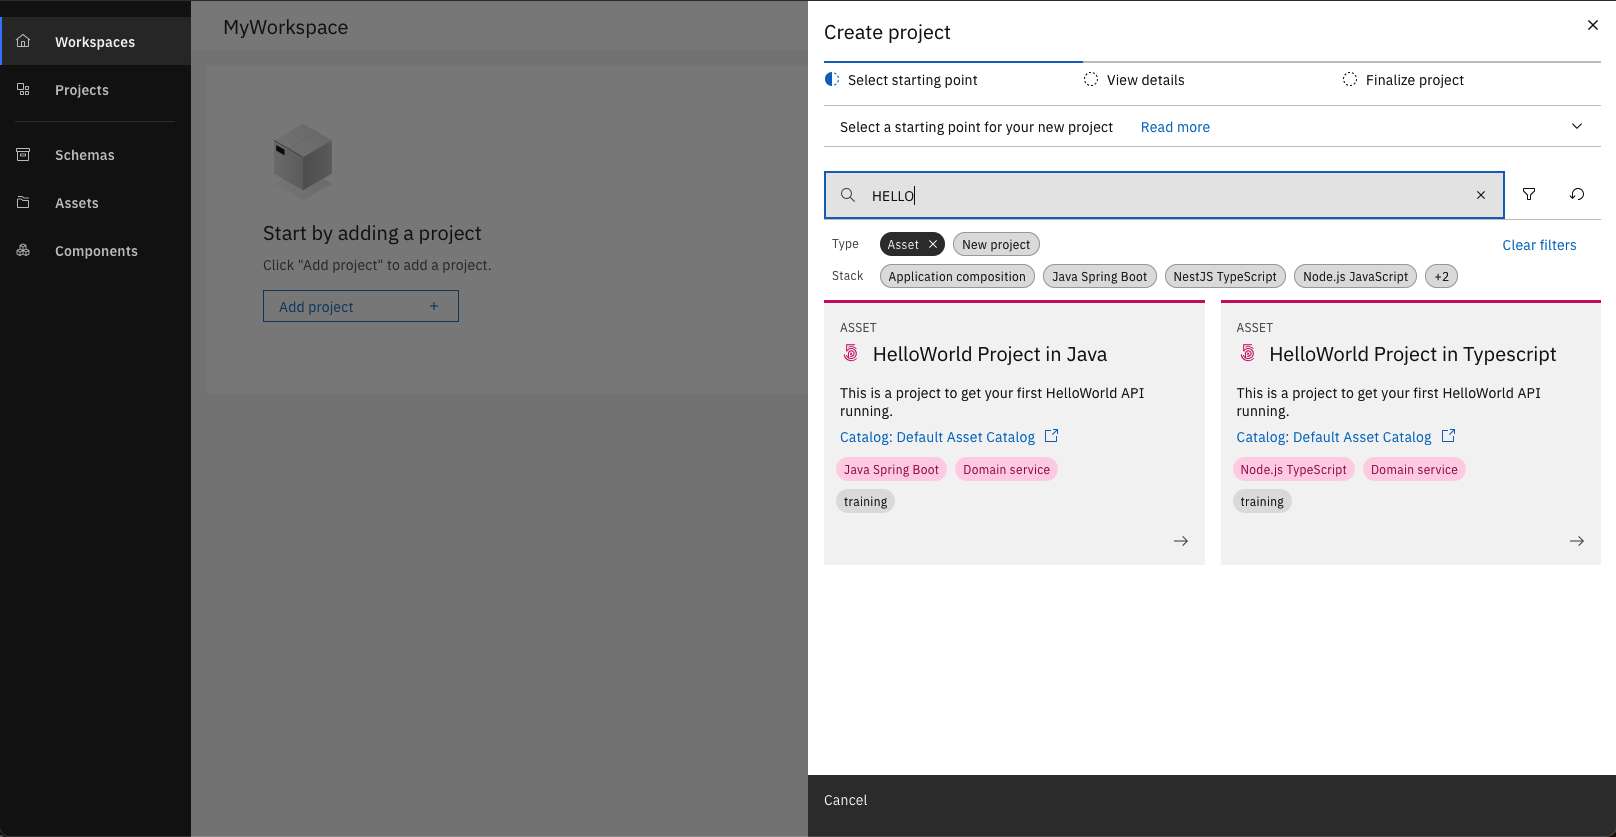
Select the asset of the "HelloWorld Project" depending on your desired implementation language
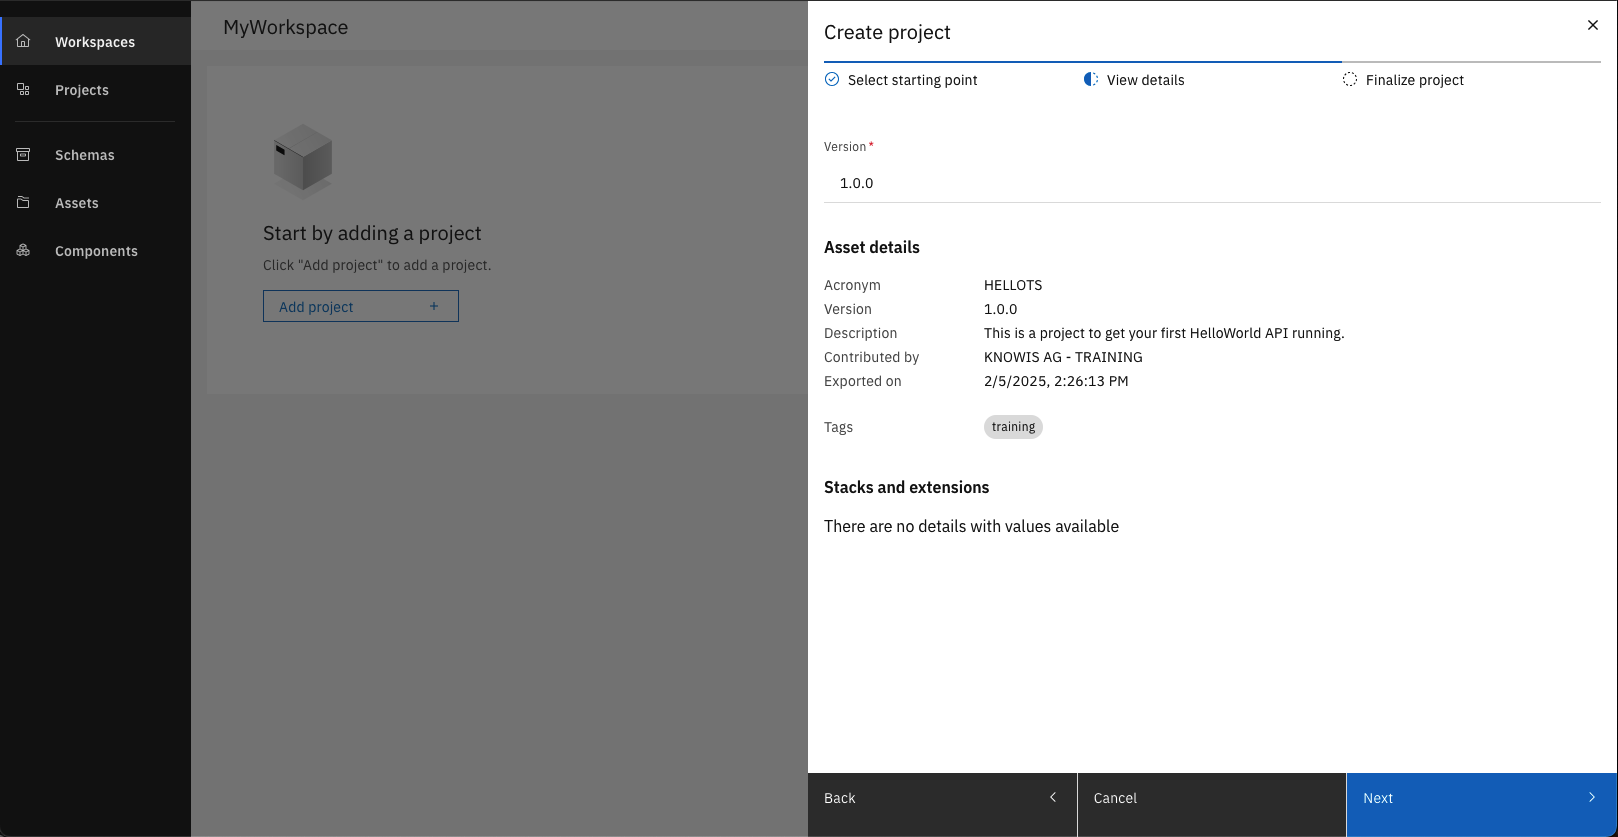
Click on "Next"
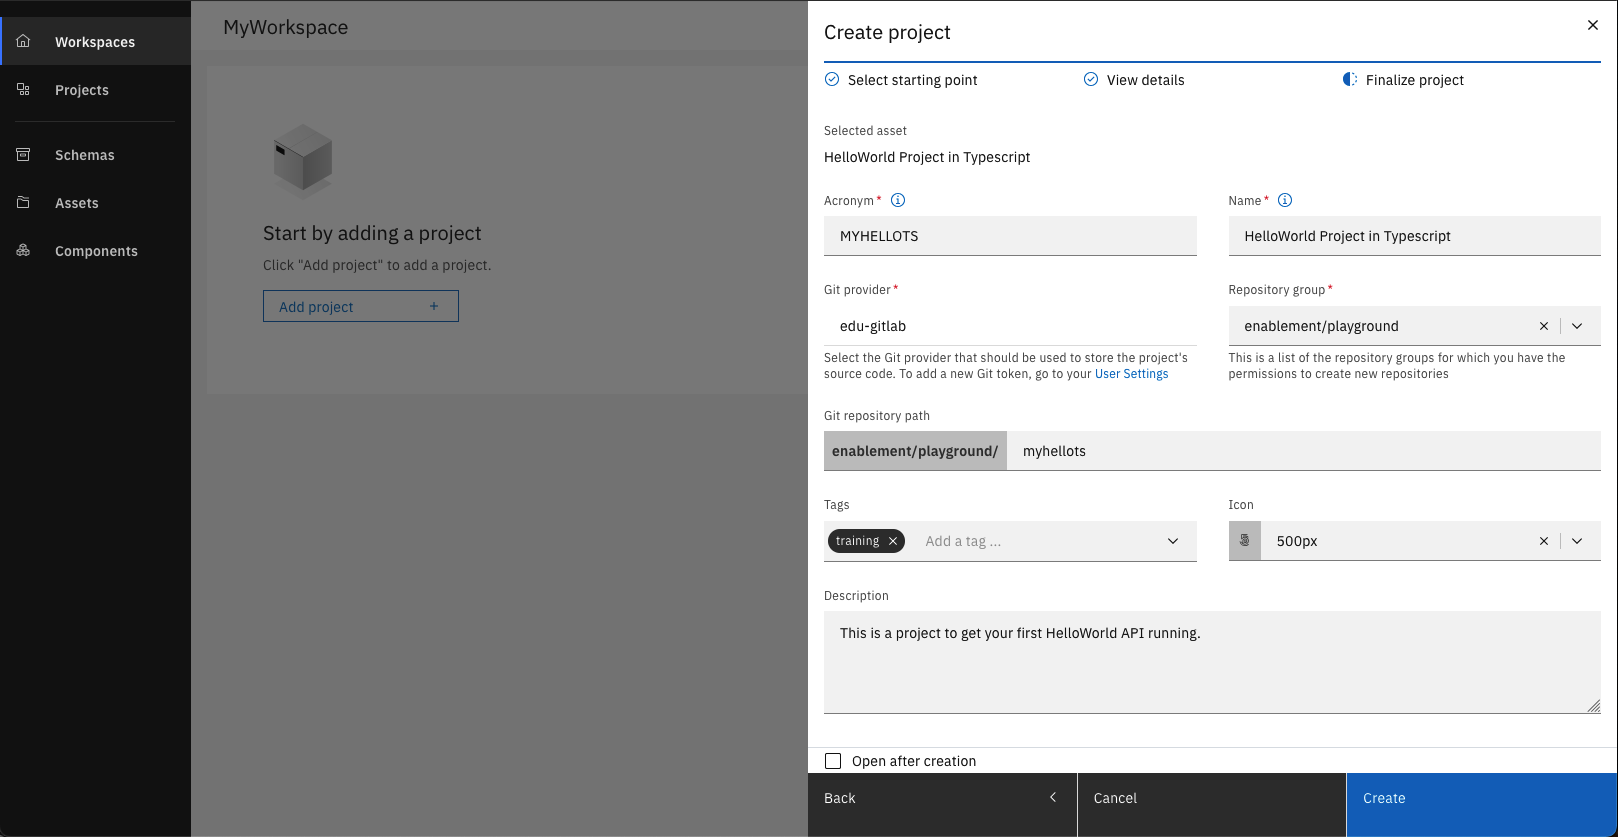
Choose an unique Acronym and a repository group for your project
You successfully created your project from an asset
If you have chosen the Java asset, you must also specify a Package name of your choice.
Explore the Project
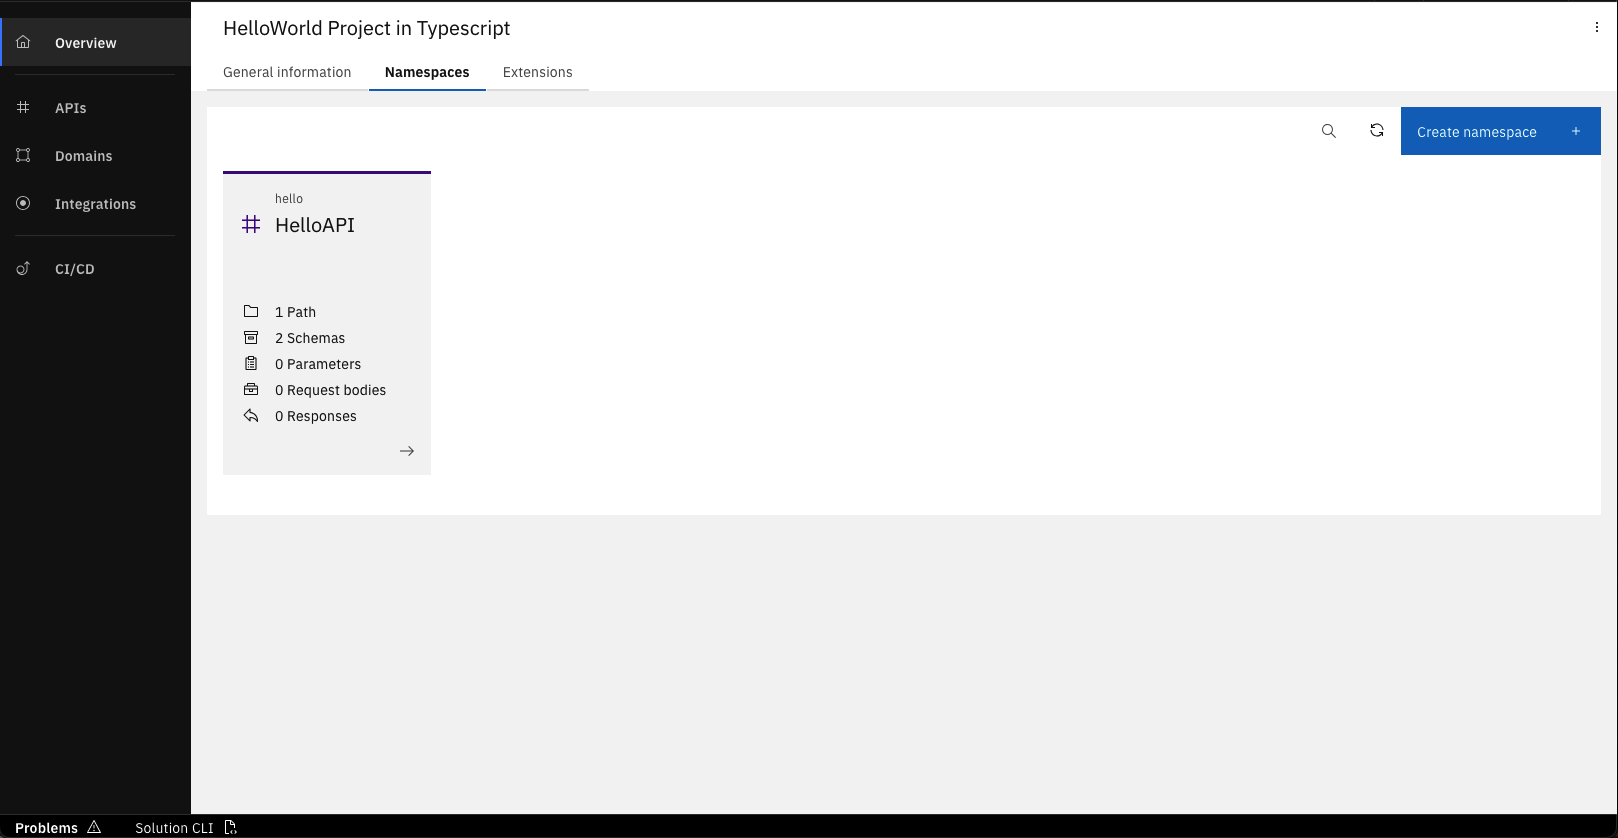
Open the Project from the Workspace you recently created and have a look at the Namespace section. You will see that an API Namespace called HelloAPI with one GET endpoint already exists.
The path is /greet/{name} and is designed to return a greeting message.
The name of the person to be greeted is passed as a path parameter.
The asset also contains two Schemas that are used to define the request and response of the API Operation. The Schemas are called Name and Greeting.
Take a few moments to explore the project and when you are ready, continue with the next steps where you will see the code generation of the IBM DevOps Solution Workbench in action and implement the API operation.
Implement the API operation
After exploring the design of the API, we will implement the already designed API operation. This part is not done within the Solution Designer. Instead we will use the native development tooling on your local machine.
Ensure that you have setup the necessary prerequisites for local development. If not, please go to the previous course to set up your local development environment. After you are done, return back to this section.
Clone the project
To implement the designed Operation in your IDE (e.g. Visual Studio Code) you have to clone your Project to your local machine.
Open the section "Implementation" in the "Solution CLI" and follow the instructions of the section in your terminal.
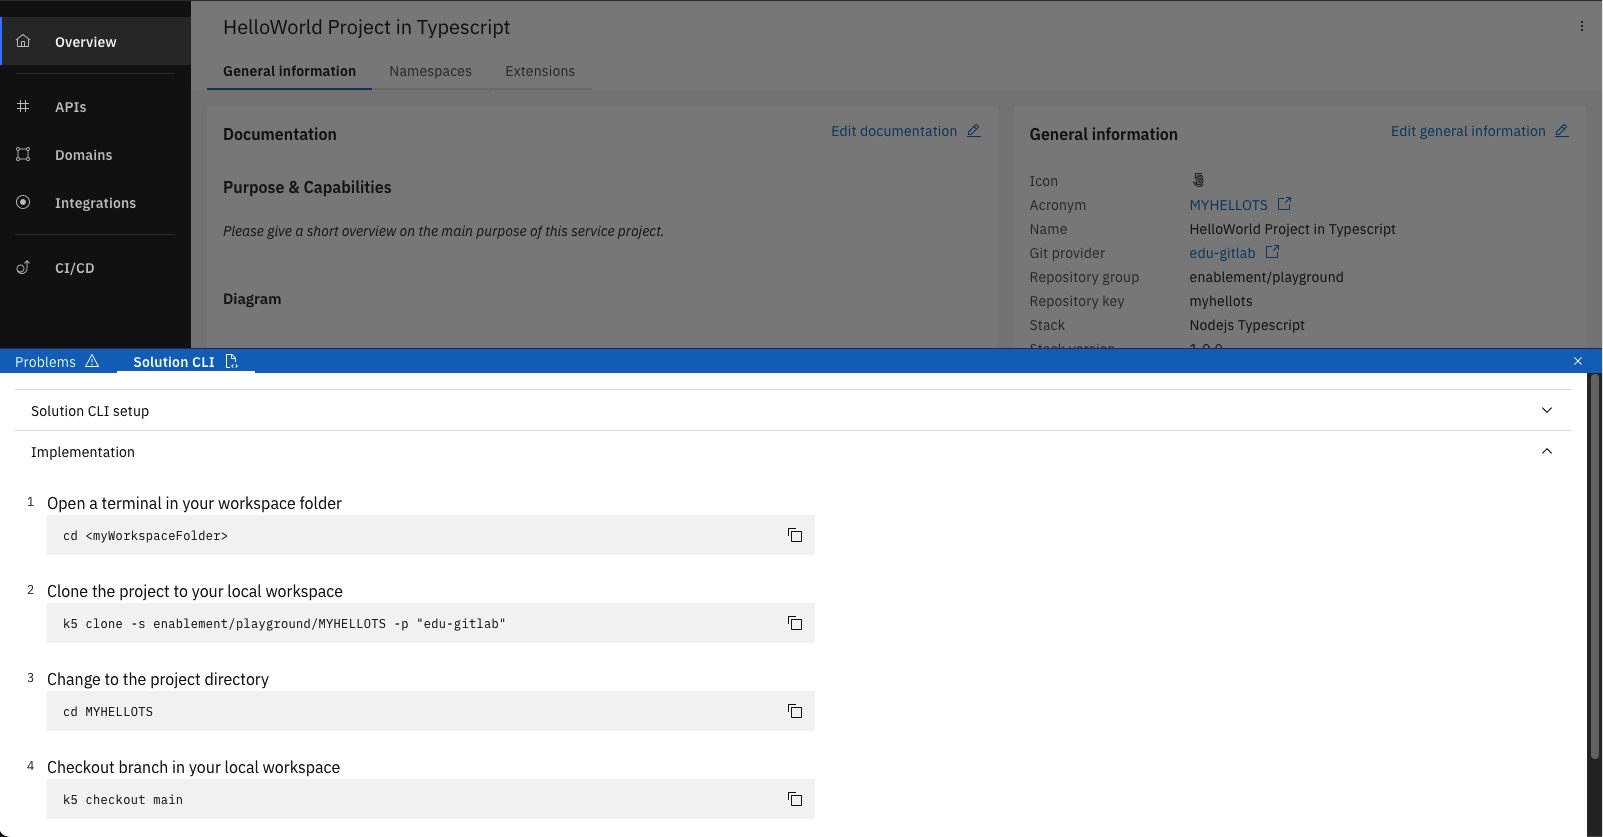
If you choose TypeScript, please ensure that you have opened the project directory instead of your workspace directory to ensure that all of the provided features work smoothly.
Add implementation code
- Java
- TypeScript
-
Open the file
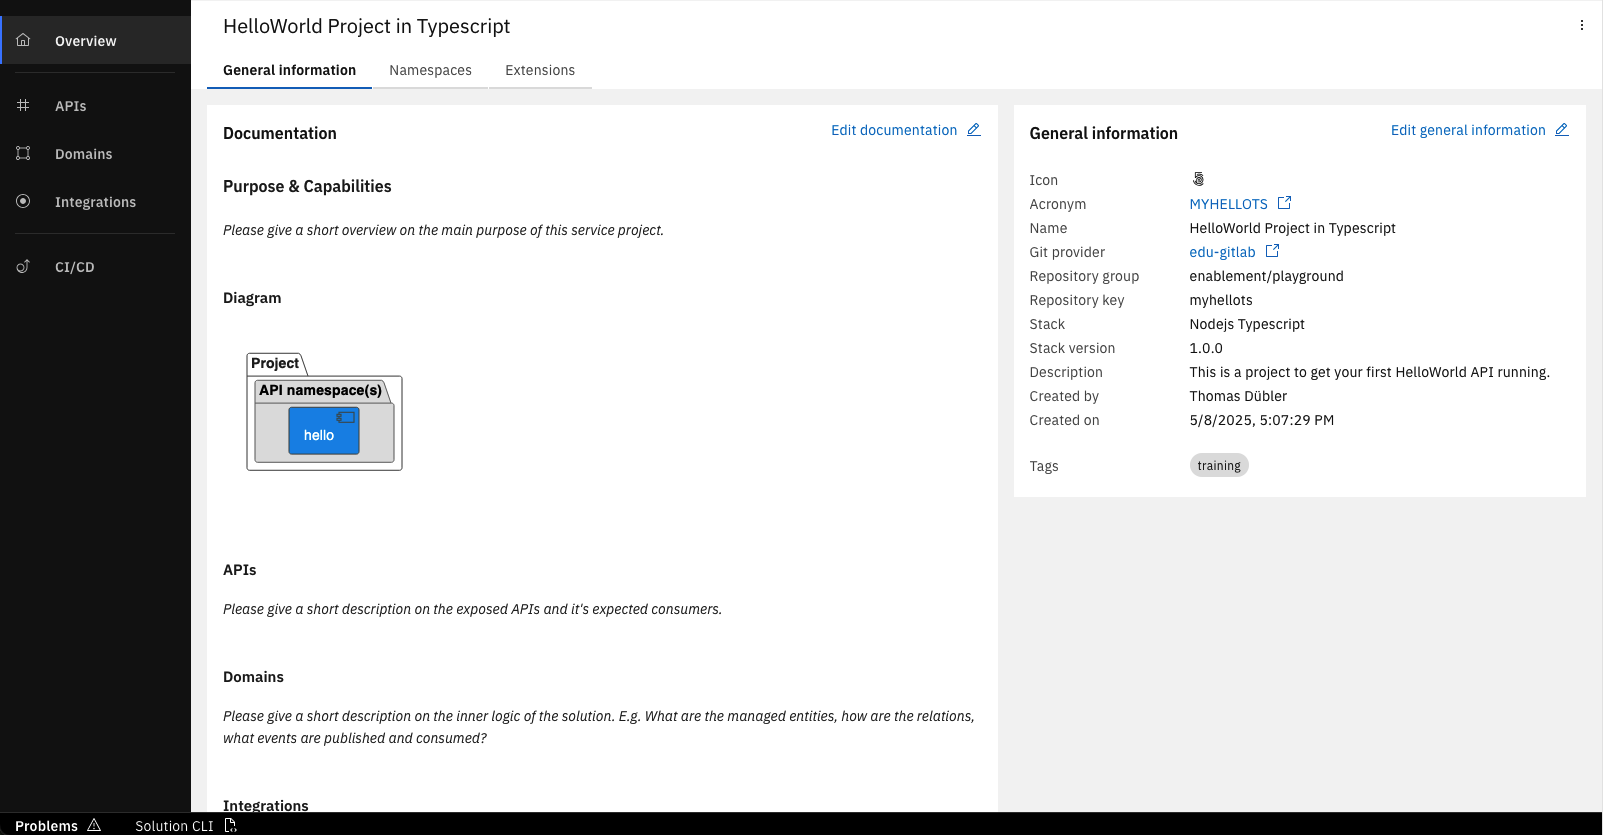
GreetApiHelloProvider.javain path/src/main/java/<package-name>/api/helloand find the methodsayHello.<package-name>: The package name of your Java project (e.g.com.knowis.myhelloj)💡tipYou can find the package name in the project overview (click on "Overview" in the left sidebar) under the tab "General Information".
❗️infoYou will see that the file contains an auto-generated stub with a more or less empty
sayHello()method block that you need to fill with code to implement the actual functionality. The only content of that block is commented out sample code for some often-used functionality aimed at serving as a template for what you might want to do. -
Please extend the
sayHello()method with the following implementation code:@Override
public ResponseEntity<Greeting> sayHello(String name) {
// Create the response using path parameter "name"
Greeting gr = new Greeting();
gr.setMessage(String.format("Hi %s, welcome to the Workbench", name));
return ResponseEntity.status(HttpStatus.OK).body(gr);
} -
Use the auto-import function of your IDE to import the missing classes.
You have to import e.g. class
HttpStatusfrom packageorg.springframework.http. Make sure to import the class from the correct package if multiple imports are suggested. Alternatively, you can insert the following line before the class definition:
import org.springframework.http.HttpStatus; -
Save the file.
-
Open the file
/src-impl/api/hello/operations/SayHelloApi.ts.❗️infoYou will see that the file contains an auto-generated stub with a more or less empty
sayHello()function that you need to fill with code to implement the actual functionality. The only content of that block is commented out sample code for some often-used functionality aimed at serving as a template for what you might want to do. -
Extend the function
sayHellowith the following implementation code:/**
* @param request Request.SayHelloRequest
* sayHello logic
*/
sayHello = async (request: Request.SayHelloRequest) => {
this.util.log.info('start sayHello execution');
// read the name from the path
const name = request.path.name;
// fill the response body with the message
this.response.body = {
message: `Hello ${name}, welcome to the Workbench!`
};
// set the response status to 200
this.response.statusCode = 200;
}; -
Save the file.
If you made changes in the Solution Designer after cloning the Project, you can use k5 pull to update your local environment to use the latest state. Only commited and pushed changes from the Solution Designer will be reflected.
Push changes to Git
To make the changes of your implementation visible to others you have to push them to the remote Git repository.
- Go to your terminal and run command
k5 compileto ensure that you do not have any issues in your code. - Run the command
k5 push -m "Implementation of my first HelloWorld API".
You have successfully implemented your Hello World API. You also pushed your changes to your remote Git repository in Gitlab.
Deploy API
Now that all changes are in the remote Git repository you can move on and deploy your HelloWorld API.
Create and Trigger Pipeline
Therefore you create and trigger a pipeline within your Hello World Project in the Solution Designer.
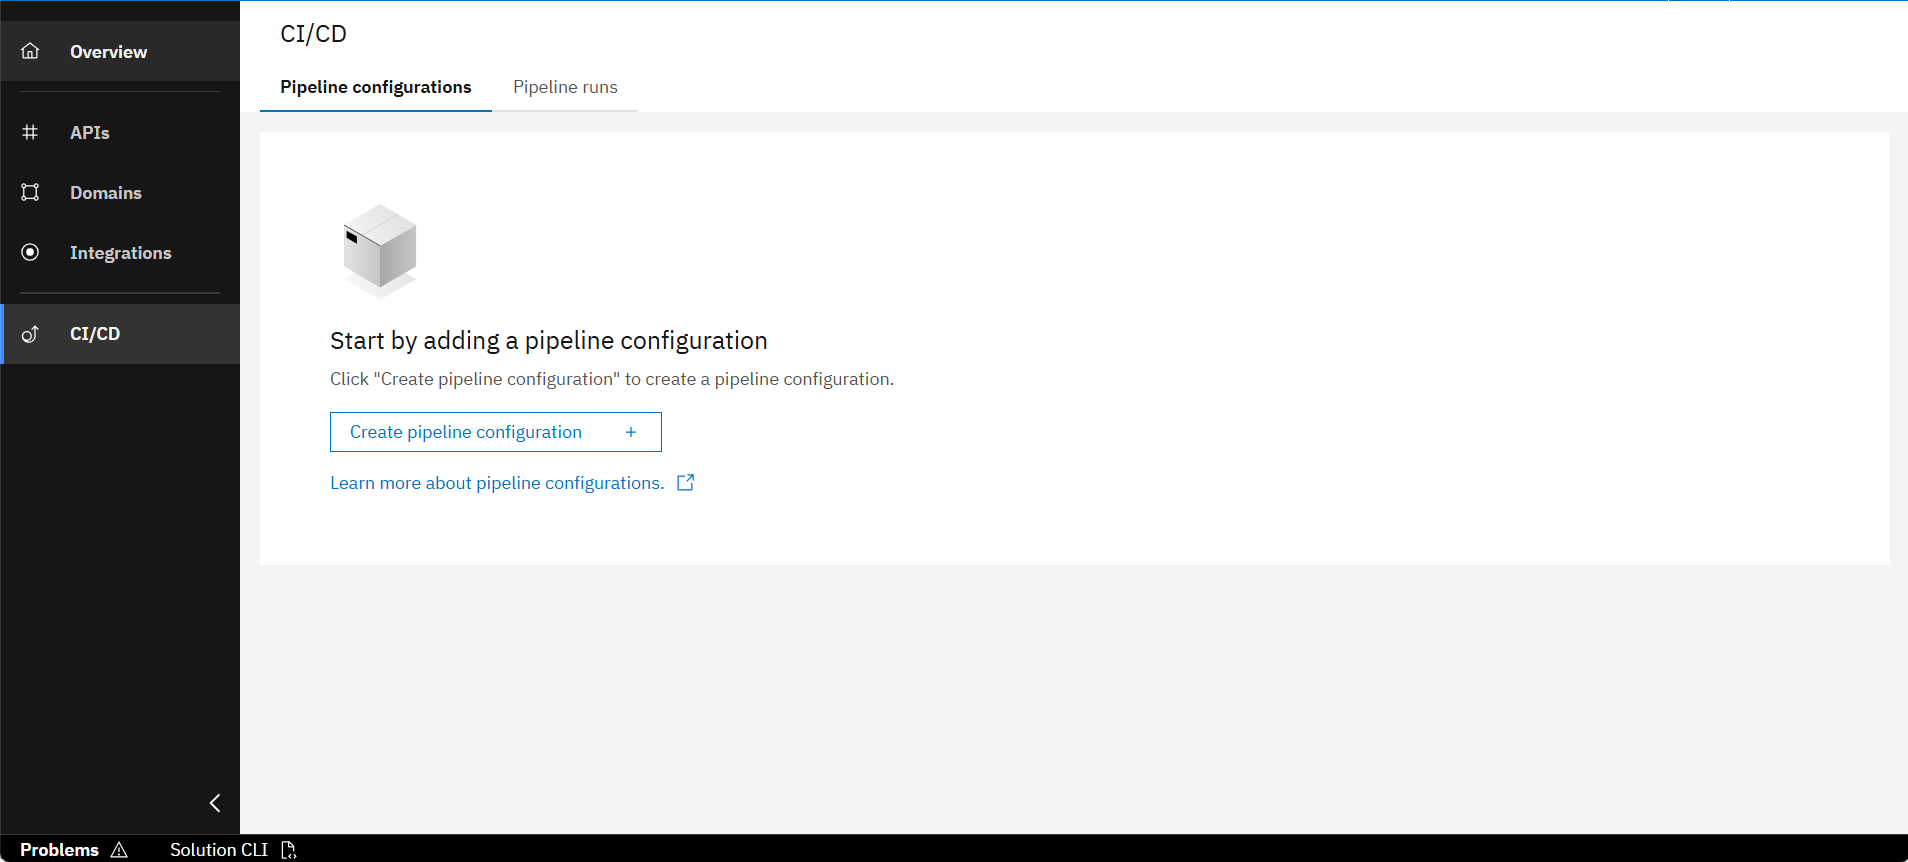
In the CI/CD section of your project click on "Create pipeline configuration"
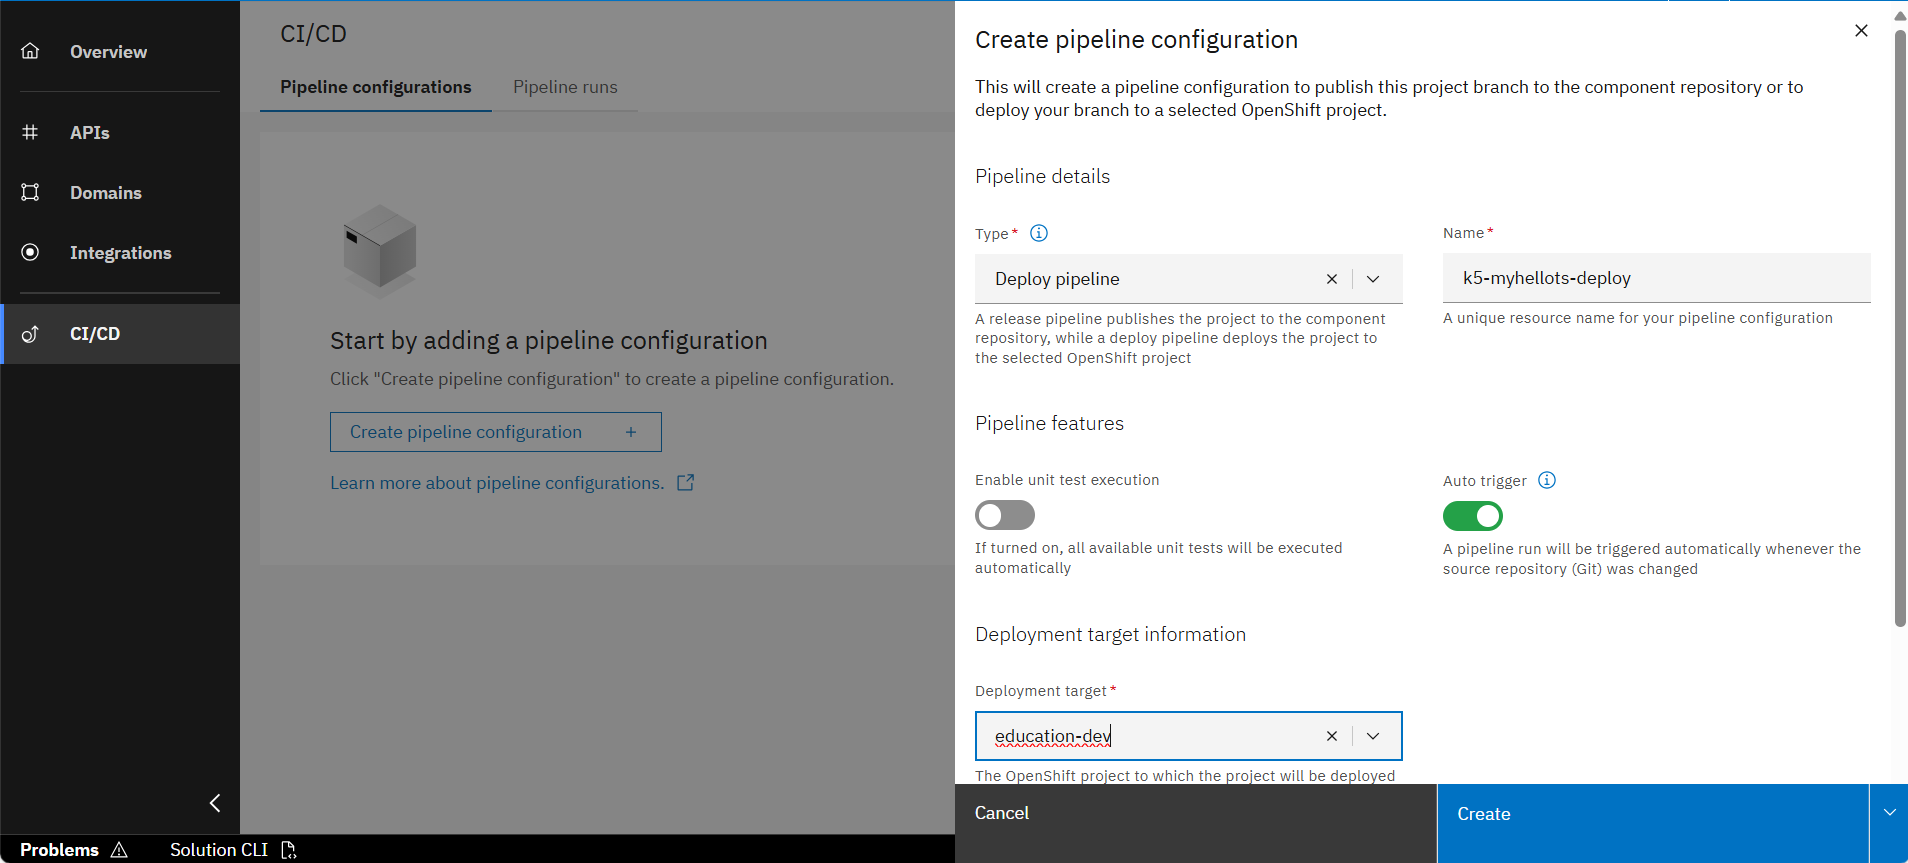
Select type "Deploy pipeline" and your deployment target
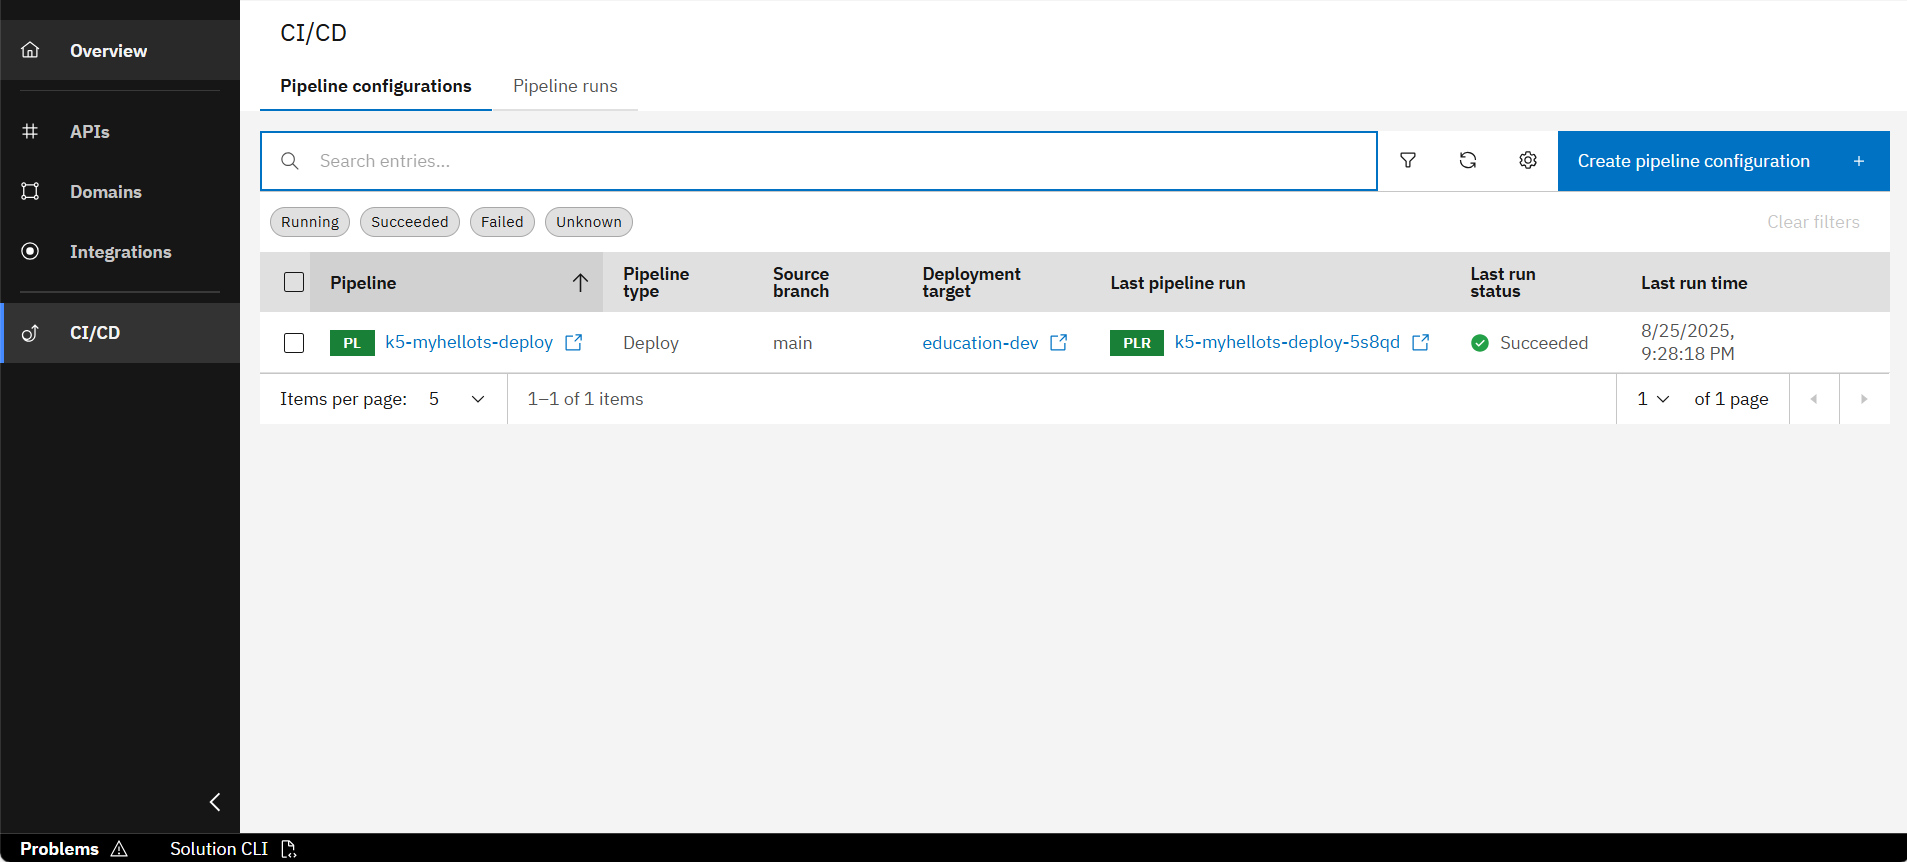
After creation, the pipeline starts running automatically and will succeed after a few minutes
Discover the deployed Service
After the pipeline run has "Succeeded" you can have a look at the deployed Service. You can do that in the Environment page where you can find all deployed services.

Click on the link for the deployment target of your Deploy-Pipeline to navigate to the Environment page
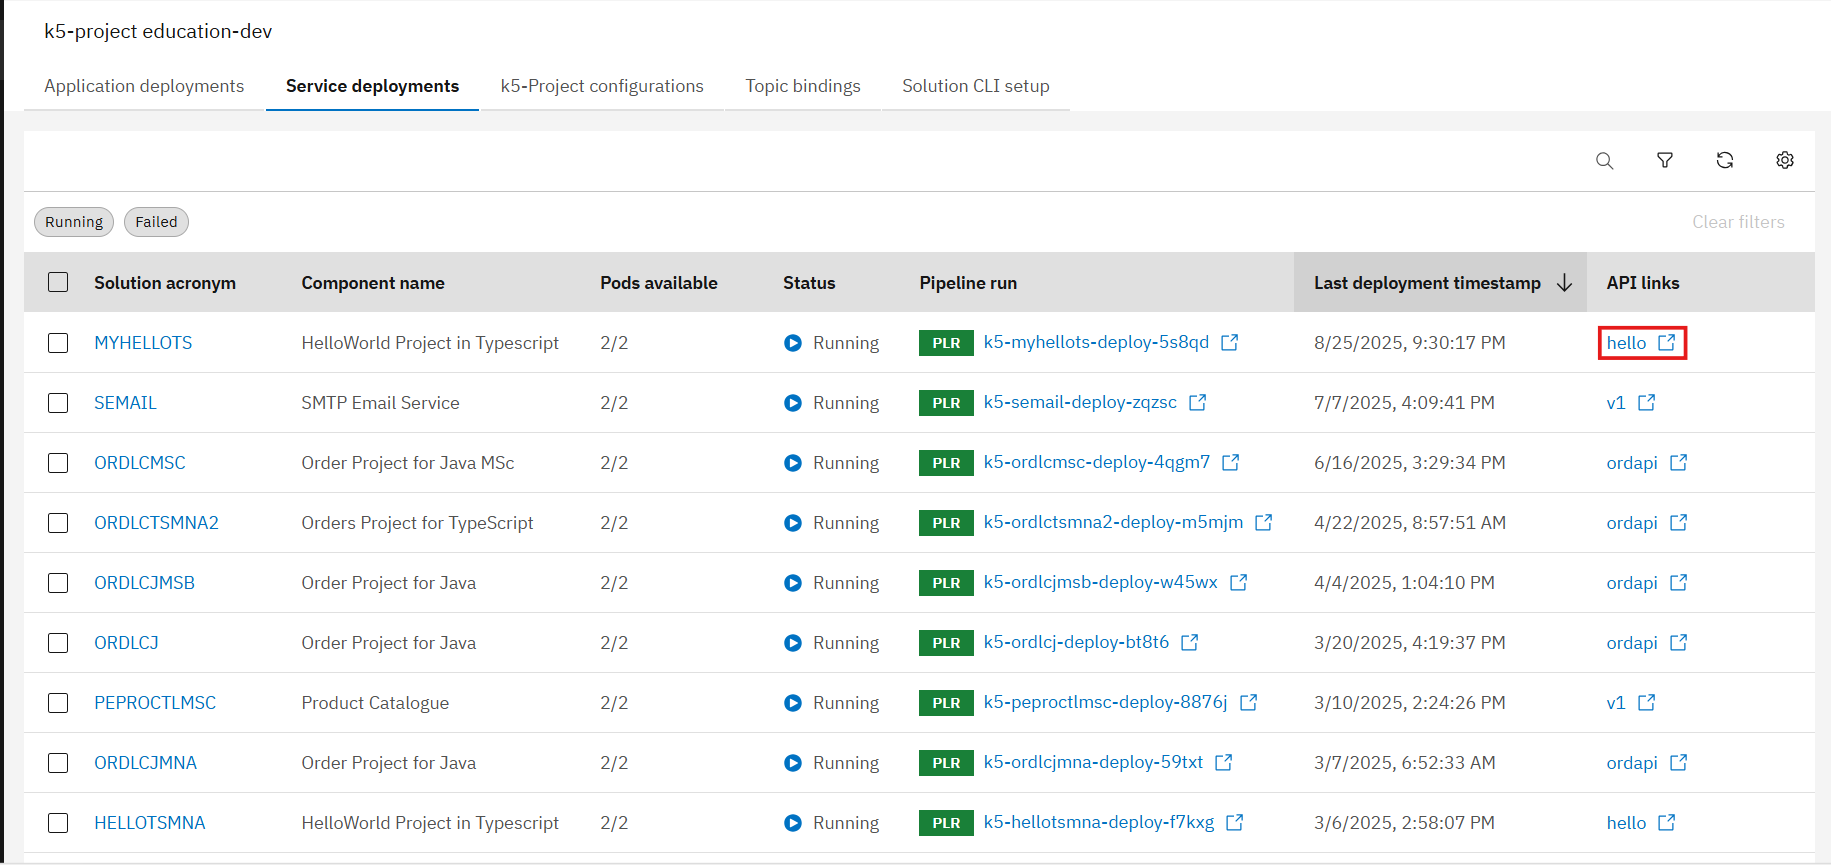
Under the tab "Service deployments", find your deployed service under its solution acronym and click on the link in column "API links" to open the API specification
Your Service has been successfully deployed and is ready to use.
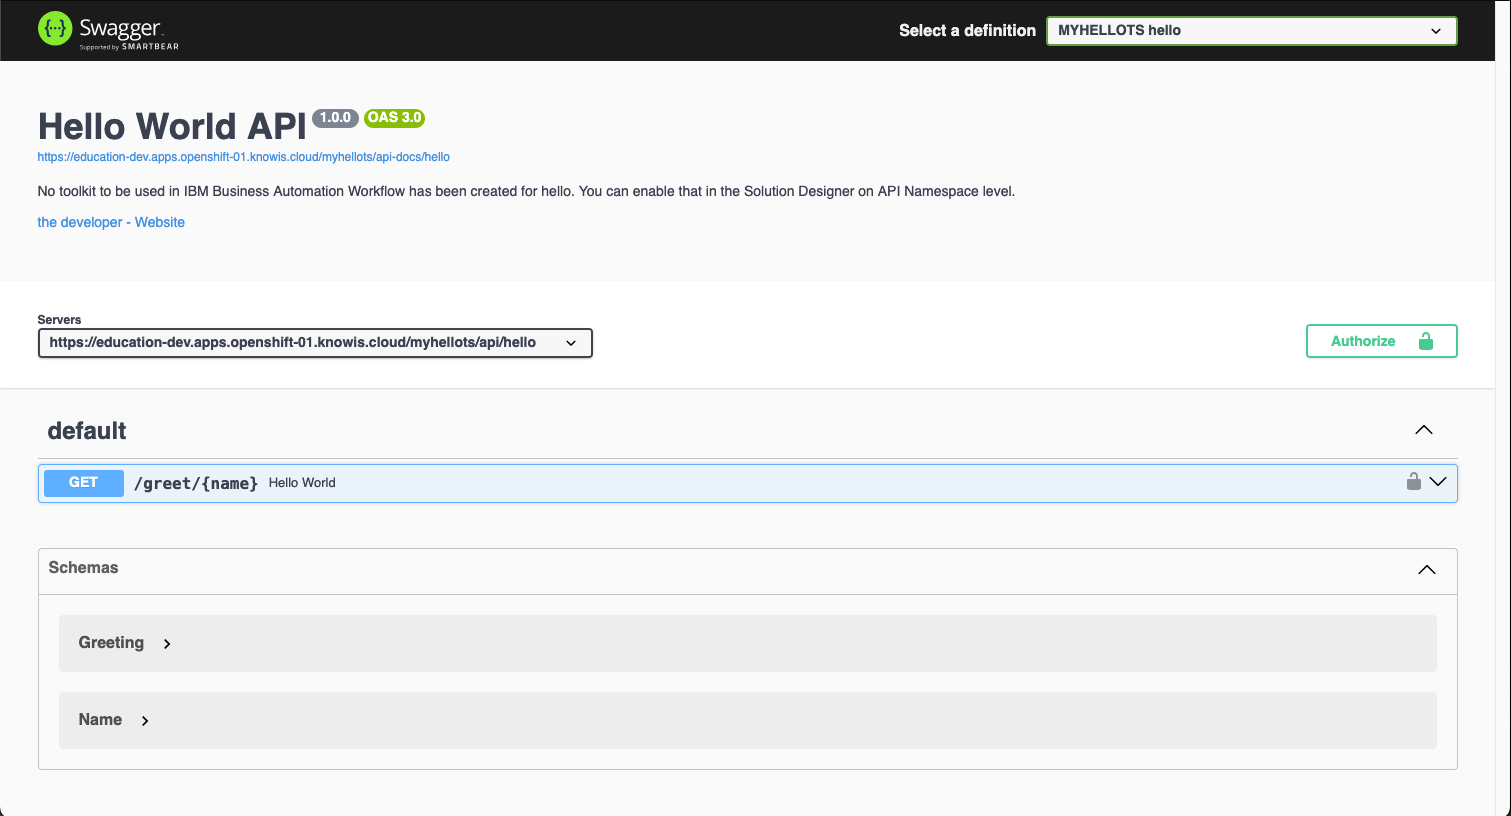
Test your Hello World API
Now that your service is deployed, you can use and verify your implemented Hello World API with the built in Swagger UI of the Workbench.
Click on the "Authorize" button
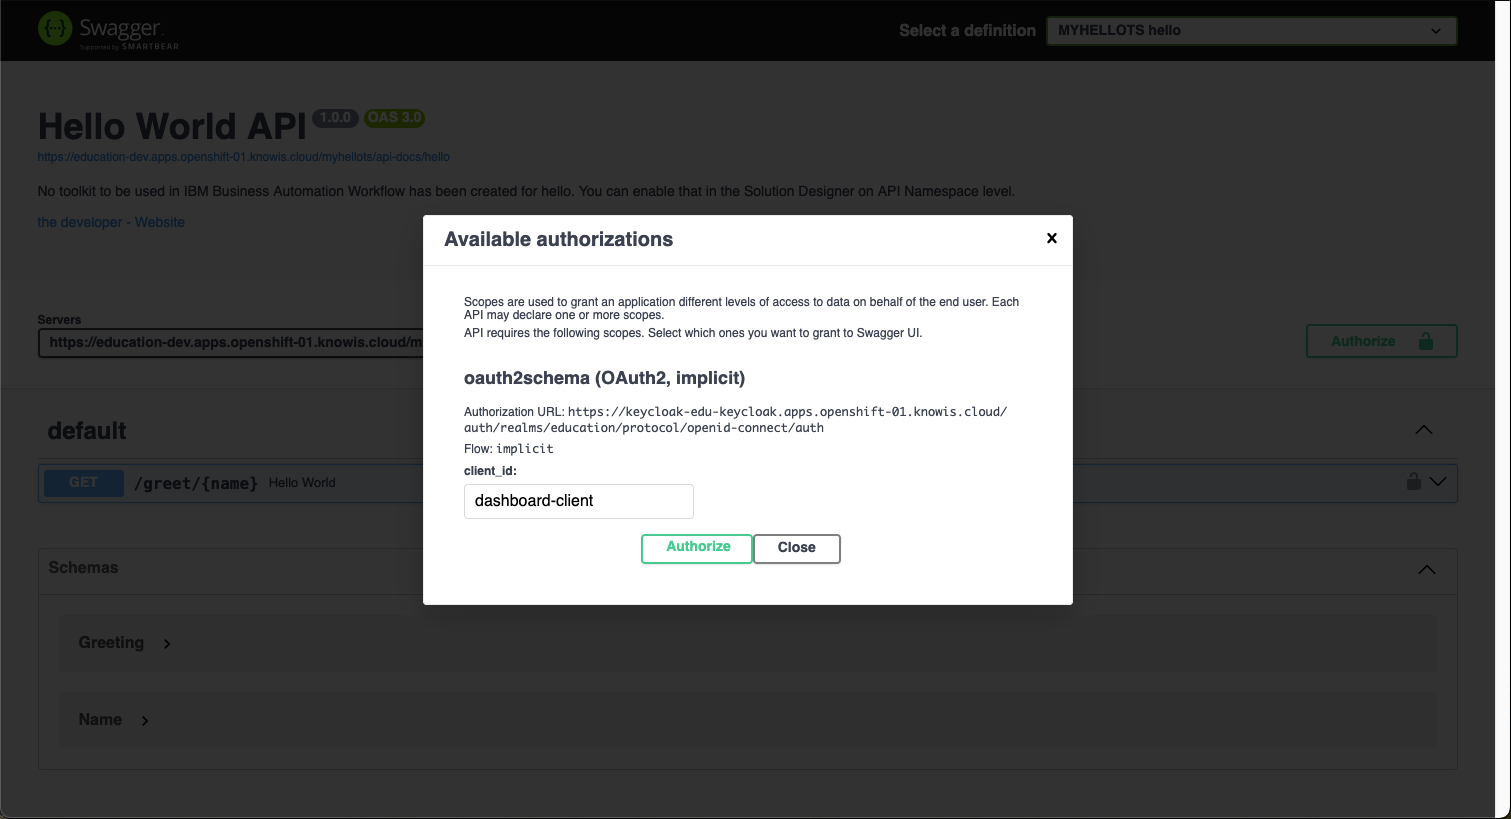
Authorize against the platform identity provider
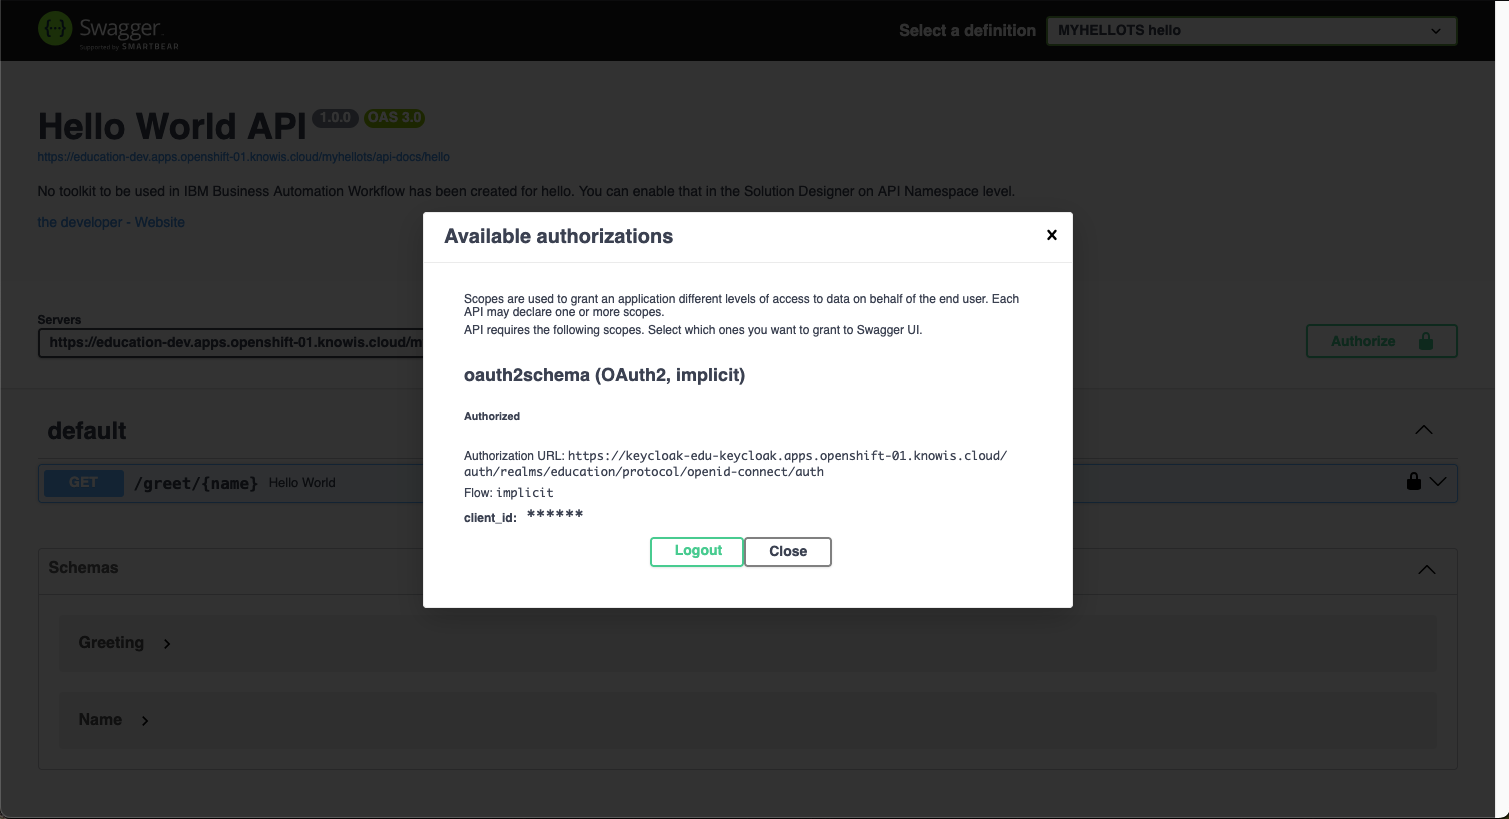
You have successfully authorized. Click the "Close" button.
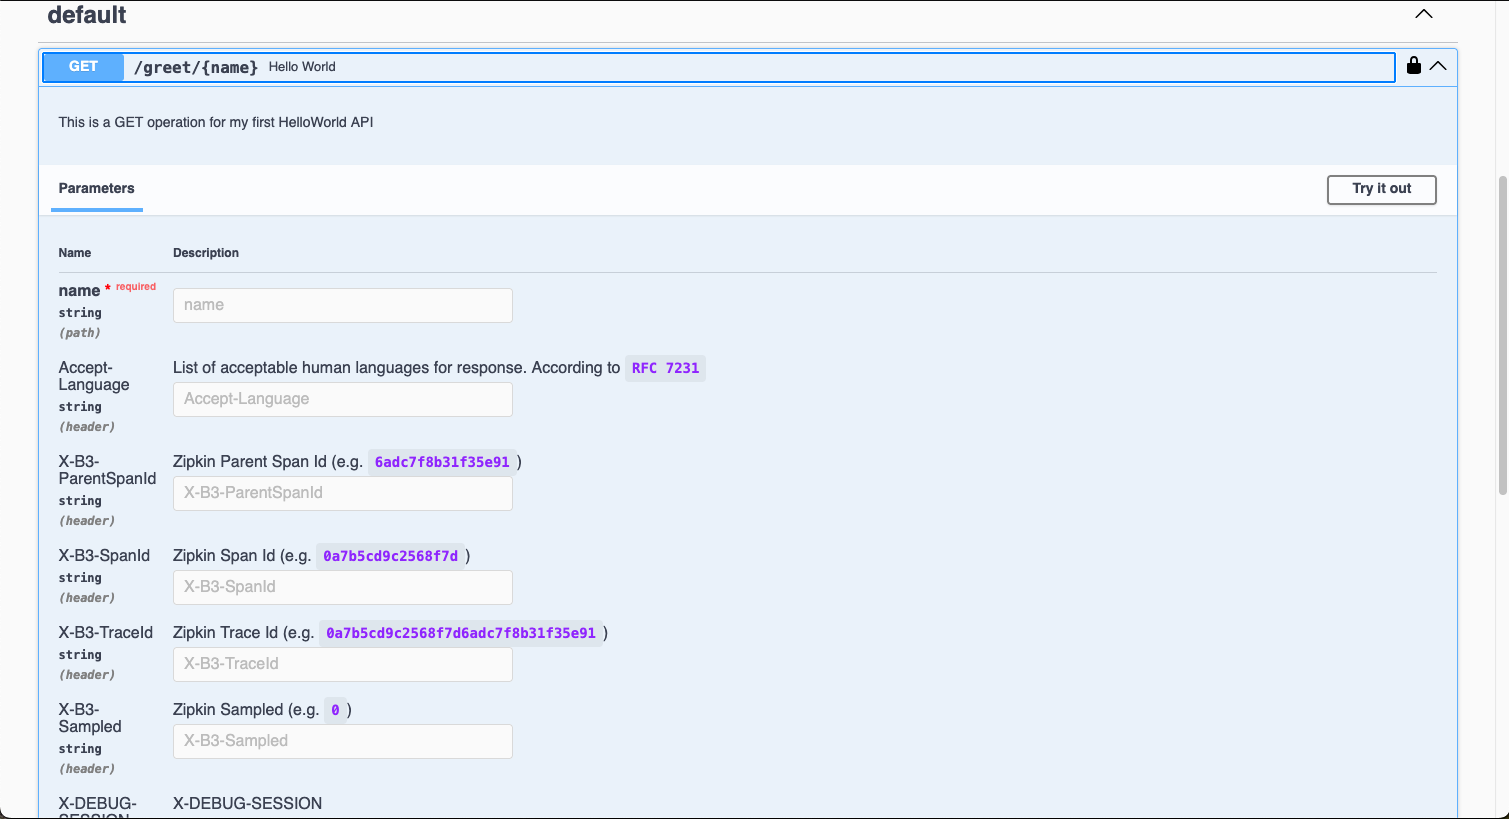
Open the Operation and click the "Try it out" button.
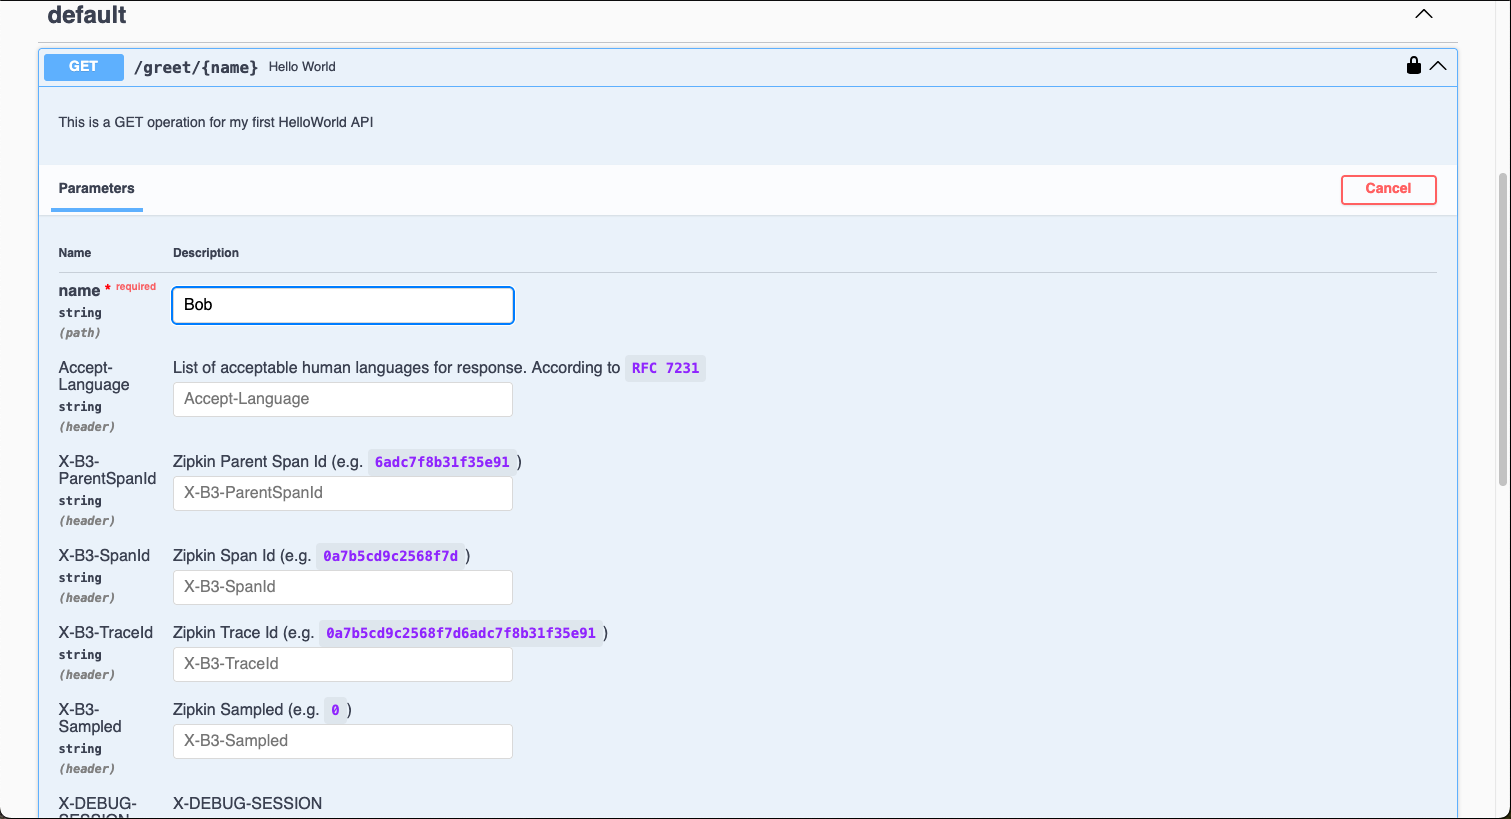
Provide your name as Path Parameter and click on "Execute"
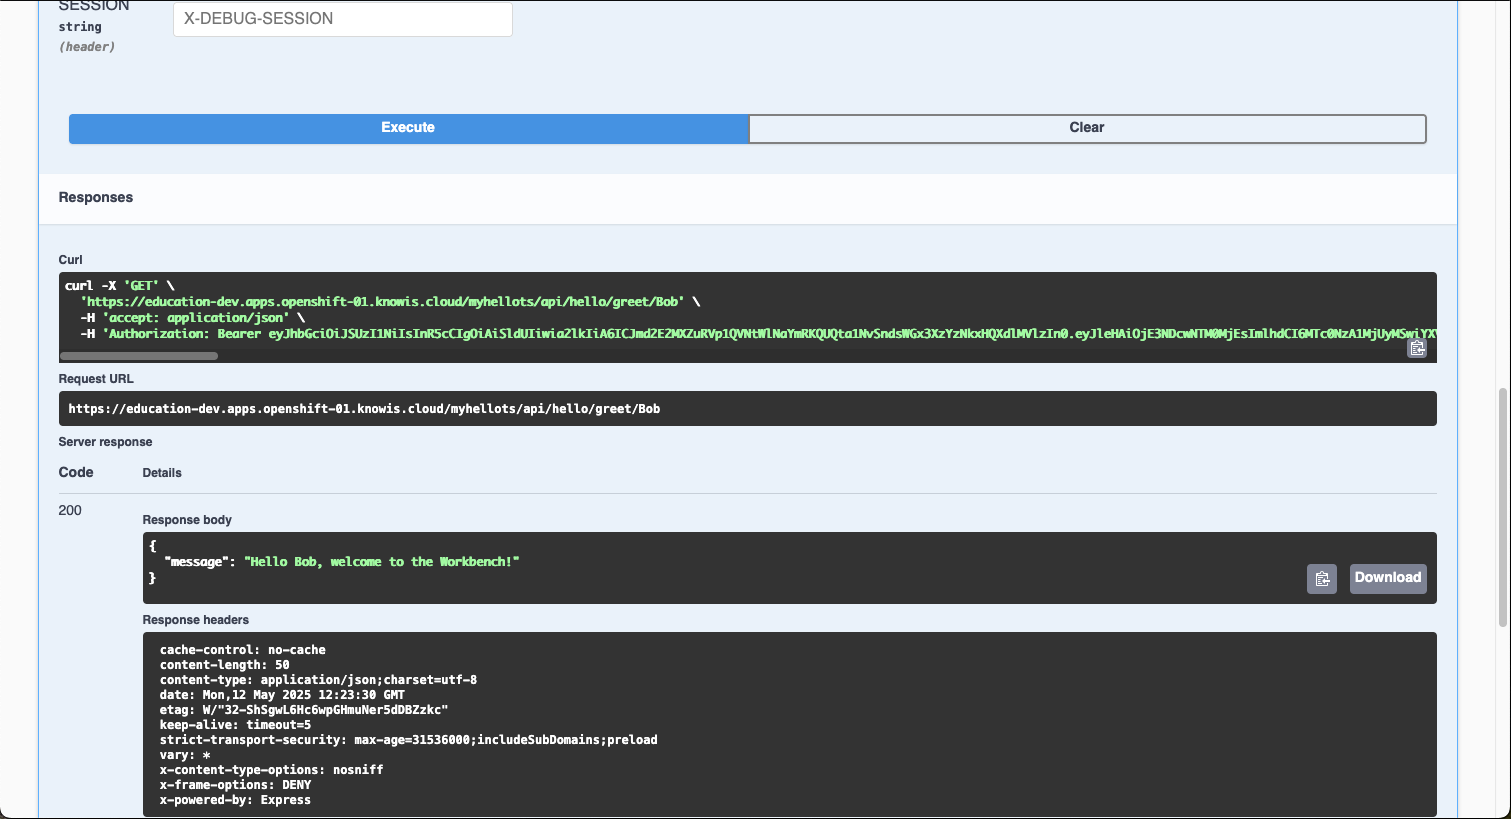
See the result of your Hello World API
Your have created your own HelloWorld API! You got it to work successfully by implementing and deploying your service!