Create your first System Architecture Design Project
In this ‘Getting Started’ session, you'll get a quick look at how to use the IBM DevOps Solution Workbench to design your System Architecture. You'll also learn about the key parts of a System Architecture Design Project.
Outline
The System Architecture Design helps you and your team to align on Software Architecture. It supports in modeling the architecture, making informed decisions and to communicate the architecture visually to the team and stakeholders. In addition, the System Architecture Design helps to maintain an overview of your modeled system, as all references, e.g., to a Gitlab repo, can be maintained at one place.
Exercise
Estimated time: 15 minutes
Exercise goal: You will be able to set up a System Architecture Design Project, to work with Diagrams and understand the levels of C4 Modelling.
Create Project
Start by creating a System Architecture Design Project, as outlined in the steps below.
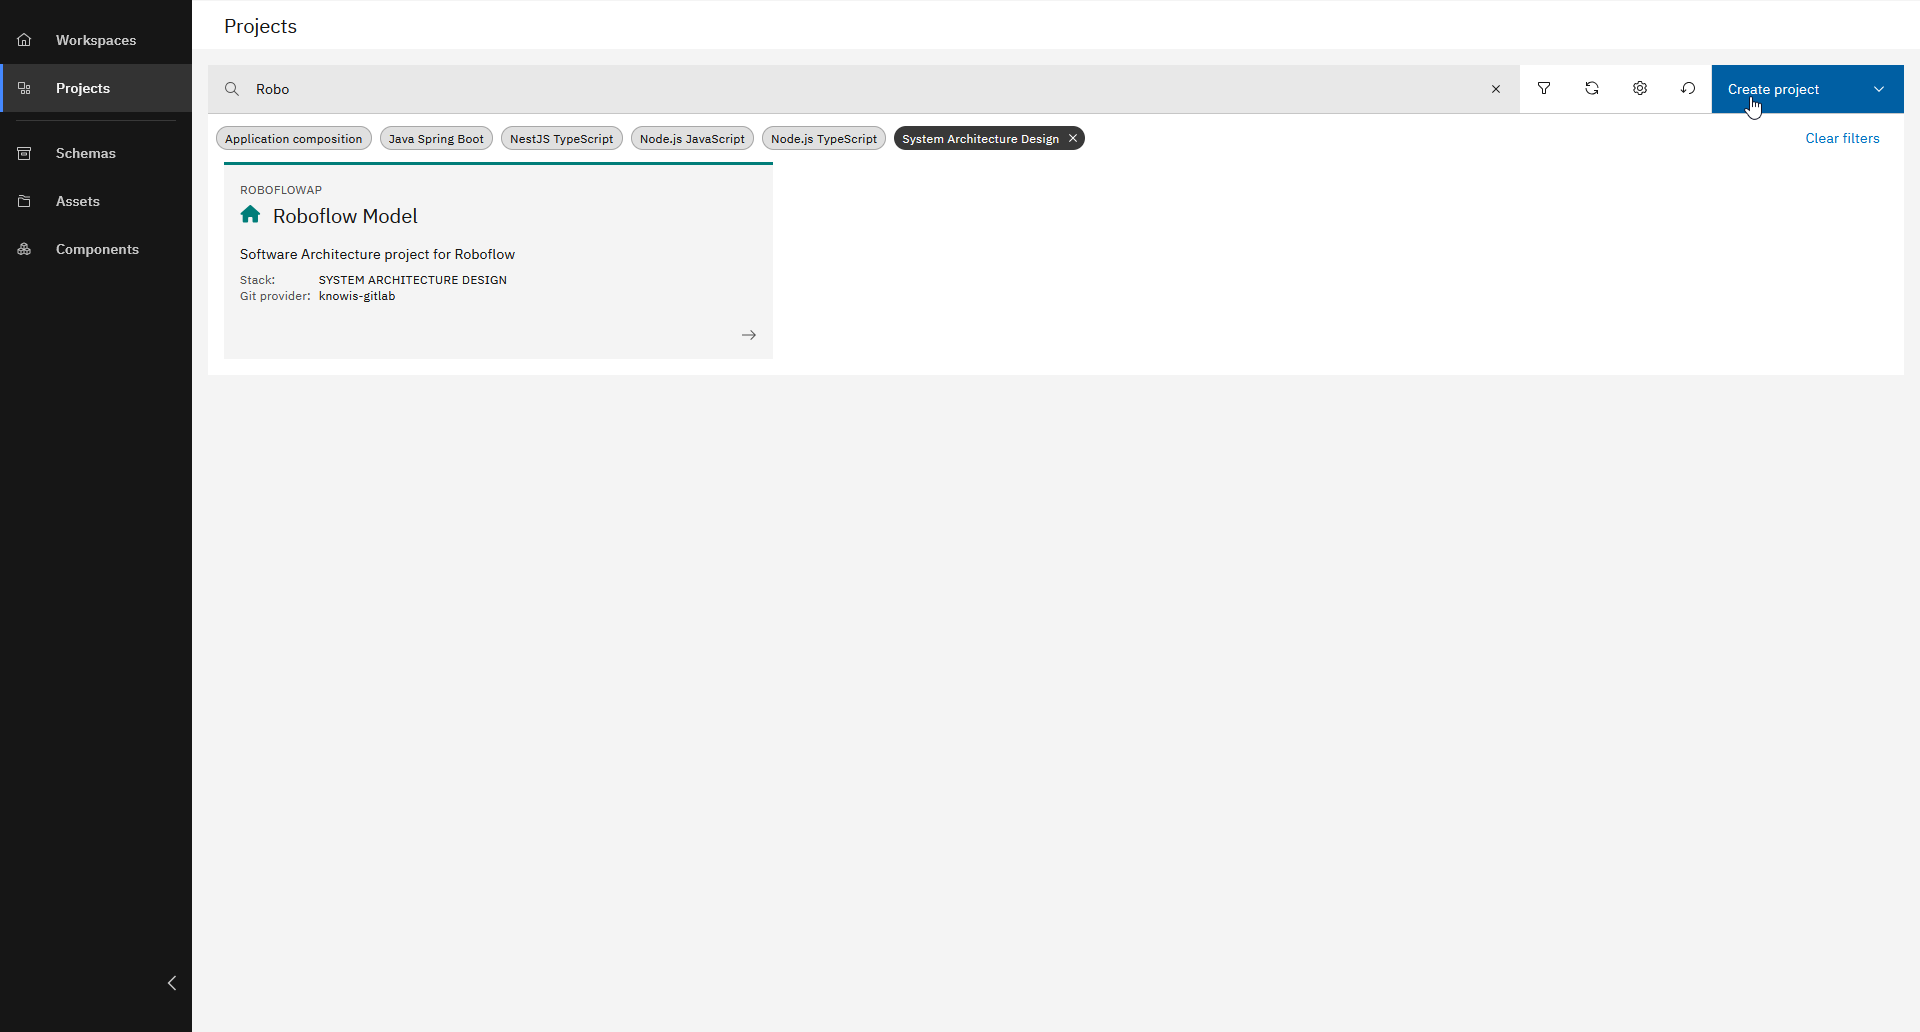
Click "Create project"
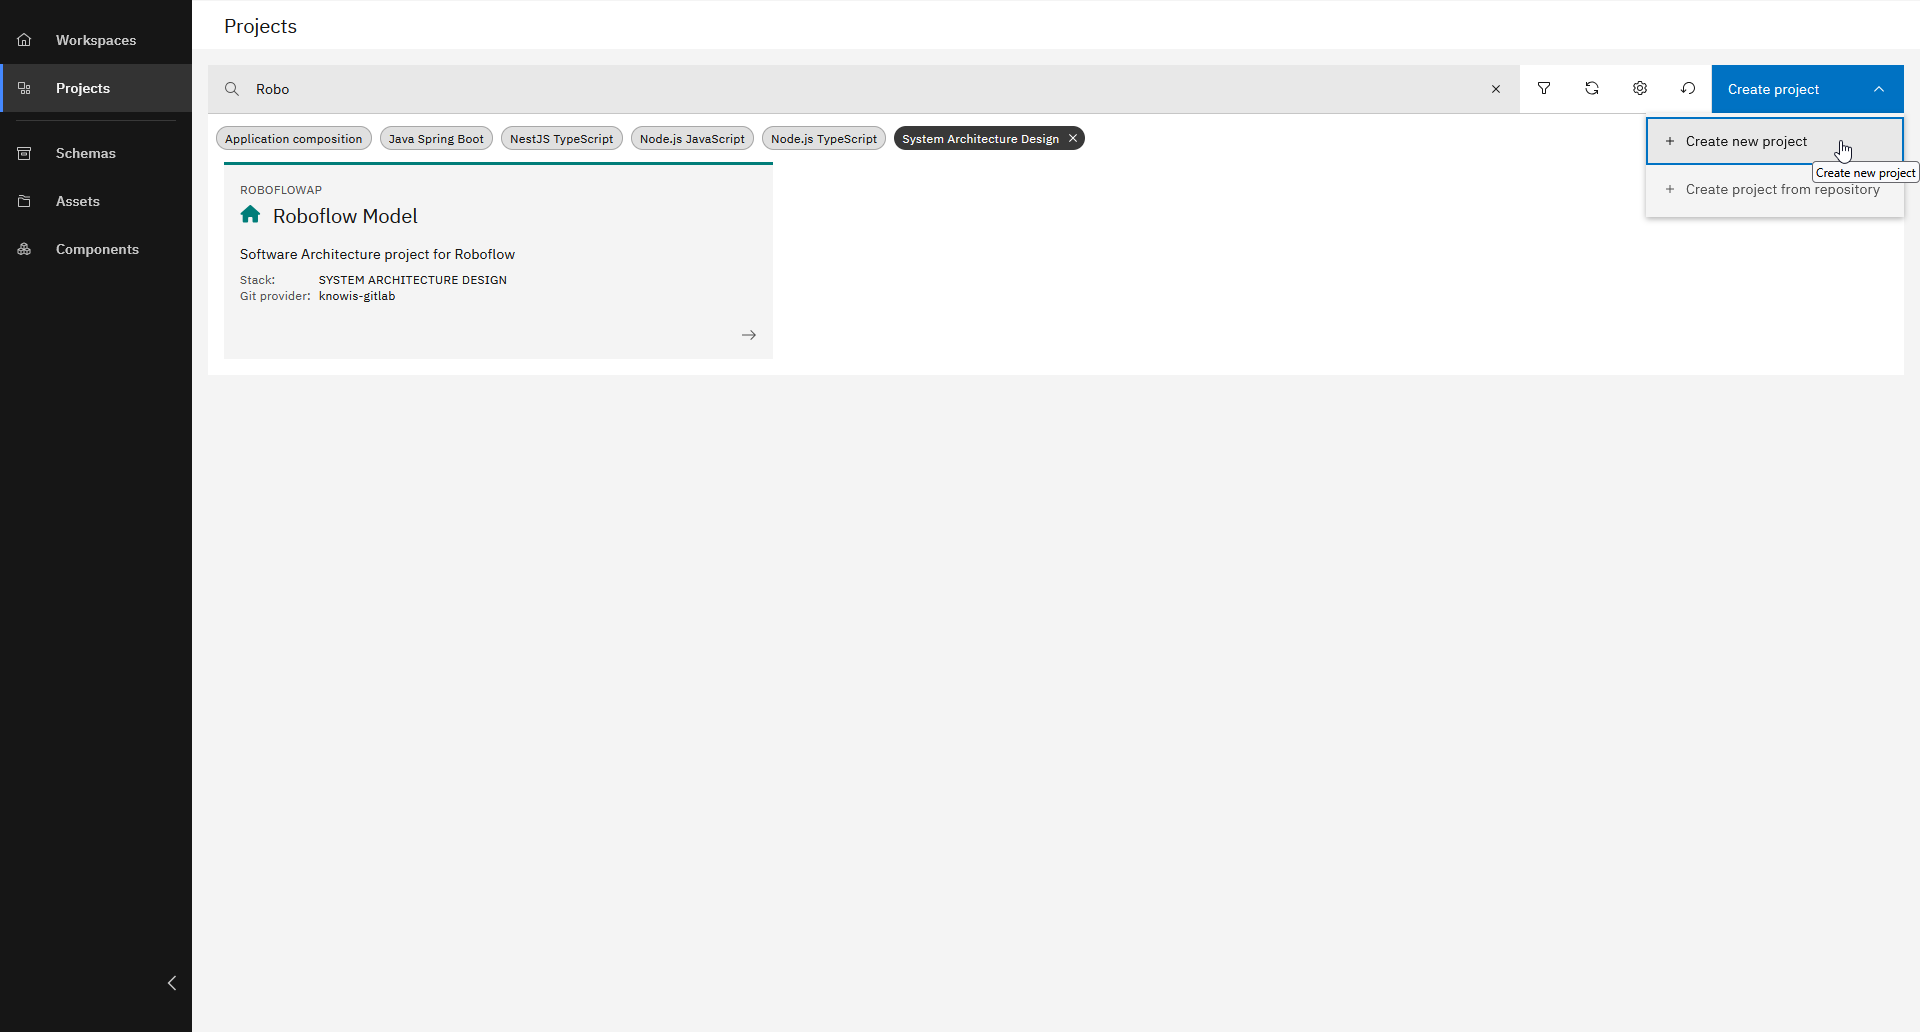
Choose "Create new project"
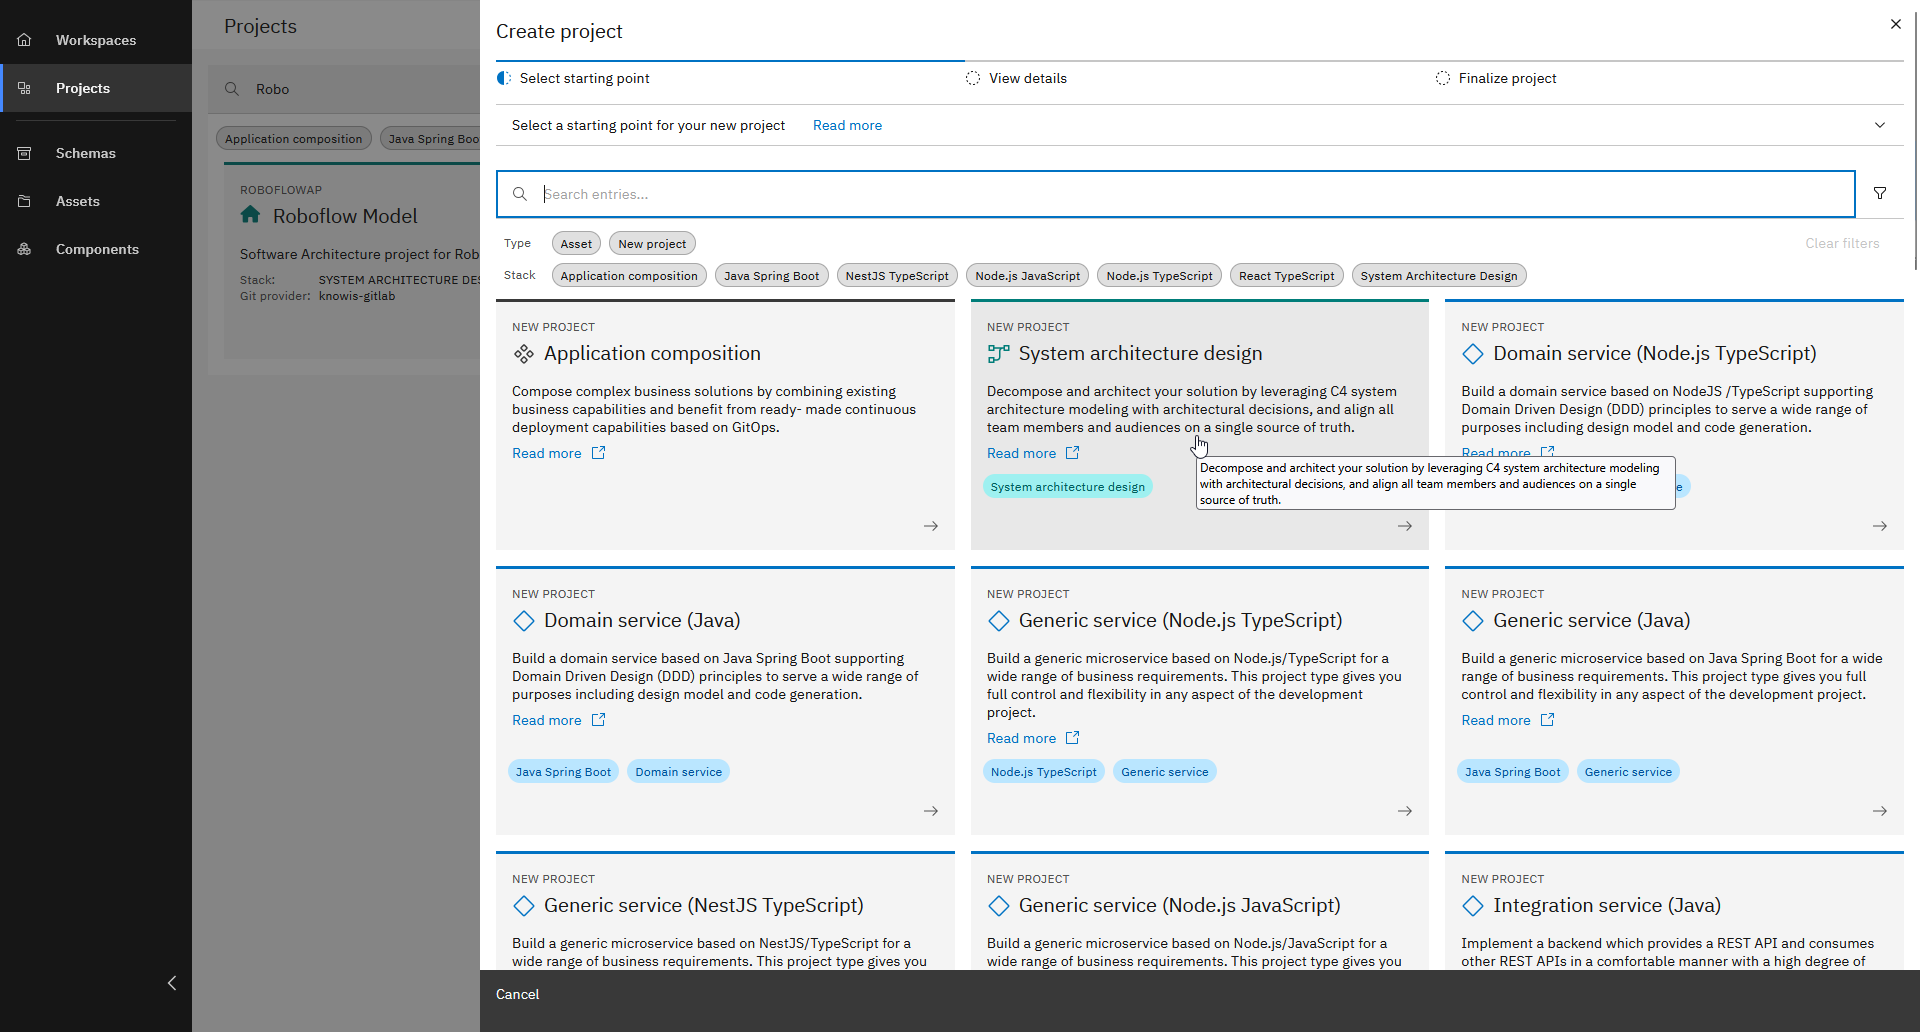
Select "System architecture design"
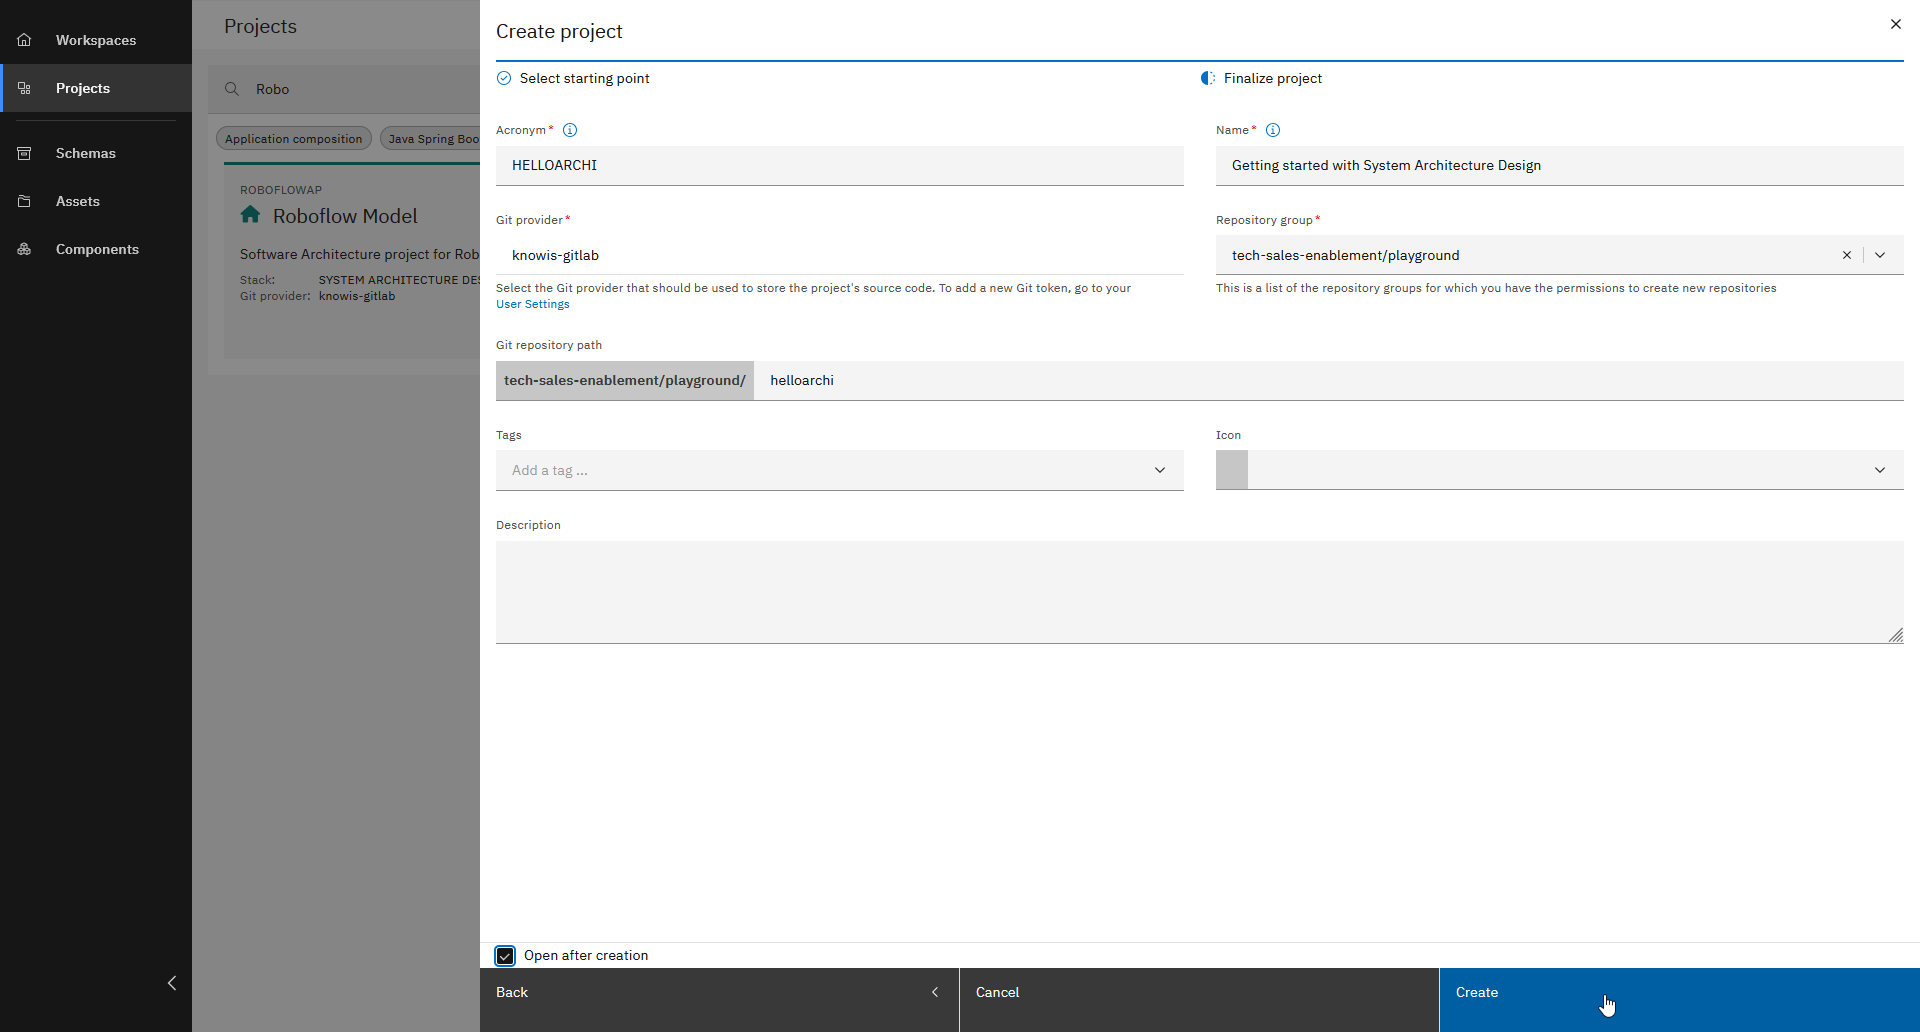
Enter basic data, check "Open after creation" and click "Create"
To create a new System Architecture Design Project, you need to enter some required information, such as:
- Acronym: HELLOARCHI
- Name: Getting started with System Architecture Design
- Repository group: [Repository group to store new project]
To identify the project unambigiously, the entered acronym must be unique throughout the entire projects in the Solution Designer.
Project Overview
After creating the System Architecture Design Project, take a look at the basic navigation elements.
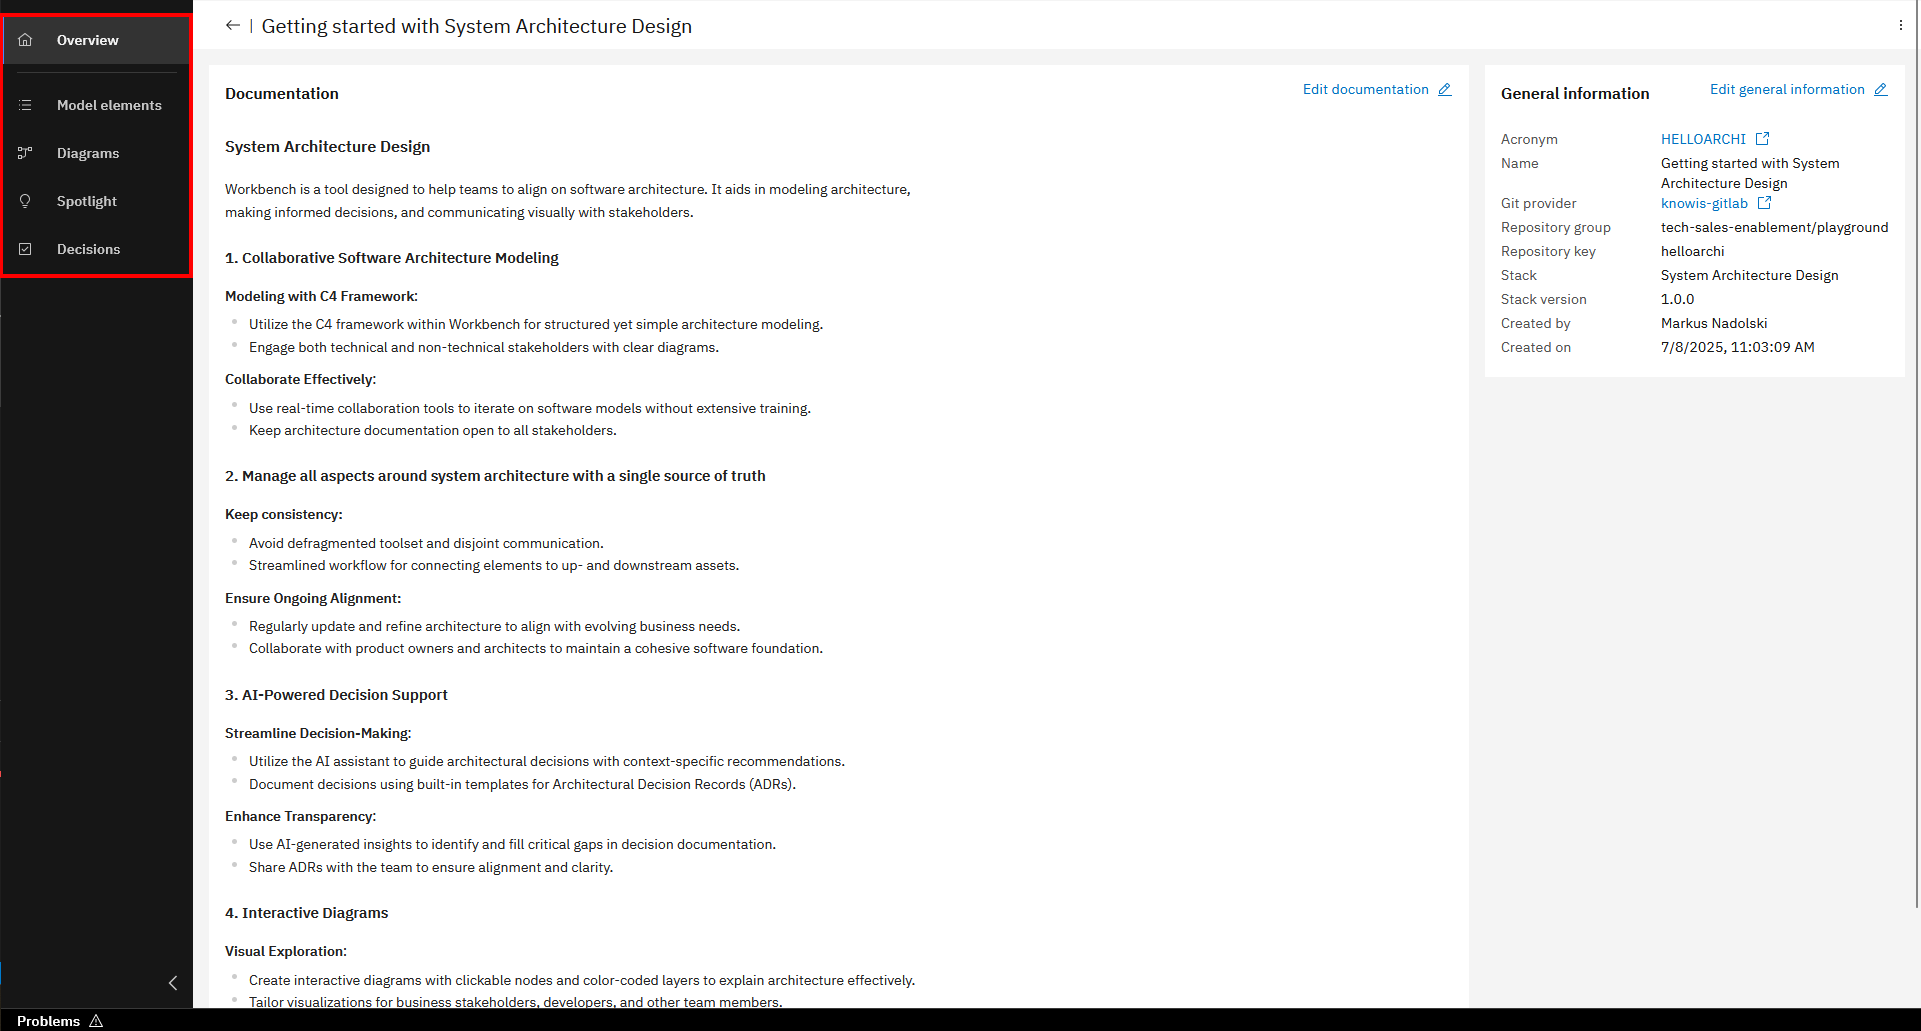
- Overview: Documentation of the project and general project information.
- Model elements: Basic building blocks to represent the parts of the software architecture.
- Diagrams: Essential for understanding, designing, and communicating software systems in a visual way.
- Spotlight: View of a model element's relationships across all diagrams it may be used in.
- Decisions: Decide on key aspects such as technology choices, system design patterns etc. directly in the tool.
Modeling profiles
A modeling profile is a set of model elements for a specific concern or domain - like C4 for architecture, DDD for domain design, or BPMN for processes. There are different pre-defined profiles for various use cases, as well as the possibility to define your own profiles. This provides the flexibility to tailor data entry to your specific needs, ensuring that all relevant information can be captured efficiently.
For this course, we're using the C4 profile to create architecture diagrams. The procedure for creating diagrams works the same way across all profiles.
You can enable or disable profiles in your project settings.
Create Diagrams
Now that you have learned how a System Architecture Design Project is structured, you are going to create your first diagrams.
But first a brief introduction to C4 modelling, which is a lightweight framework for visualizing the architecture of software systems and due to it used in the Workbench.
The C4 model is composed of four levels of diagrams:
- Context Diagram (Level 1): Provides a high-level view of the system and its interactions with external entities, e.g., users, other systems.
- Container Diagram (Level 2): Breaks down the system into its main containers, such as web applications, databases.
- Component Diagram (Level 3): Divides a container into components.
- Code (Class) Diagram (Level 4): Represents the implementation details of the component, showing classes, methods, properties and relationships; supposed to be in the implementation project.
Create Level 1 Diagram and model elements
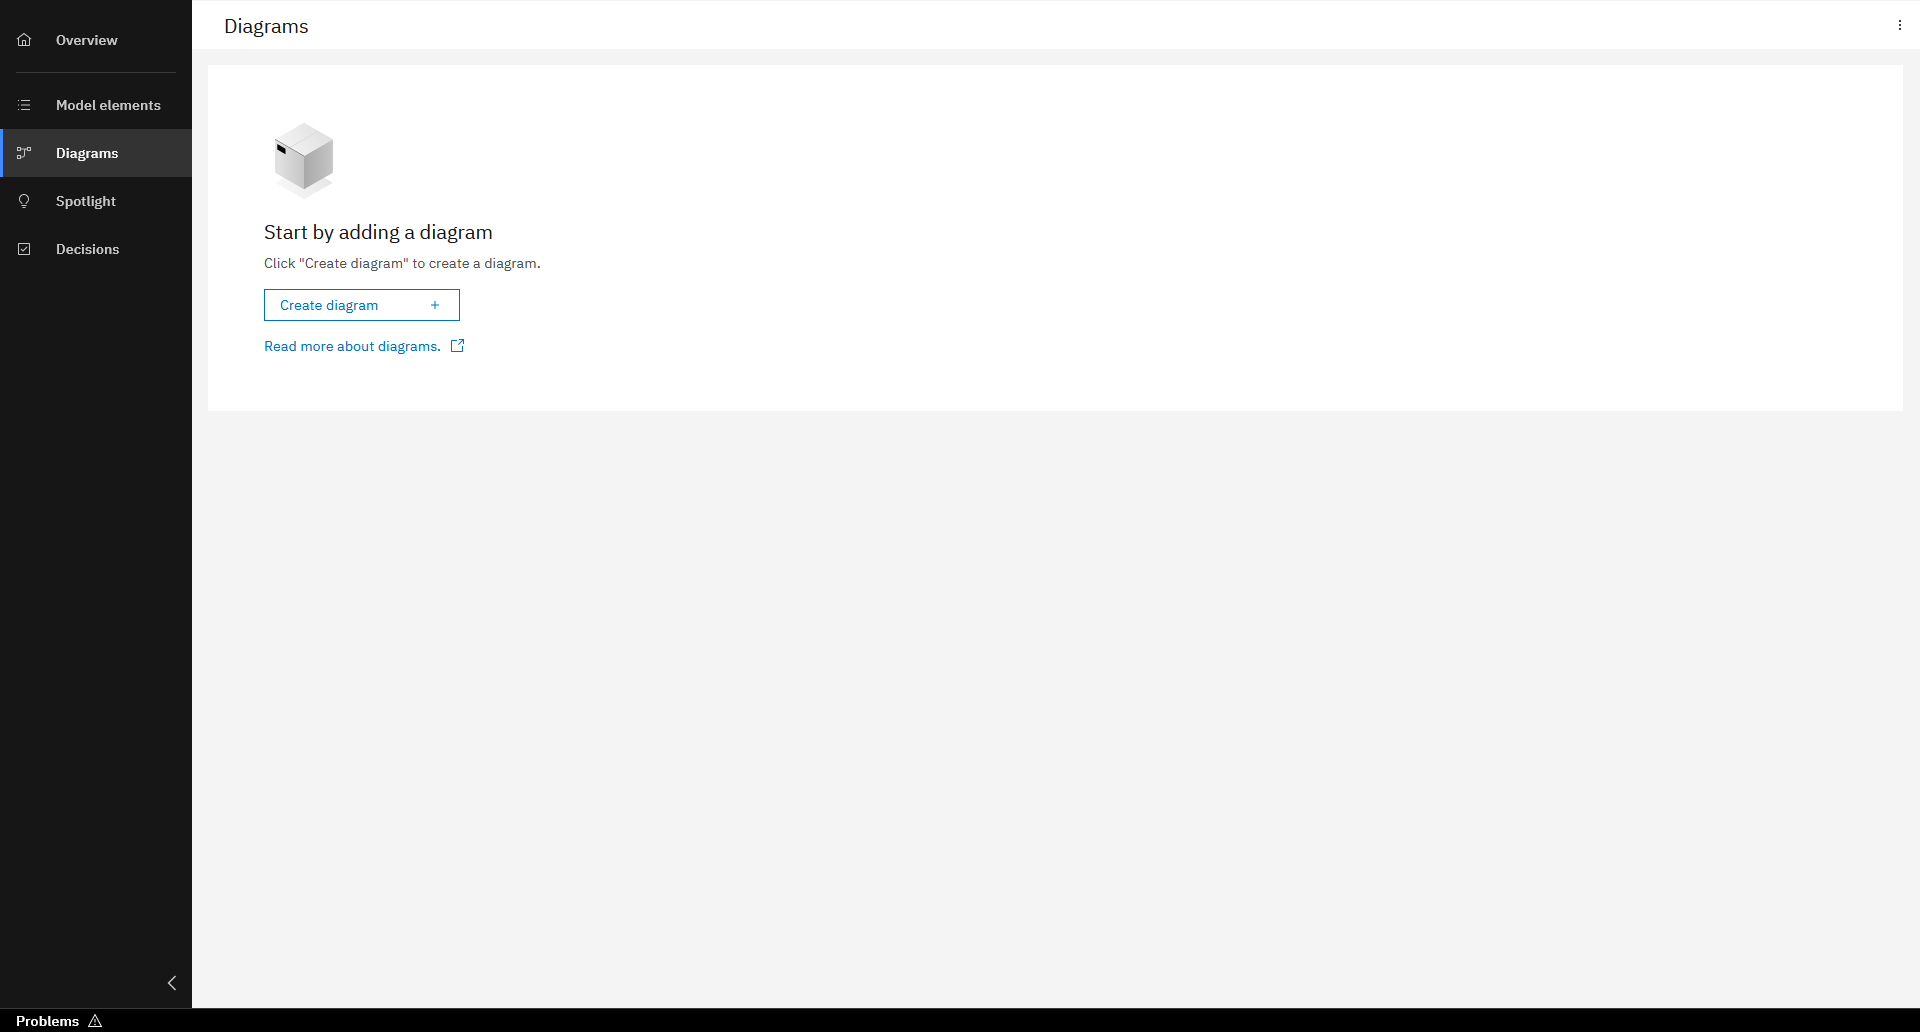
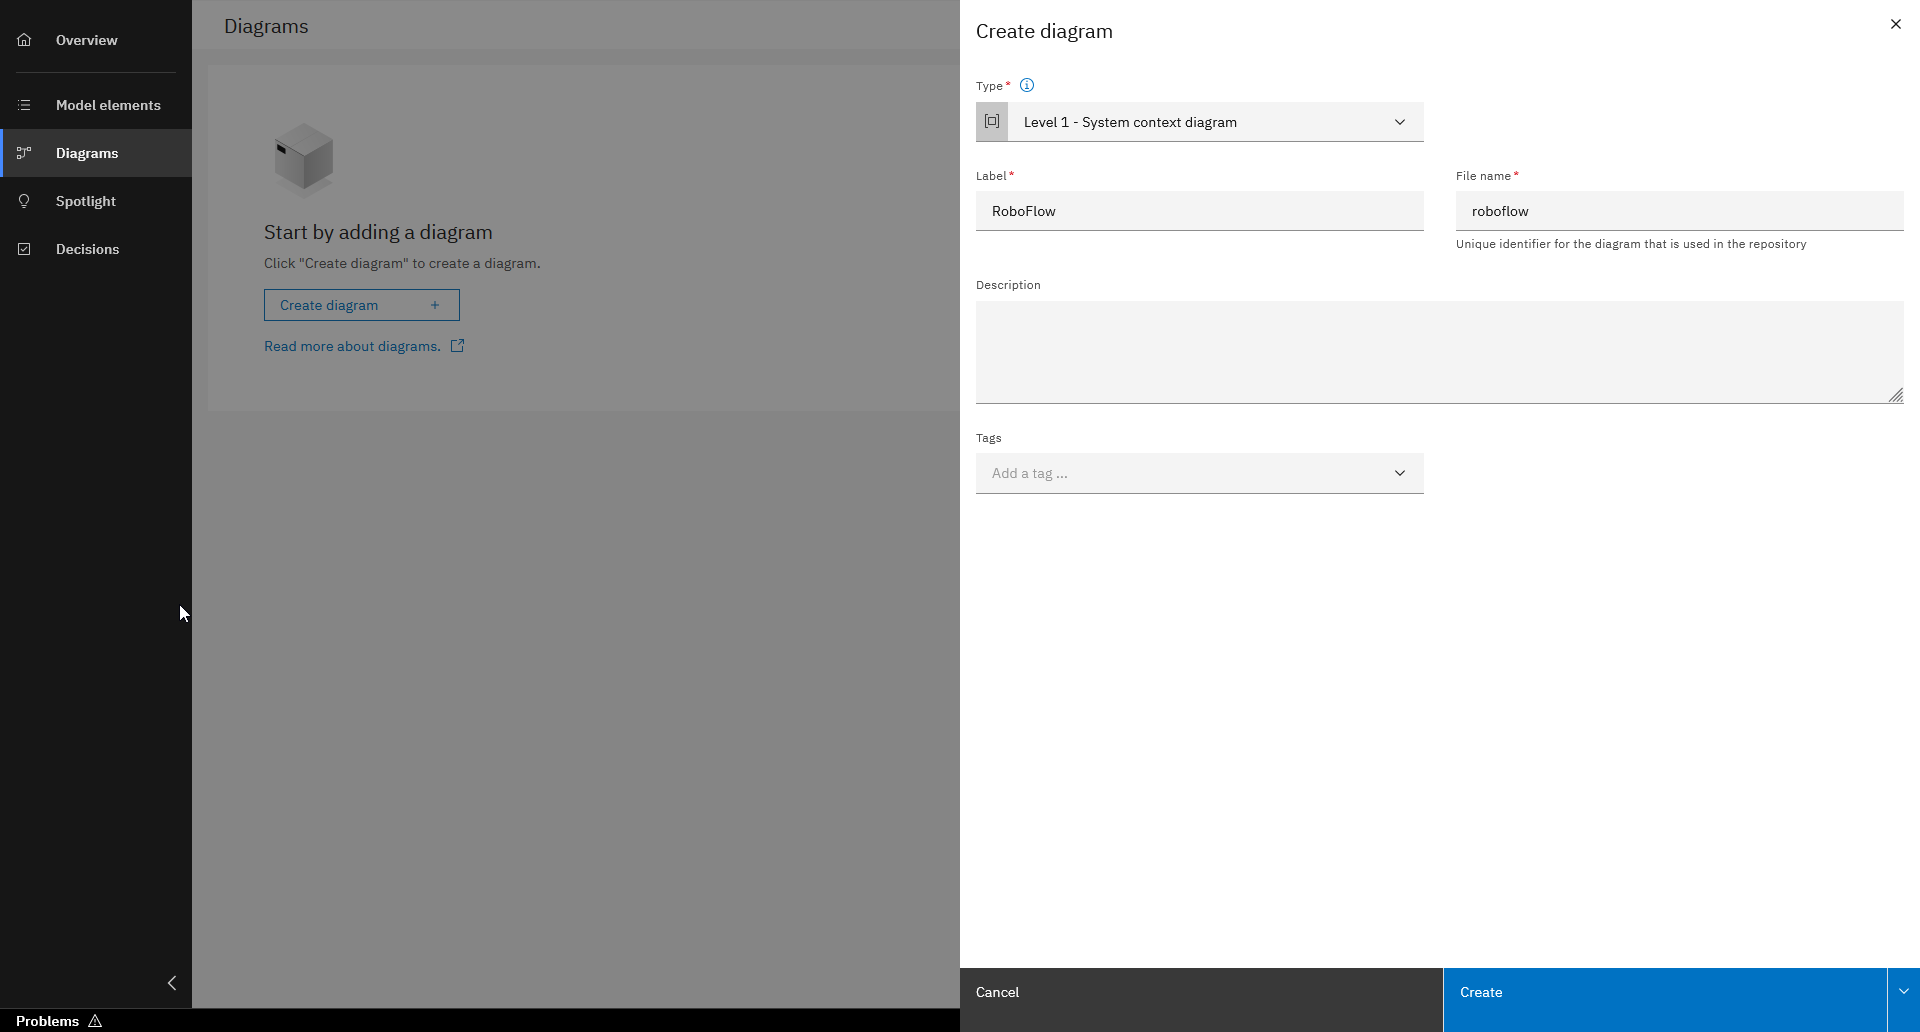
Create diagram
To create a diagram go to the Diagrams navigation entry and follow the steps below.
Model elements
To create model elements, which are the architectures main building blocks, follow the steps below.
You have two options to create model elements, either directly in a diagram or in the Model elements section. In the following steps you will do it directly in the diagram.
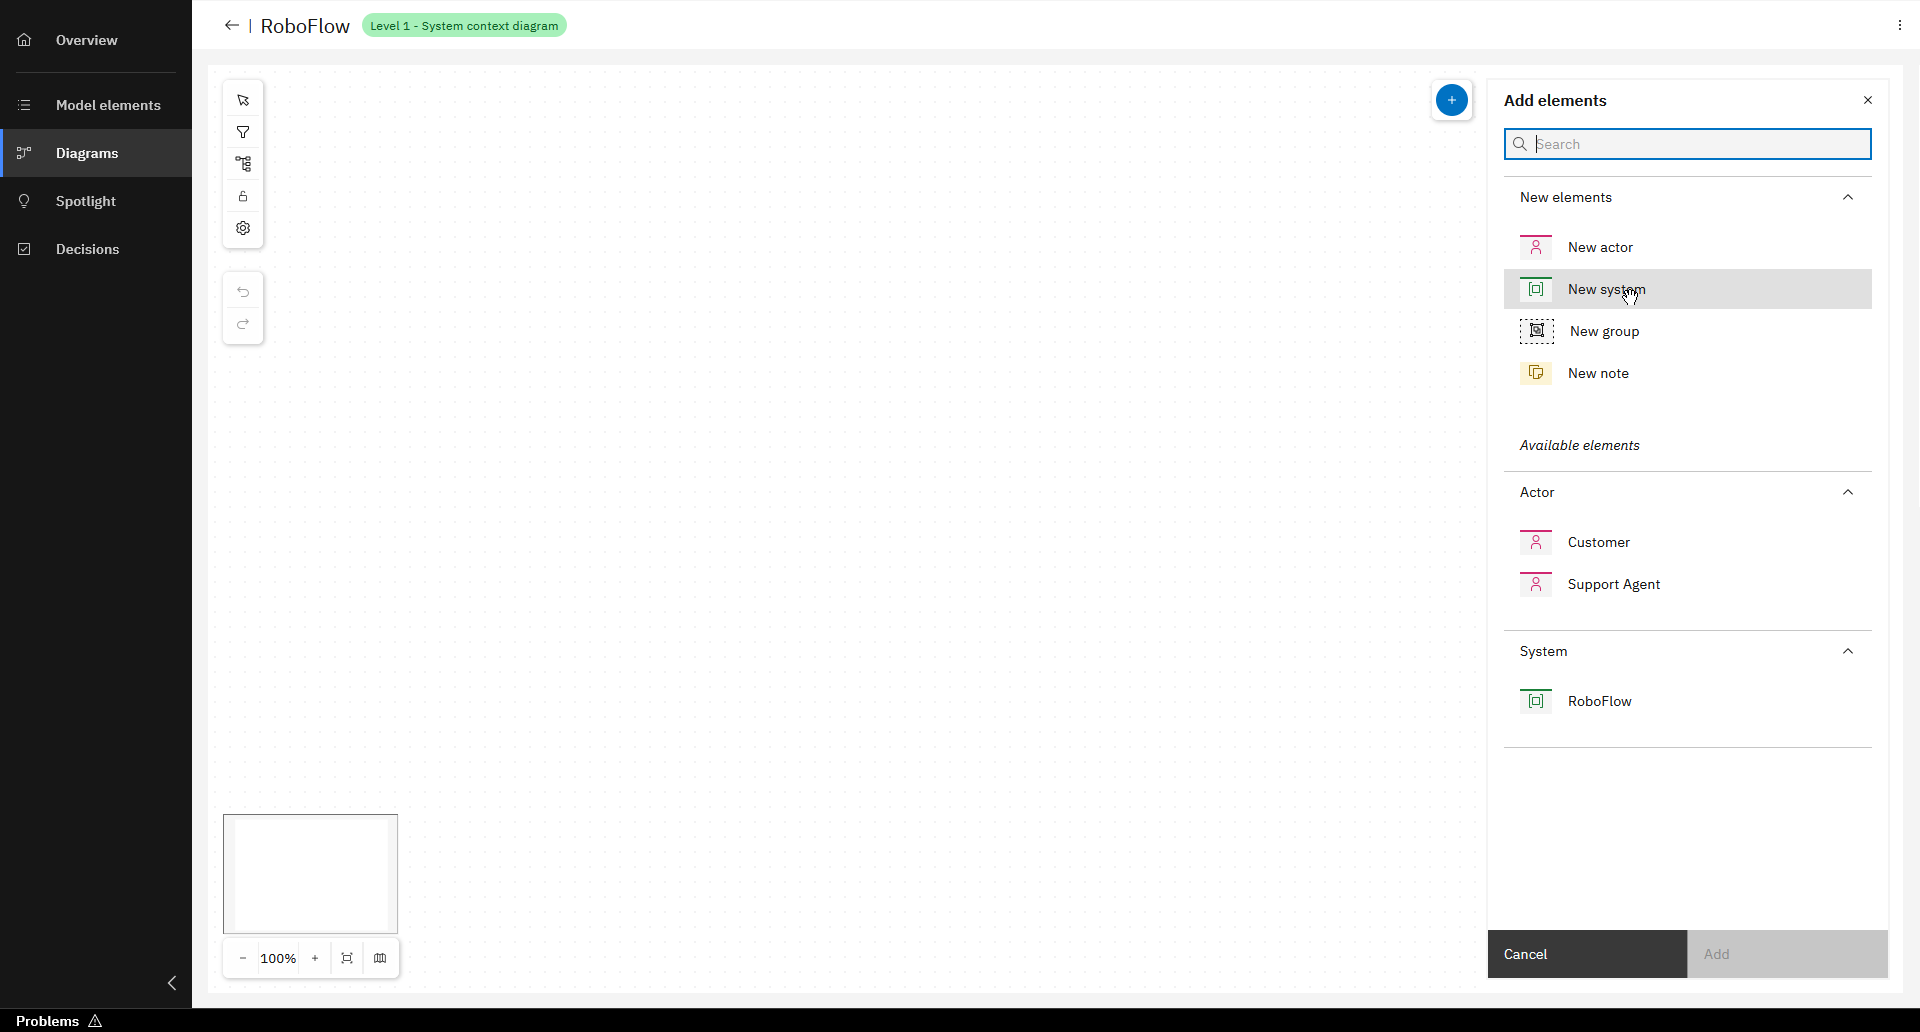
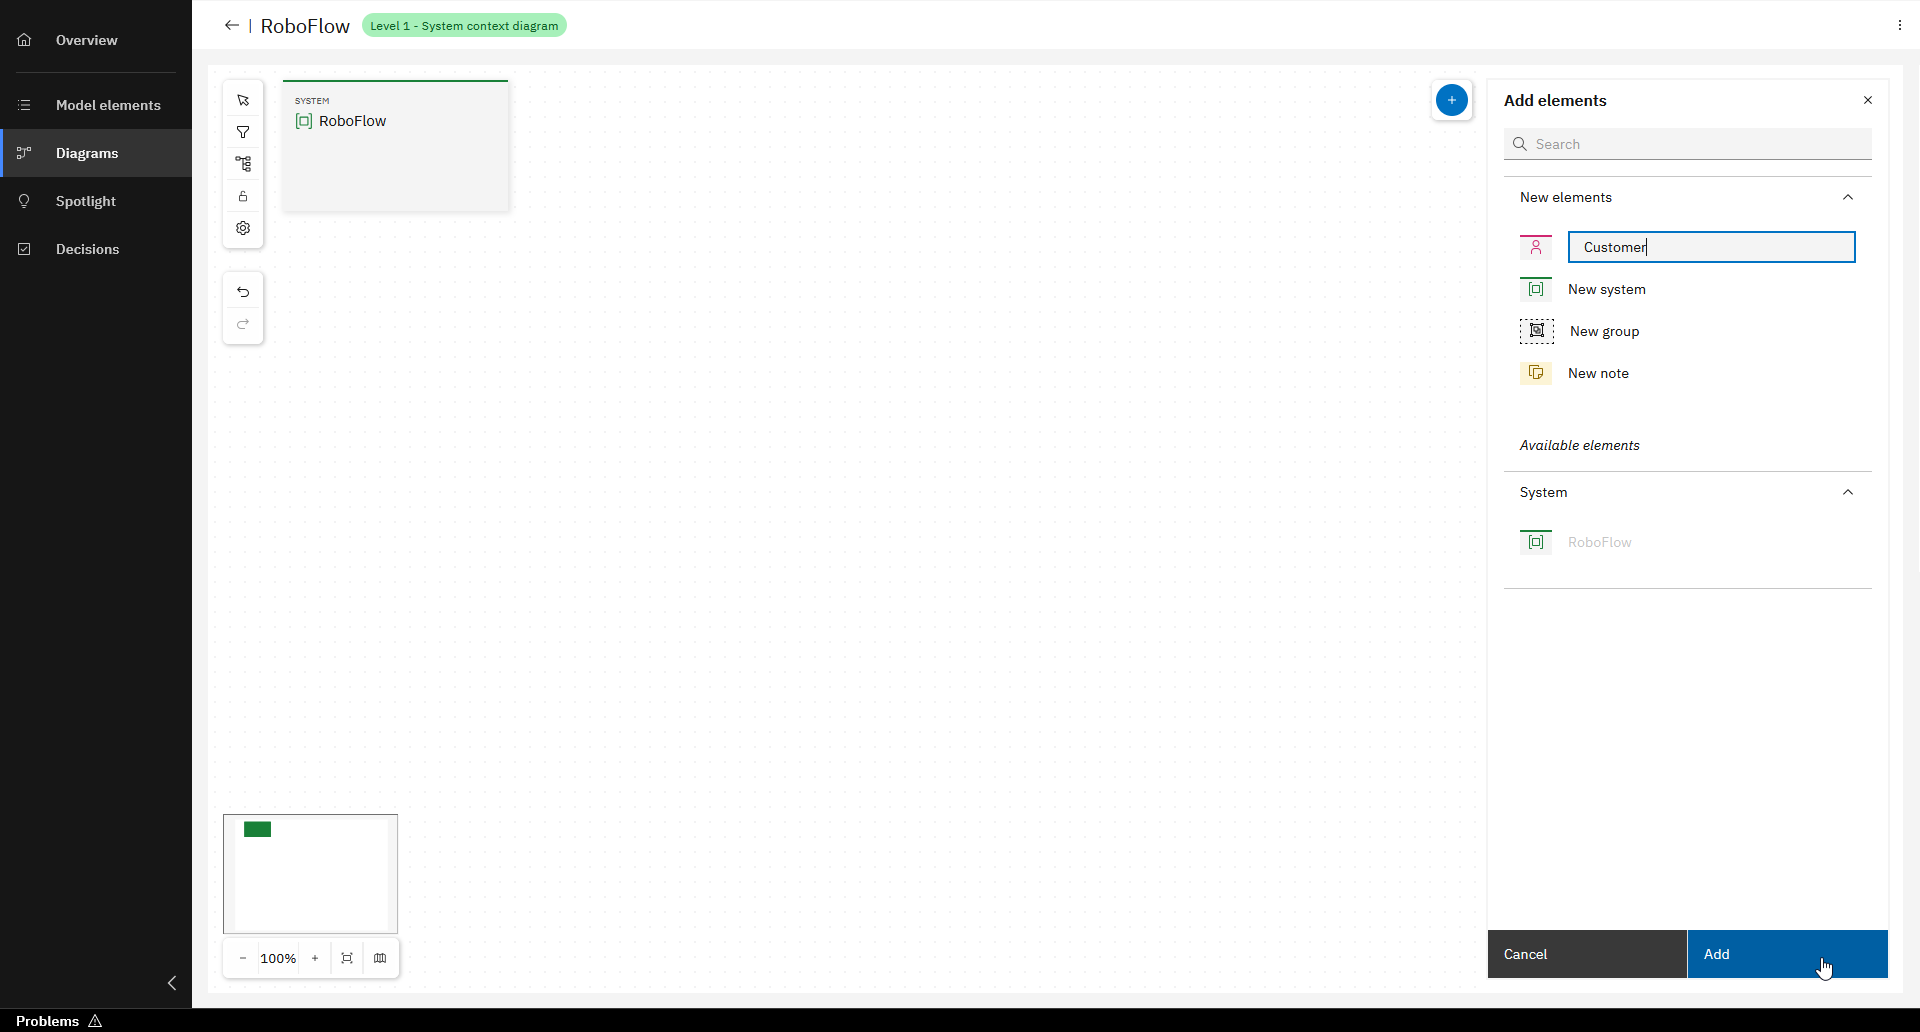
Click on "+" at the top and choose "New System"

Enter label ("RoboFlow") and click "Add"
Add "New actor" and enter label ("Customer")
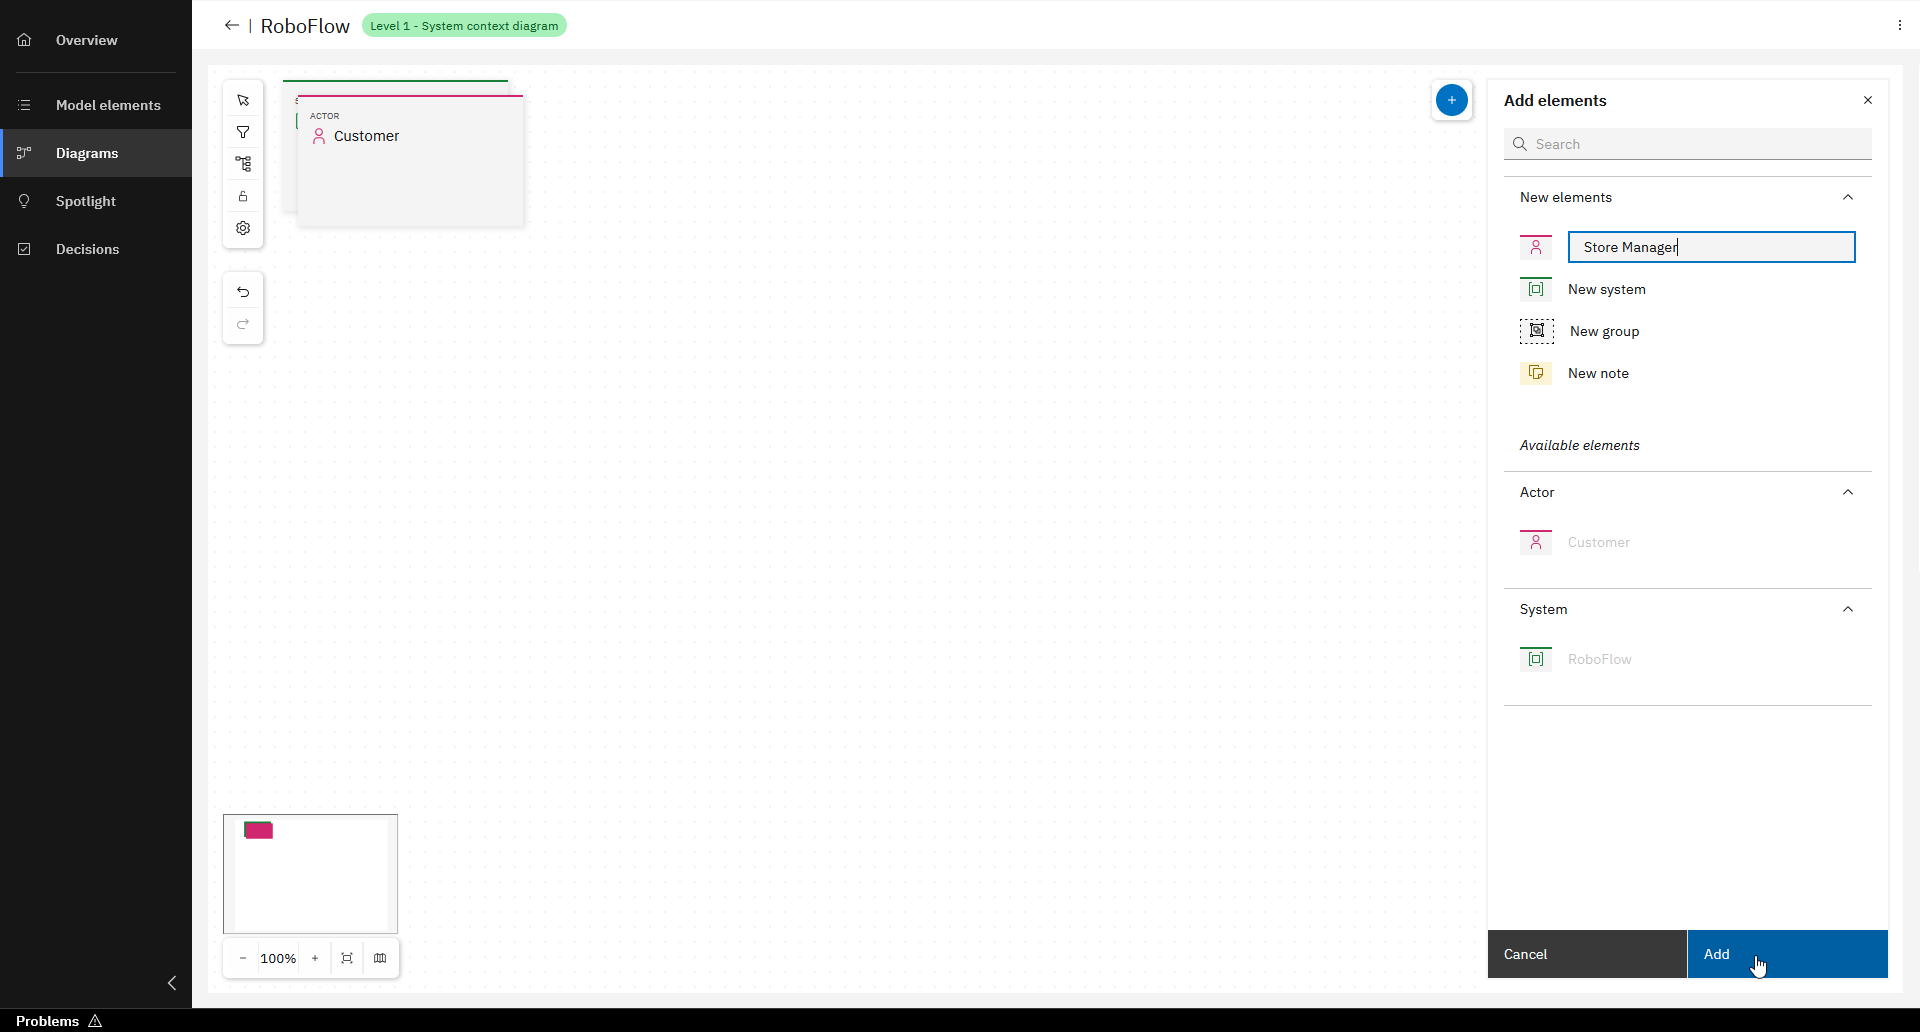
Repeat this and add "New actor" and enter label ("Store Manager")
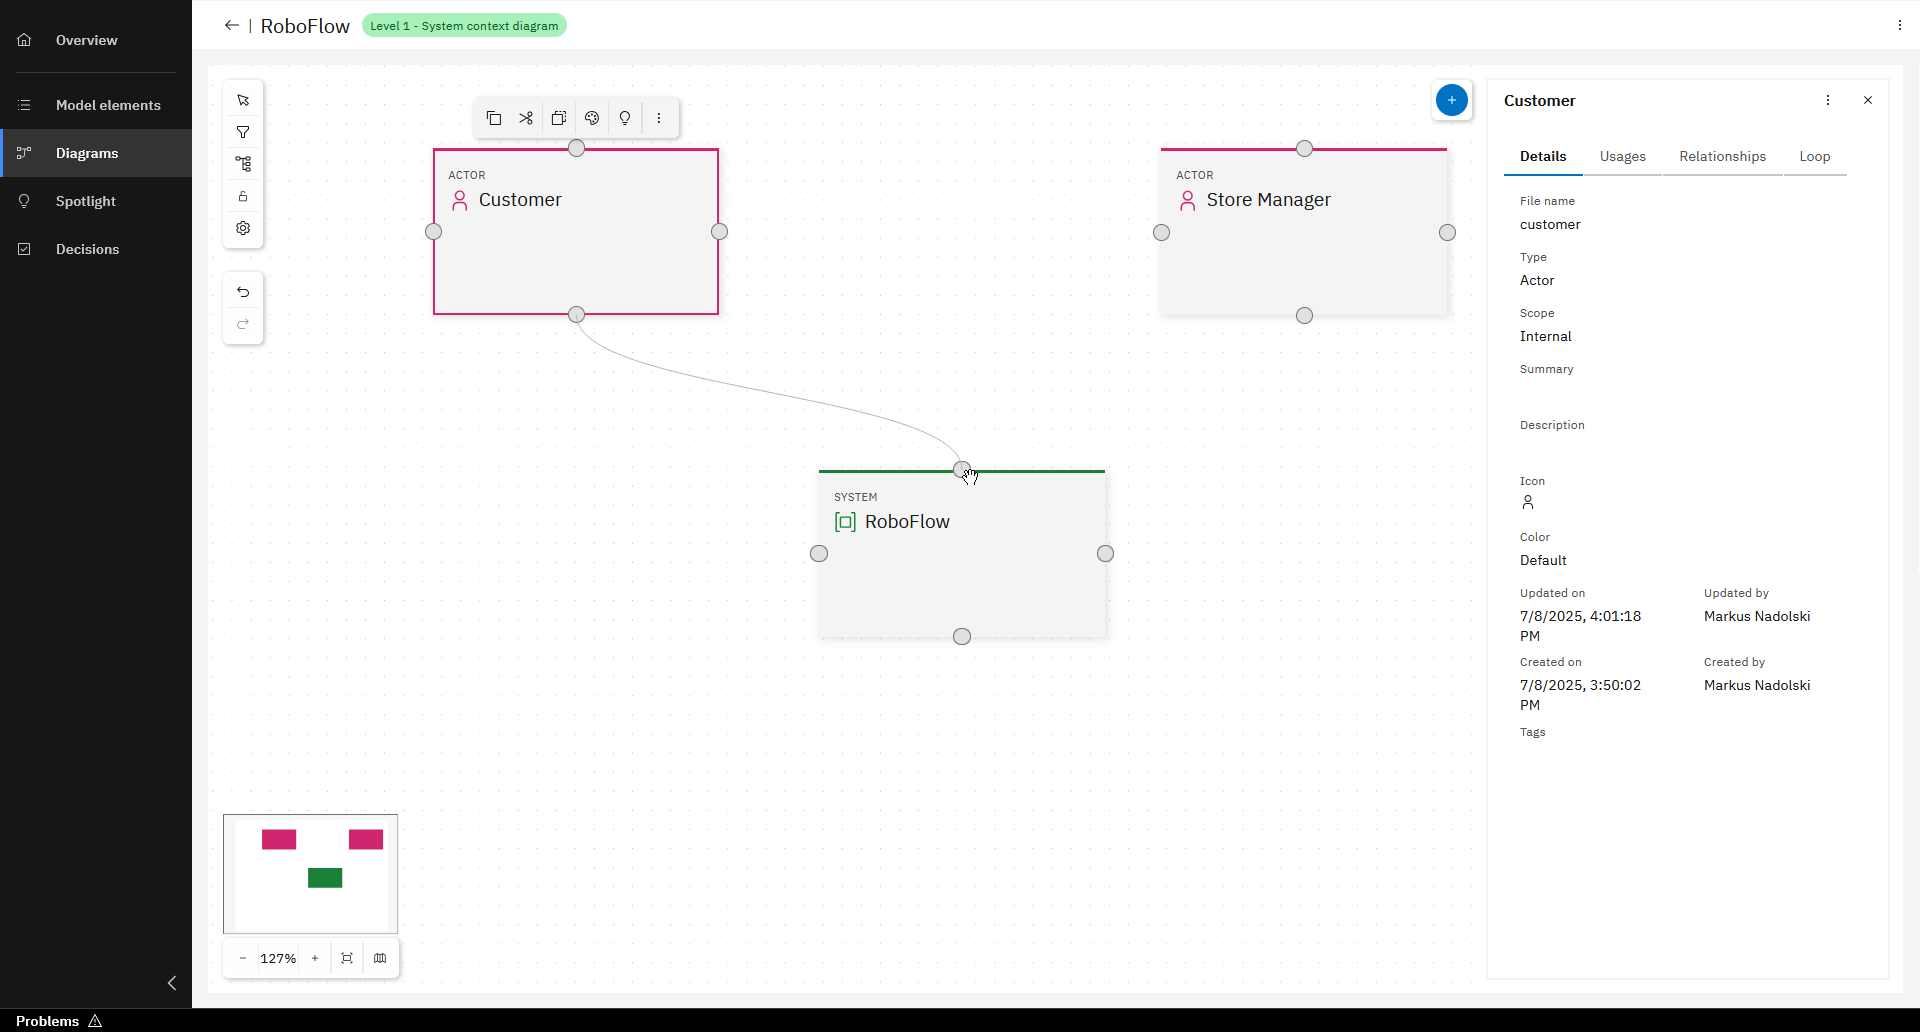
Add relationships between Actors and System
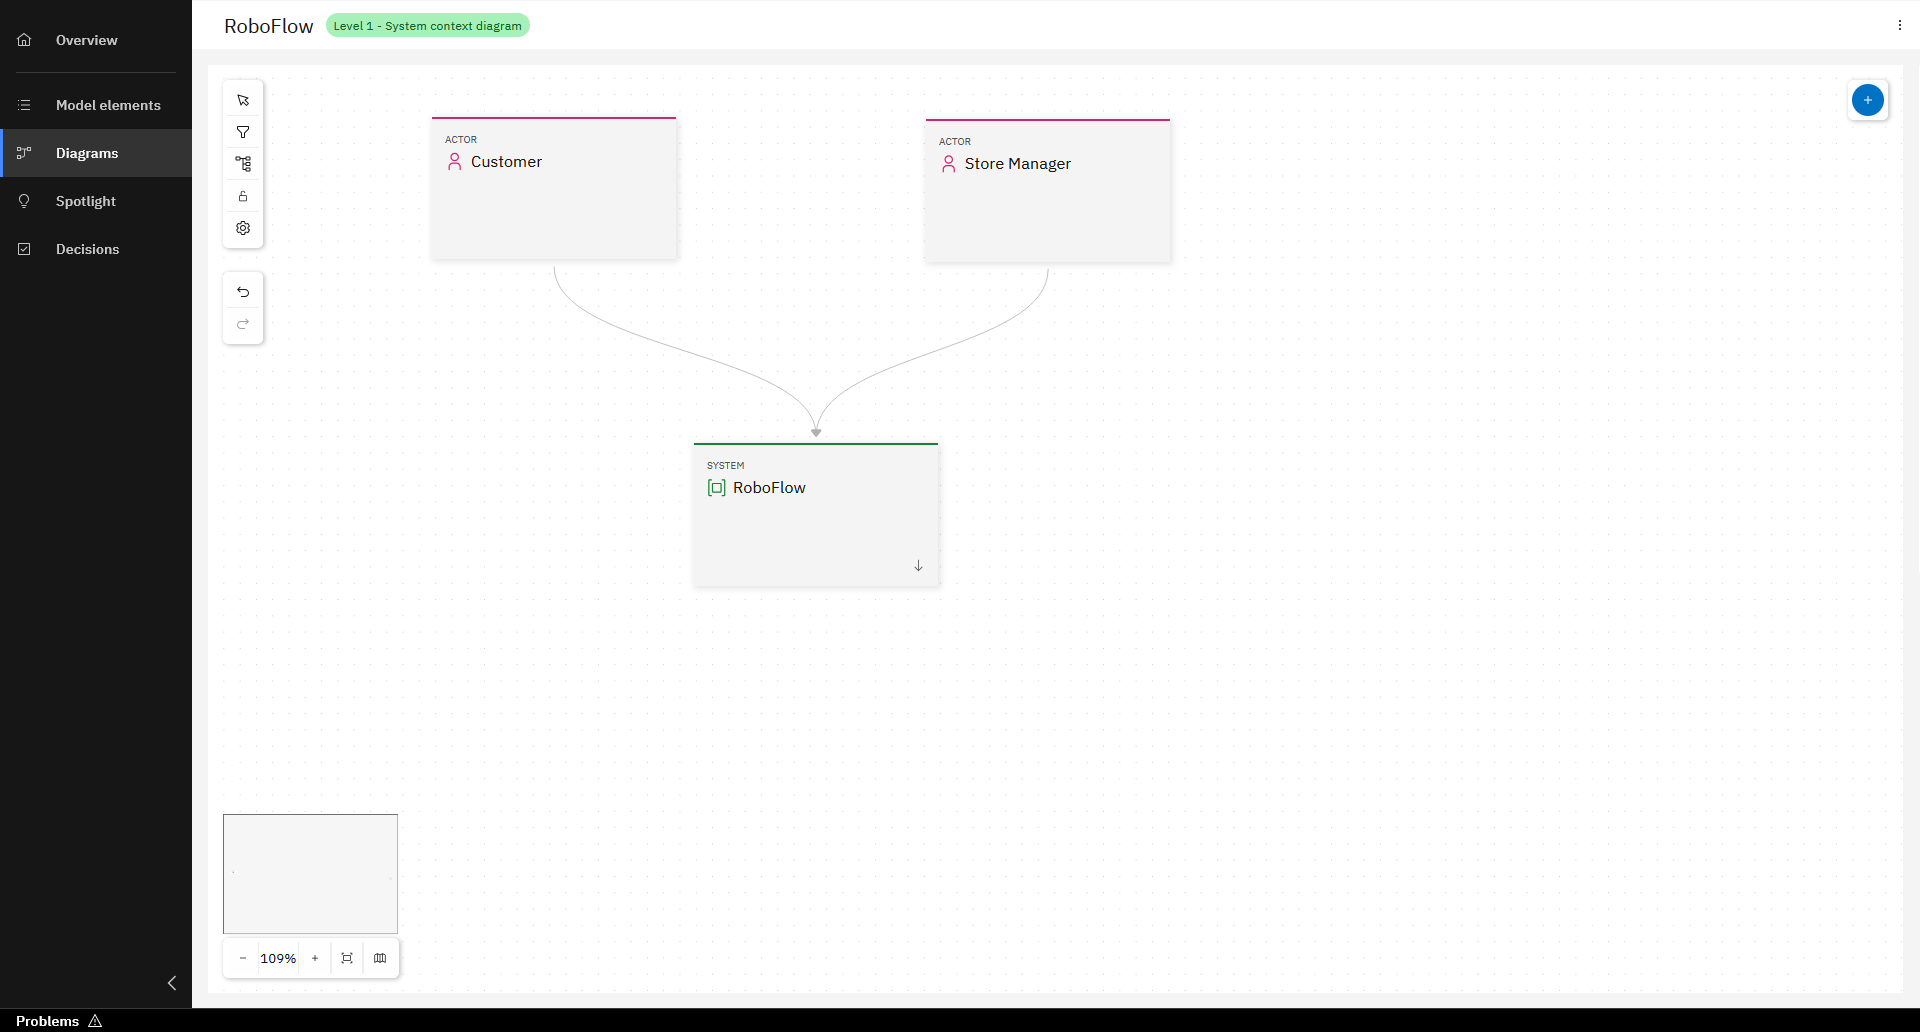
Level 1 Diagram
You may have noticed that there are no descriptions for the model elements and relationships. To make your architecture understandable, descriptions are of course necessary. How to do this, you will see in the next section.
Create Level 2 Diagram and model elements
Once you have created the Level 1 Diagram, you can start directly from there to create the Level 2 Diagram.
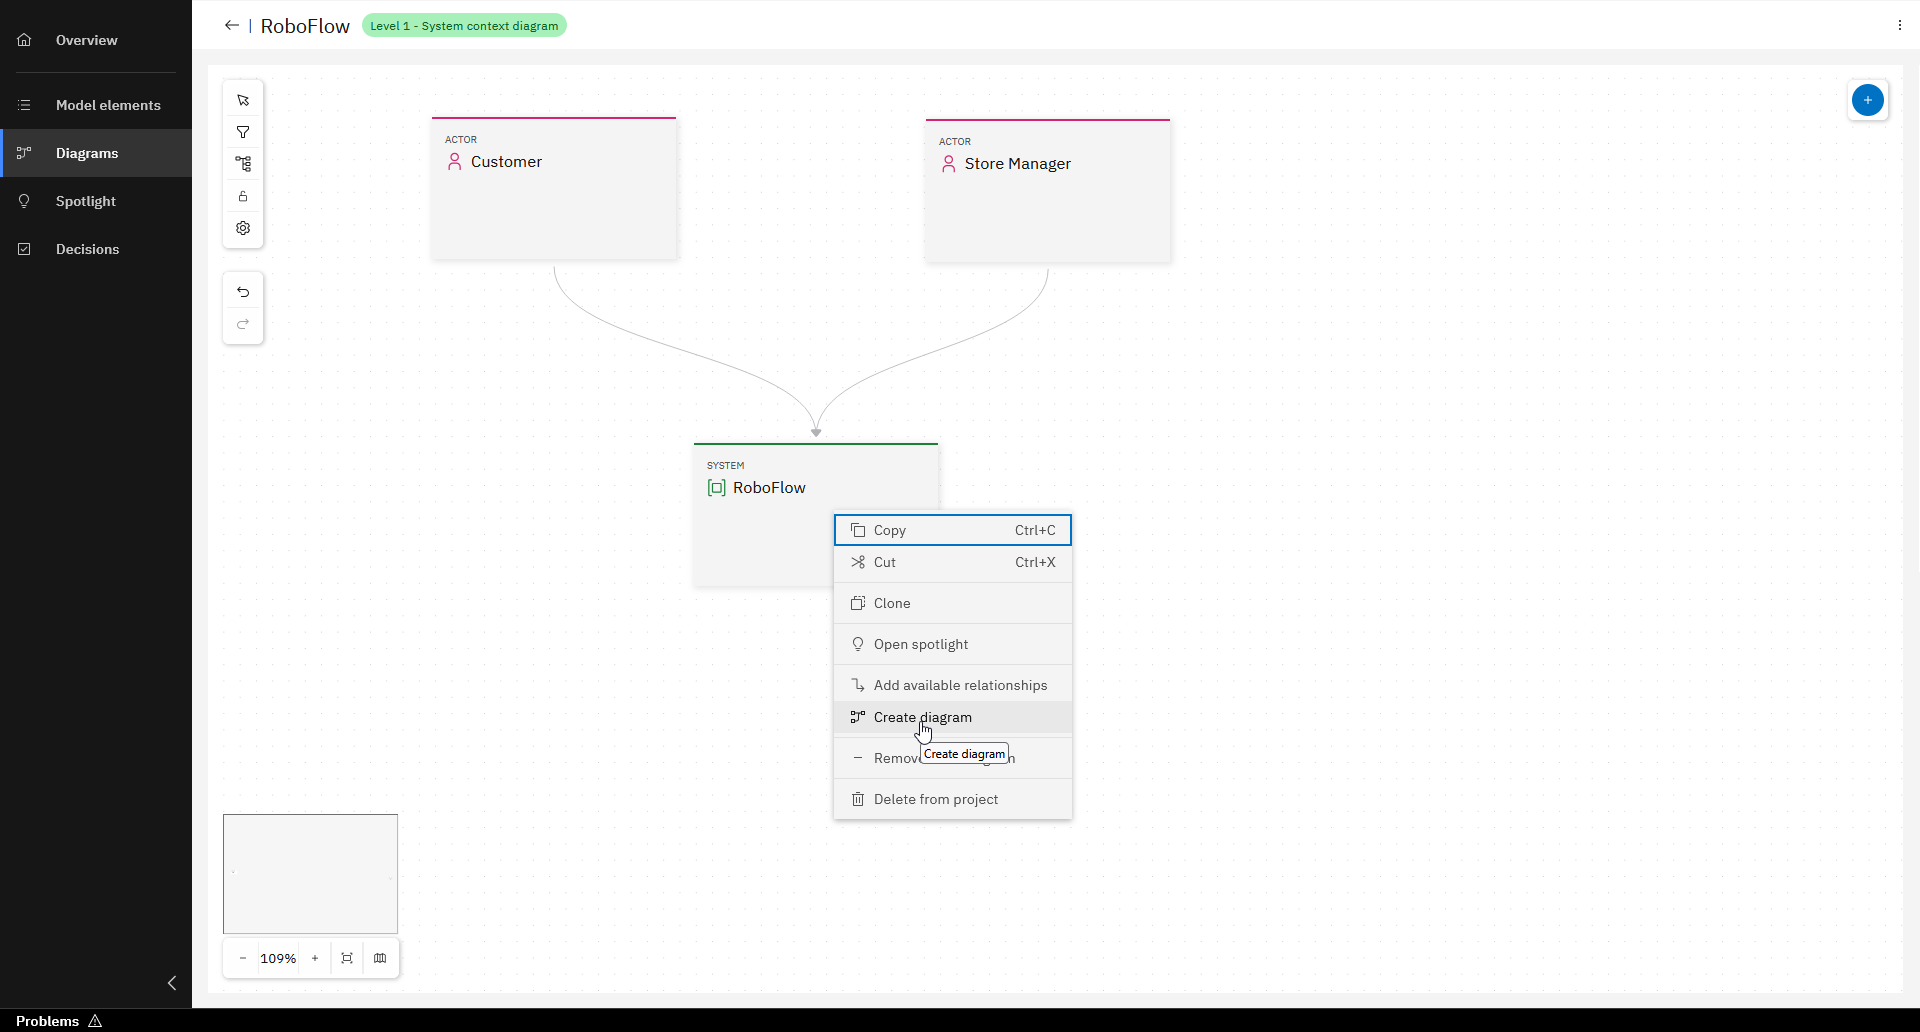
Right-click on the System "RoboFlow" and select "Create diagram"
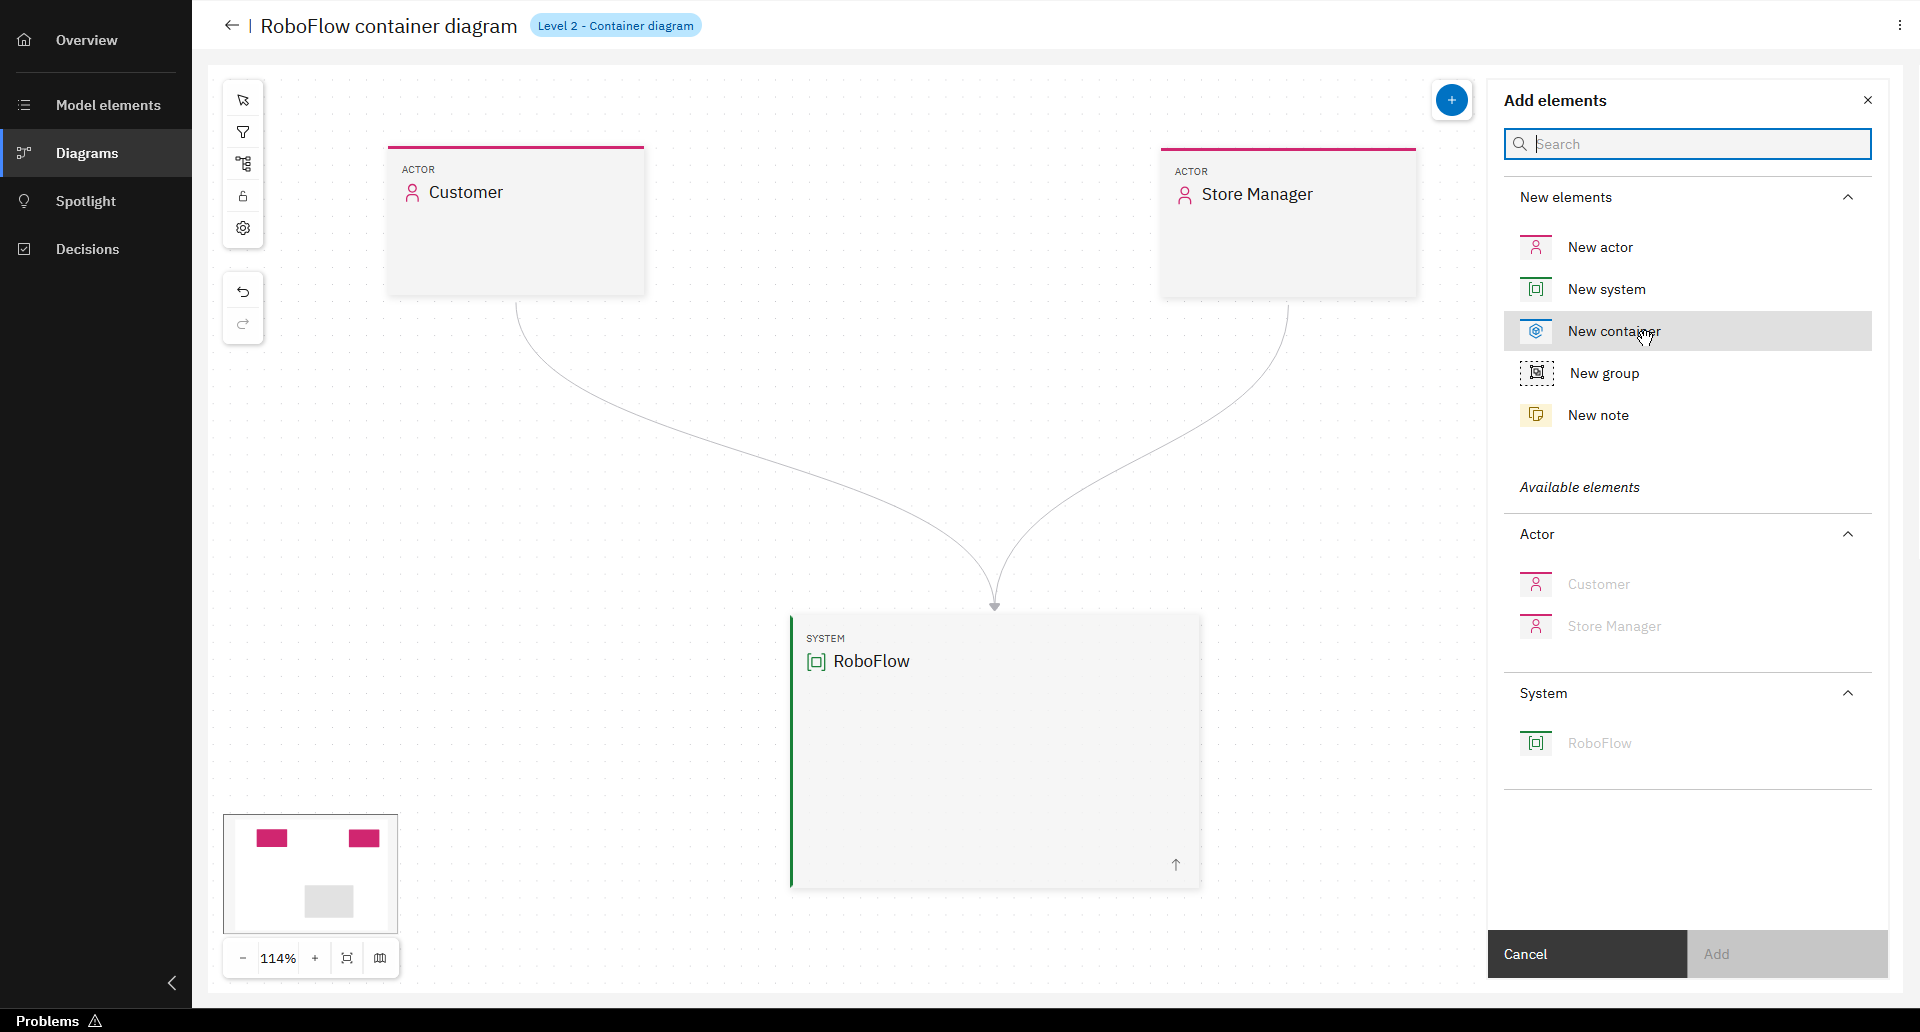
Click on "+" and add "New container"

Enter "Webshop Frontend" and click "Add"
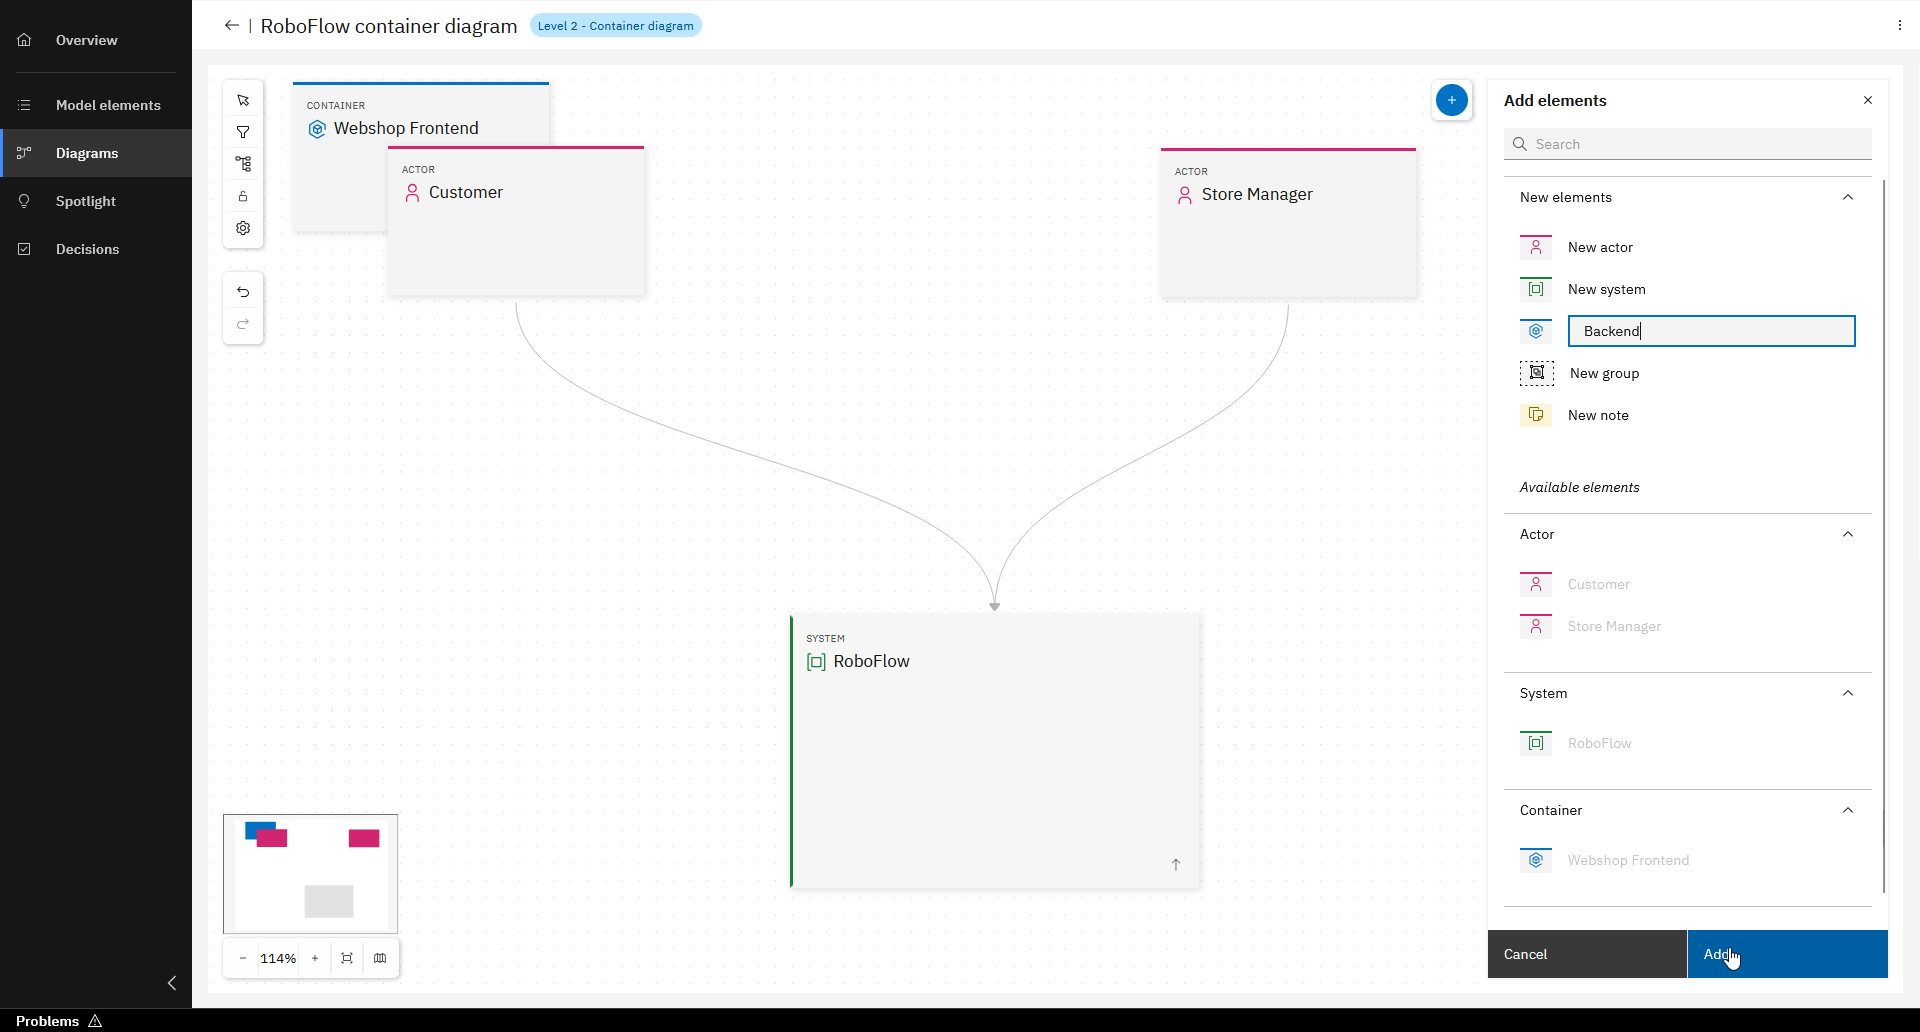
Repeat step and add container for "Backend"
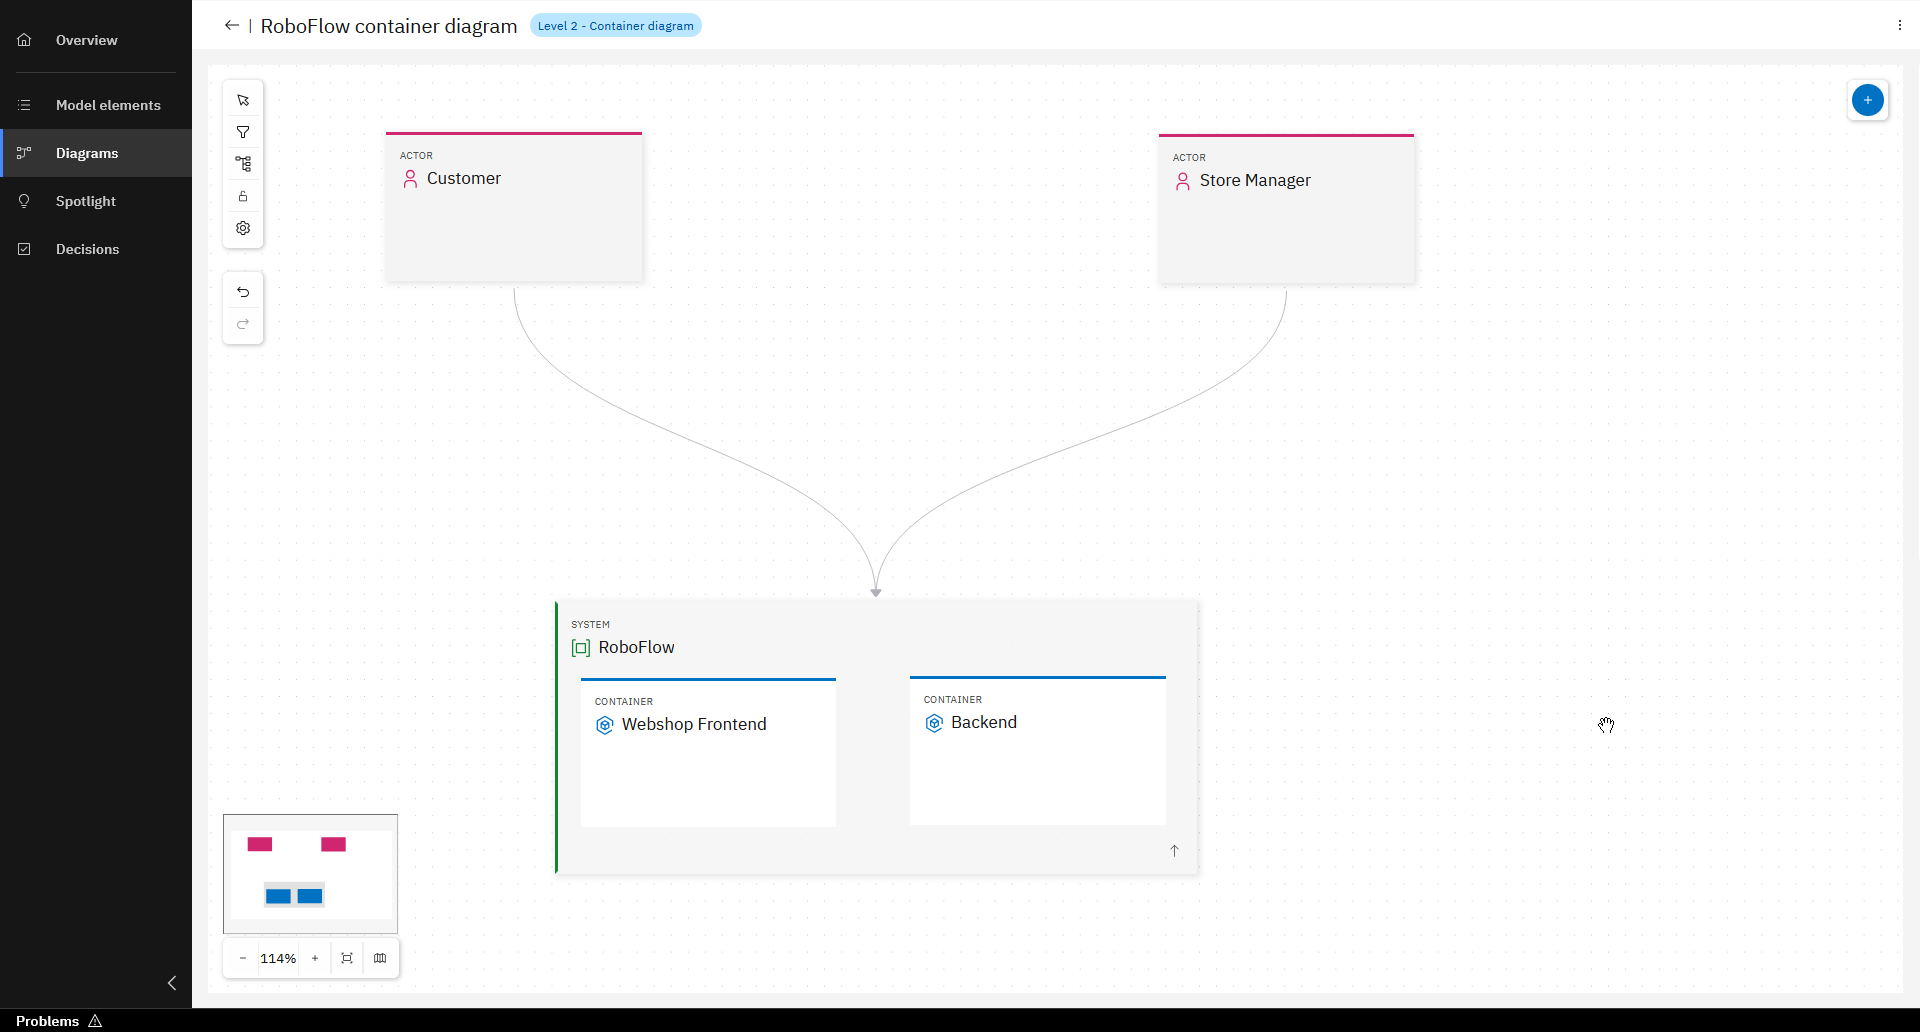
Place Containers into System

Change relationships from Actors, pointing directly to Containers
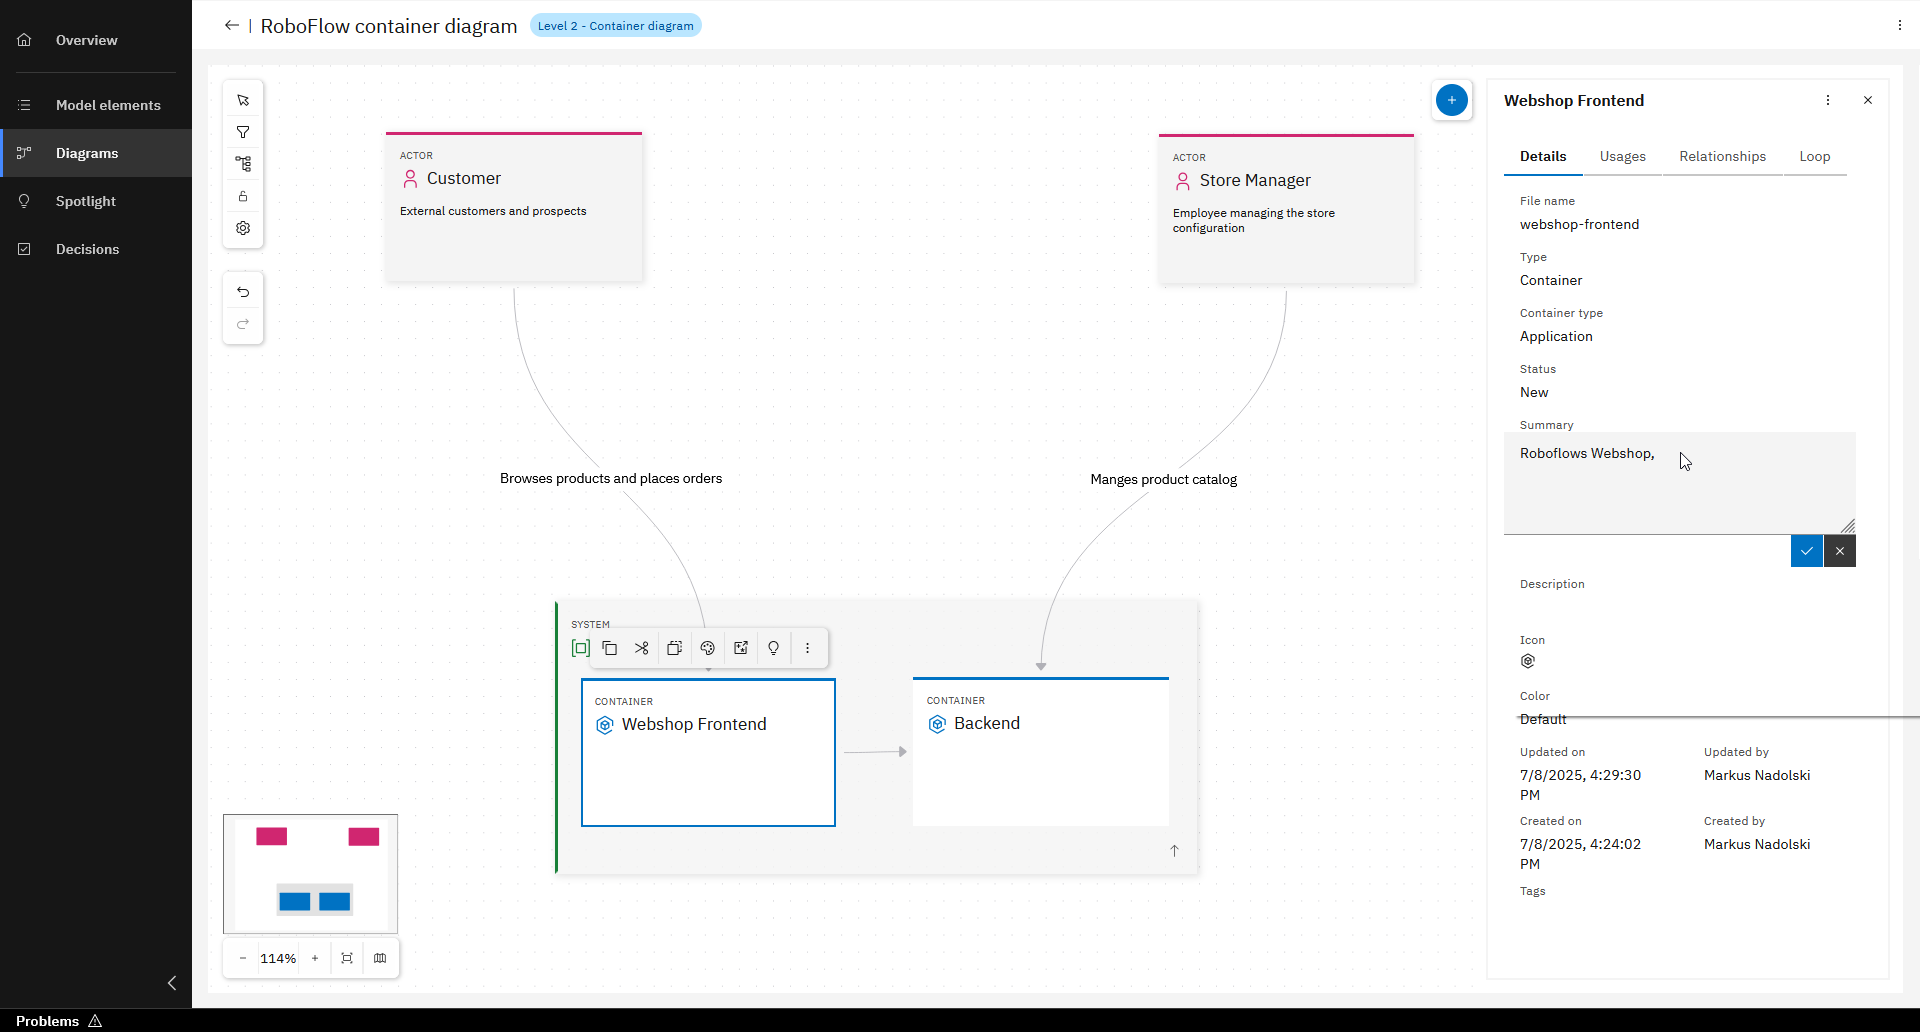
Add descriptions to model elements
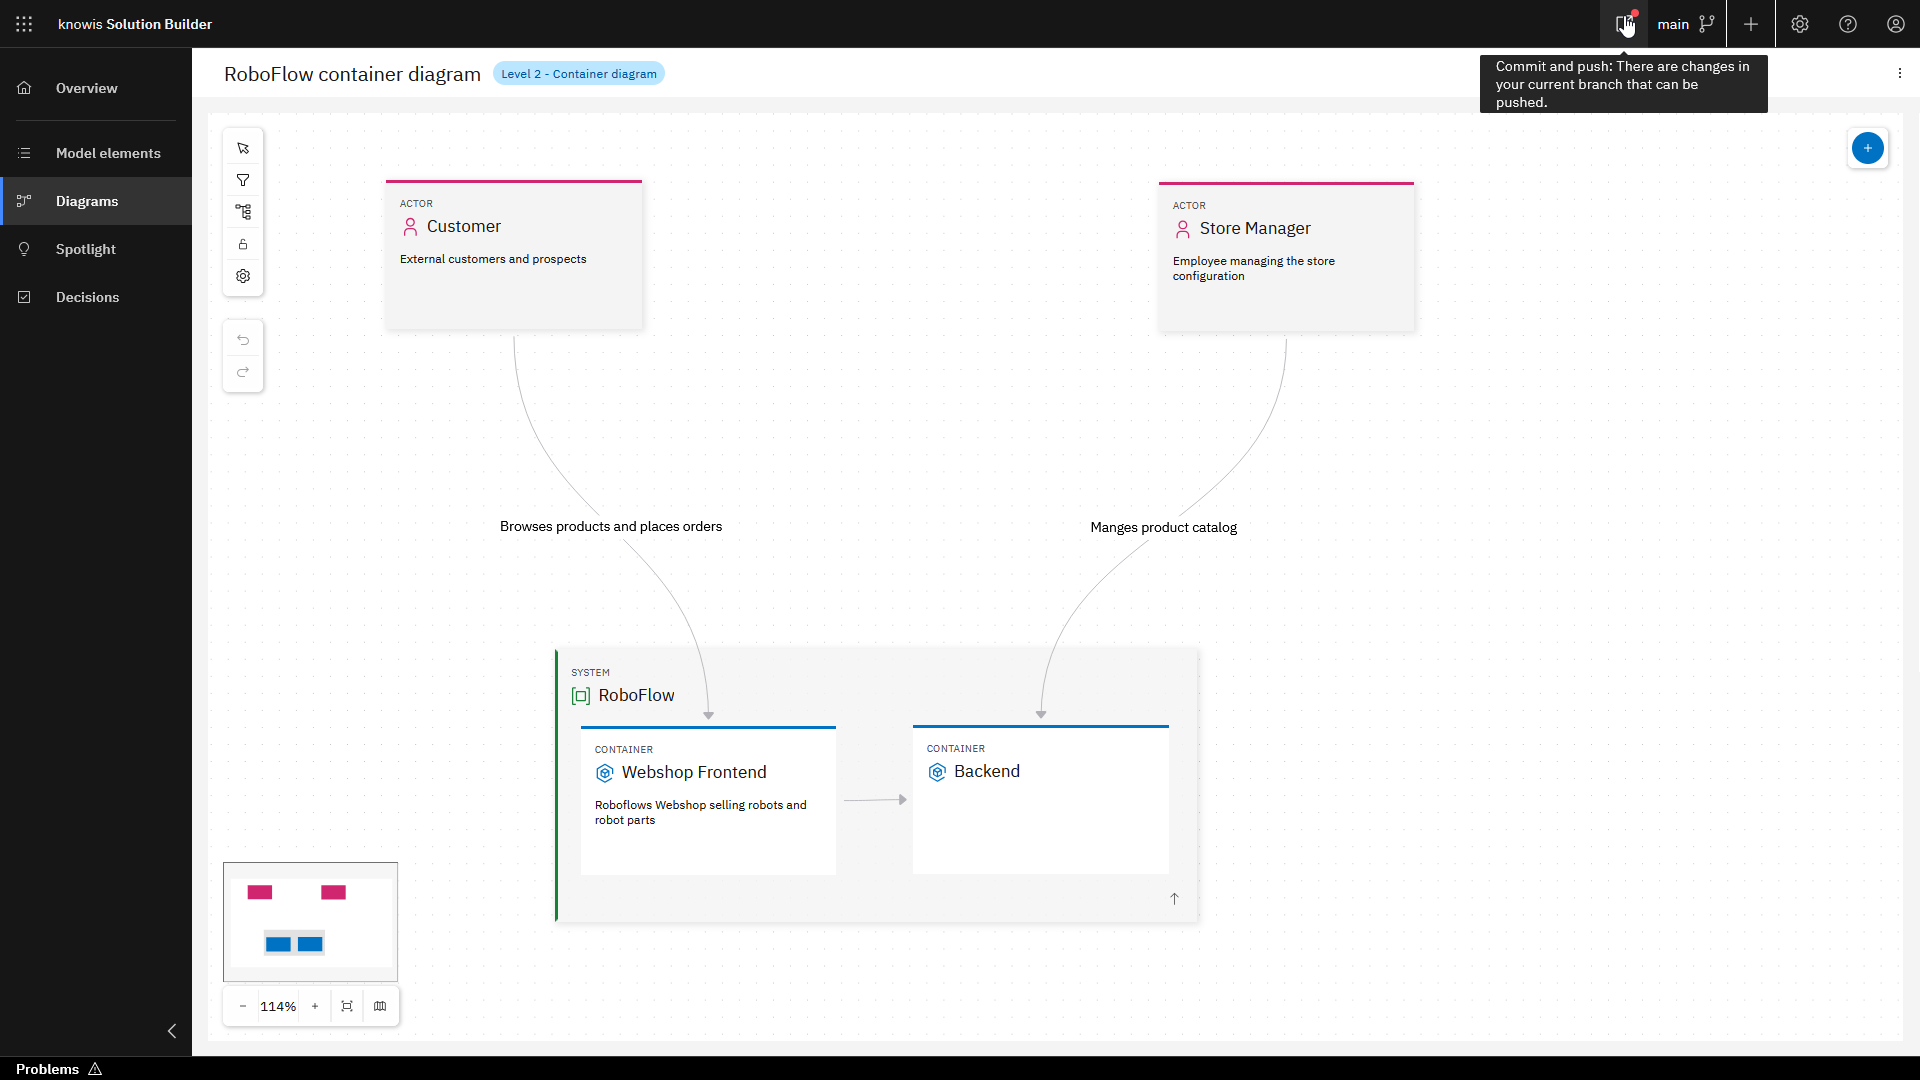
Commit and push changes
Like any other project in the Workbench, System Architecture Design Projects are stored in a Git repository. Until you commit and push your changes, they are stored locally and are not reflected in the Git repository. A red dot in the UI indicates that there are changes that can be committed.
The steps to commit and push are shown below.
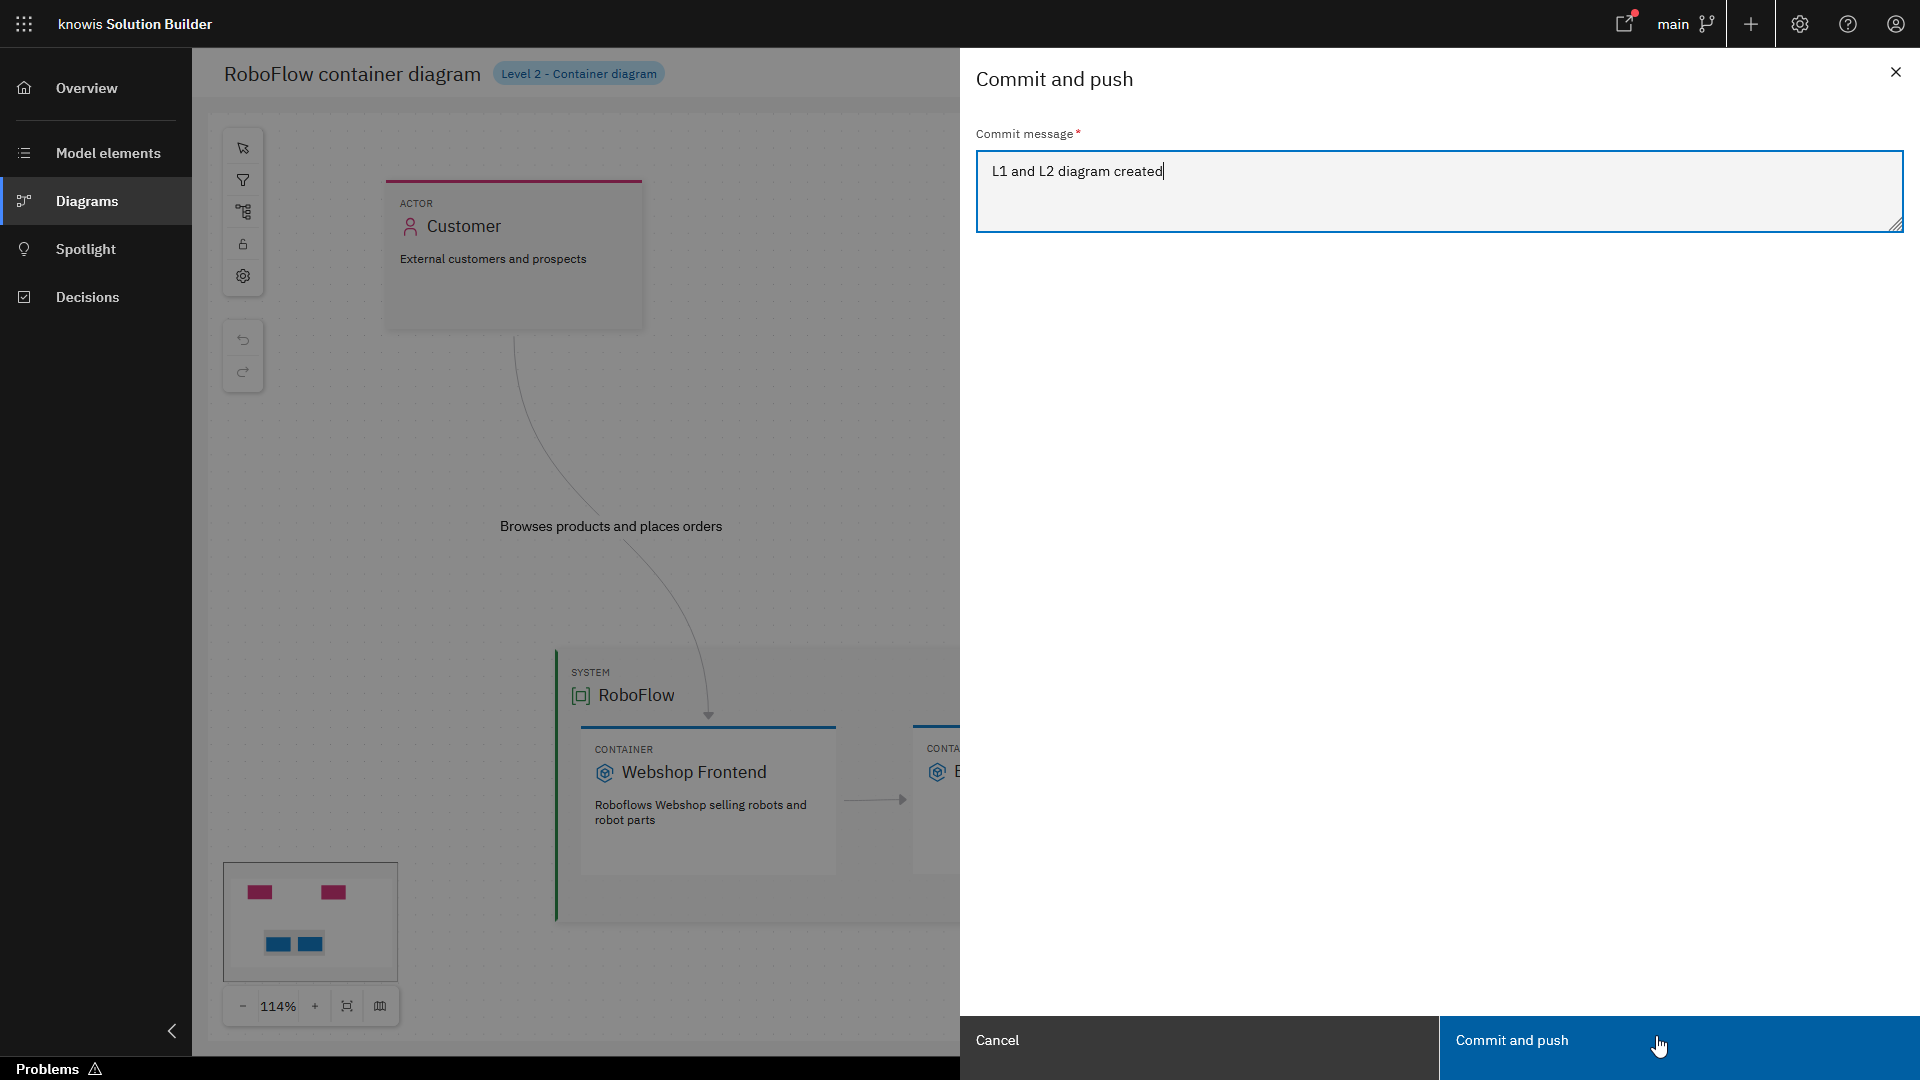
You've successfully created your first System Architecture Design Project!
What's next?
There is much more you can learn about how the Workbench supports the design of your System Architecture, e.g.,
- how to write and document architectural decisions,
- how to maintain an overview over your system and its references and
- the spotlight feature to have a comprehensive look at one model element with all its relationships.
To follow up on this we recommend the Architect Course.